Unlocking the Secrets of Propagation: How to Multiply Your Artemisia laciniata
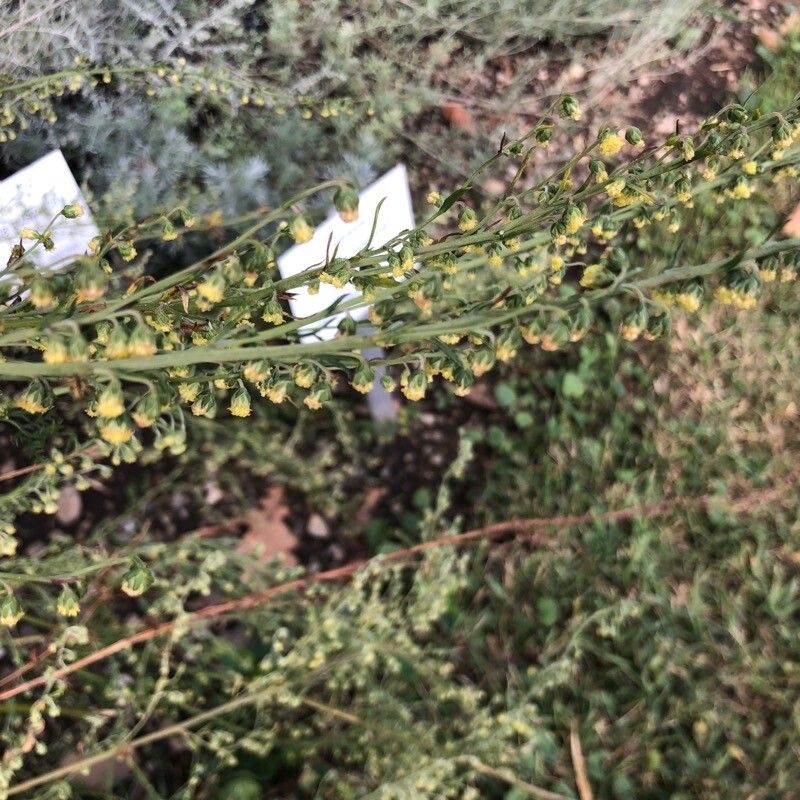
Artemisia laciniata, with its feathery, silvery-green foliage and captivating aroma, is a stunning addition to any garden. This hardy perennial, also known as silvery wormwood, not only offers visual appeal but also boasts a rich history of medicinal and culinary uses. If you’re lucky enough to have one gracing your garden, you might be wondering how to propagate it and share its beauty with others. Well, you’re in luck! Propagating Artemisia laciniata is achievable, even for novice gardeners, and we’re here to guide you through the process.
Method 1: Propagation from Seed
While Artemisia laciniata can be grown from seed, it’s important to note that germination rates can be variable.
- Sowing: Sow seeds in late winter or early spring in seed trays filled with a well-draining seed compost. Lightly press the seeds into the surface of the compost but avoid burying them deeply, as light aids germination.
- Conditions: Place the seed trays in a bright location, out of direct sunlight, and maintain a consistent temperature of around 65-70°F (18-21°C).
- Moisture: Keep the compost consistently moist but not waterlogged. Using a spray bottle can help with even moisture distribution.
- Germination: Germination can take anywhere from 2 to 4 weeks, so patience is key.
- Transplanting: Once the seedlings develop a few sets of true leaves, transplant them into individual pots filled with well-draining potting mix. Harden off the seedlings gradually before planting them outdoors after the last frost.
Method 2: Propagation from Cuttings
Taking cuttings is generally a more reliable method for propagating Artemisia laciniata and ensures you’ll get a plant genetically identical to the parent plant.
- Timing: The optimal time for taking cuttings is in late spring or early summer when the plant is actively growing.
- Taking the Cutting: Select a healthy, non-flowering stem and, using a sharp, clean knife or pair of pruning shears, cut a 4-6 inch (10-15 cm) section from the tip. Make the cut just below a leaf node.
- Preparing the Cutting: Remove the leaves from the bottom inch or two of the cutting. Dipping the cut end in rooting hormone (while optional) can encourage faster root development.
- Planting: Insert the cutting into a pot filled with a well-draining potting mix, burying the bottom node.
- Environment: Place the pot in a bright location, out of direct sunlight. Maintain consistent moisture in the potting mix, and consider covering the pot with a plastic bag to create a humid environment.
- Rooting: Roots should develop in 4-6 weeks. Gently tug on the cutting – resistance indicates rooting.
- Transplanting: Once rooted, transplant the cutting into a larger pot or directly into the garden after hardening it off.
Tips for Success:
- Artemisia laciniata prefers well-draining soil, so amend heavy soils with sand or grit before planting.
- Choose a sunny location for your plant.
- Water regularly until established, then water deeply but infrequently.
- This hardy plant is relatively pest and disease-free.
Propagating your Artemisia laciniata is a rewarding way to expand your garden or share this beautiful and useful plant with friends. With a little patience and care, you’ll soon have multiple plants gracing your garden with their silvery elegance!