From Snipping to Sprouting: How to Propagate Asparagus Fern for Lush, Long-Lasting Greenery
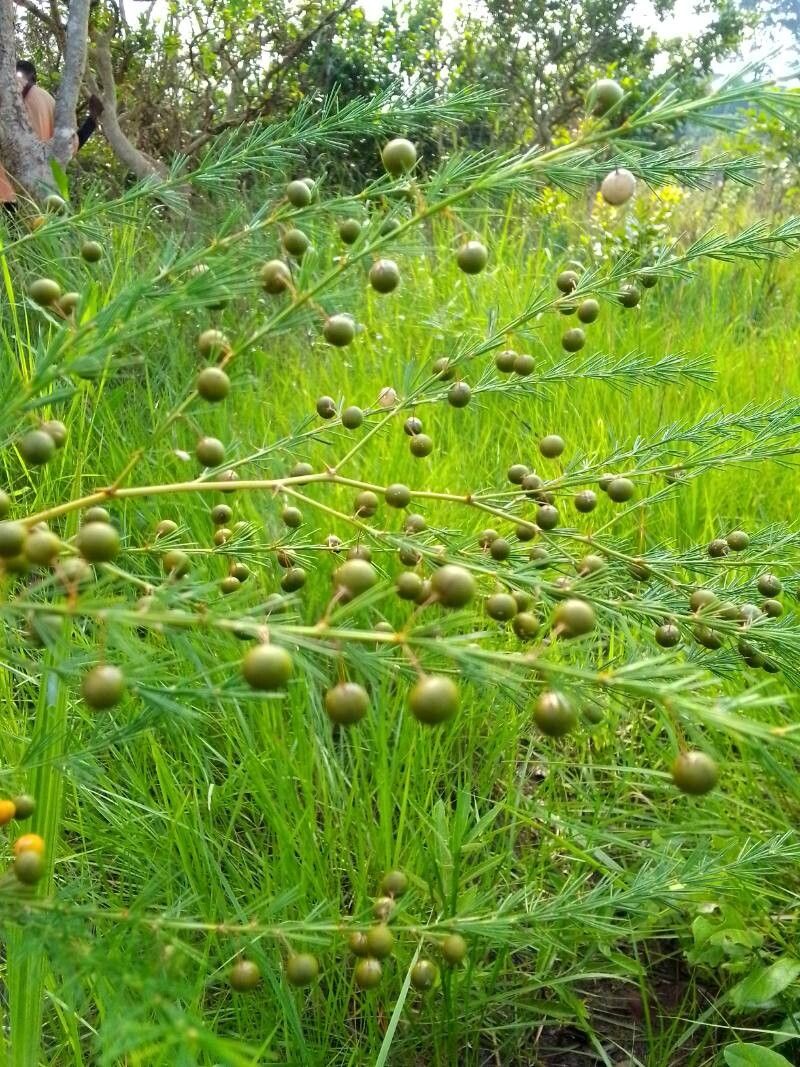
Asparagus fern, with its delicate, feathery fronds, is a beloved addition to any home. But did you know that this popular houseplant is incredibly easy to propagate? That’s right, you can easily create new plants from cuttings, giving you a whole jungle of green, all for the price of a snip!
Understanding the Basics of Propagation
Before we dive into the specifics of propagating asparagus fern, let’s understand what we’re doing. Propagation is essentially the process of creating new plants from existing ones. This can be done using seeds, cuttings, or divisions. In the case of asparagus fern, we’ll focus on the most common and accessible method: stem cuttings.
Gathering Your Tools and Materials
Propagating asparagus fern requires minimal tools and materials. You’ll just need:
- Sharp scissors or pruning sheers: For clean, precise cuts.
- Potting mix: Opt for a well-draining, airy mix.
- Small pots: Ensure they have drainage holes to prevent waterlogging.
- Water: To keep the cuttings hydrated.
Step-by-Step Guide to Propagating Asparagus Fern
Now, let’s get to the fun part:
- Choose healthy stems: Select strong, mature stems that have at least a few nodes (bulges or bumps) along their length.
- Cut the stems: Cut the stems into approximately 4-inch pieces, ensuring each piece has at least 2 nodes.
- Prepare the cuttings: Remove the lower leaves from the bottom node of each cutting. You’ll want the node to be bare to facilitate rooting.
- Dip in rooting hormone (optional): While not necessary for asparagus ferns, you can dip the cut ends in rooting hormone for faster and more vigorous root development.
- Plant the cuttings: Fill your small pots with the potting mix, leaving about an inch of space at the top. Make a small hole in the center of each pot and insert a cutting, making sure the bare node is buried in the soil.
- Water thoroughly: Make sure the soil is evenly moistened after planting.
- Provide optimal conditions: Place the pots in a bright, warm location, but avoid direct sunlight that can burn the young plant. Keep the soil consistently moist.
- Patience is key: Asparagus ferns can take a few weeks to develop roots. Be patient and don’t despair if you don’t see immediate growth.
Tips and Tricks for Success
To give your cuttings the best chance of success, keep these extra tips in mind:
- Clean tools: Sterilize your scissors or pruning shears with rubbing alcohol between cuts to prevent the spread of disease.
- Use a rooting hormone: Although not essential, rooting hormone can significantly boost the success rate and speed up root development.
- Mist regularly: Daily misting can help maintain humidity and prevent the cuttings from drying out.
- Watch for new growth: Once you notice new growth, it’s a good sign that roots have formed and your new fern is thriving.
Beyond Propagation: Caring for Your New Asparagus Fern
Congrats on your new asparagus fern! Now that you’ve successfully propagated it, it’s time to ensure its well-being. Here’s a quick rundown of its care requirements:
- Light: Bright, indirect light is ideal. Avoid direct sunlight, which can scorch the delicate fronds.
- Watering: Ensure the soil is slightly moist but not waterlogged. Let the top inch of soil dry out between waterings.
- Fertilizer: Feed your fern every few weeks during the growing season with a balanced liquid fertilizer diluted to half strength.
With these simple steps, you can enjoy the beauty of asparagus fern multiplied. So grab your scissors, get your potting mix ready, and unleash your inner green thumb – you’ll be surrounded by lush greenery in no time!