Taming the Silver Star: A Guide to Propagating Astragalus genargenteus
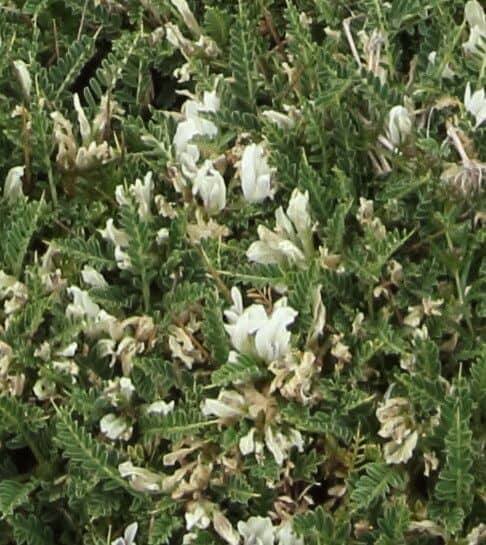
Astragalus genargenteus, the striking “Silver Star” thanks to its silvery foliage and star-shaped flowers, is a fascinating addition to any rock garden or drought-tolerant landscape. This North American native, however, can be a bit elusive to propagate. Fear not, fellow plant enthusiasts! This guide will unveil the secrets to successfully multiplying your Silver Star collection.
Understanding the Astragalus Genargenteus
Before we delve into propagation, it’s helpful to understand its lifecycle. This semi-evergreen perennial thrives in well-drained soil under full sun to partial shade. It’s incredibly hardy, tolerating poor soil and drought conditions. In spring, clusters of vibrant purple blossoms emerge, attracting pollinators to your garden.
The Two Main Approaches: Seeds and Cuttings
While Silver Star can be a bit finicky, two main propagation methods offer the best chances of success:
1. From Seed: A Test of Patience
- Collecting Seeds: After flowering, the Silver Star produces pods filled with small seeds. Allow these pods to dry completely on the plant – you’ll know they’re ready when they turn brown and brittle.
- Scarification: Astragalus seeds possess hard coatings. Mimicking nature’s way, scarify the seeds by gently rubbing them between sandpaper sheets. This process creates tiny scratches, allowing water to penetrate and encourage germination.
- Cold Stratification: In nature, the seeds experience winter’s chill. Replicate this by placing the scarified seeds in a moistened paper towel within a sealed plastic bag and refrigerating for 6-8 weeks.
- Sowing: Springtime it is! Sow the cold-stratified seeds in well-draining soil, lightly pressing them onto the surface. Maintain moisture but avoid overwatering.
- Patience, Young Padawan: Germination can be slow and sporadic, taking several weeks or even months. Be patient, and don’t lose hope if they don’t sprout immediately.
2. From Cuttings: A Quicker Route
- Timing is Key: Early summer is ideal for taking cuttings. Select healthy stems that haven’t yet flowered.
- Taking the Cutting: Using clean, sharp shears, cut a 4-6 inch section of stem just below a leaf node. Remove the lower leaves, leaving just a few at the top.
- Hormone Power: While not strictly necessary, dipping the cut end in rooting hormone can significantly increase your success rate.
- Planting: Insert the cutting into a pot filled with a well-draining seed starting mix.
- Humidity is Key: Cover the pot with a plastic bag or create a humidity dome to retain moisture.
- Root Development: Keep the potting mix consistently moist but not soggy. In a few weeks, you should start to see new growth, indicating successful rooting.
Transplanting and Beyond
Once your seedlings or cuttings are sturdy and have developed a good root system, you can transplant them into larger pots or directly into your garden. Choose a location with well-drained soil and plenty of sunshine.
Final Thoughts
Propagating Astragalus genargenteus does require a touch of patience and care, but the reward of witnessing new life unfold is well worth the effort. Whether you choose the slow and steady route of seeds or the faster pace of cuttings, you’ll be adding more of these silvery stars to illuminate your garden for years to come.