Unlocking the Secrets to Propagating Atractocarpus Sezitat: Your Guide to Growing More of This Unique Beauty
Atractocarpus sezitat, with its captivating glossy leaves and clusters of vibrant red berries, is a plant that truly captures the eye. If you’re lucky enough to own this unique gem, you might be wondering, how can I create even more?
Well, the good news is, Atractocarpus sezitat can be propagated fairly easily, allowing you to enjoy its beauty in more areas of your home or garden. Let’s dive into the world of Atractocarpus propagation and discover the best methods to bring this amazing plant to life.
Propagating Atractocarpus Sezitat: The Methods
There are three main methods for propagating Atractocarpus sezitat:
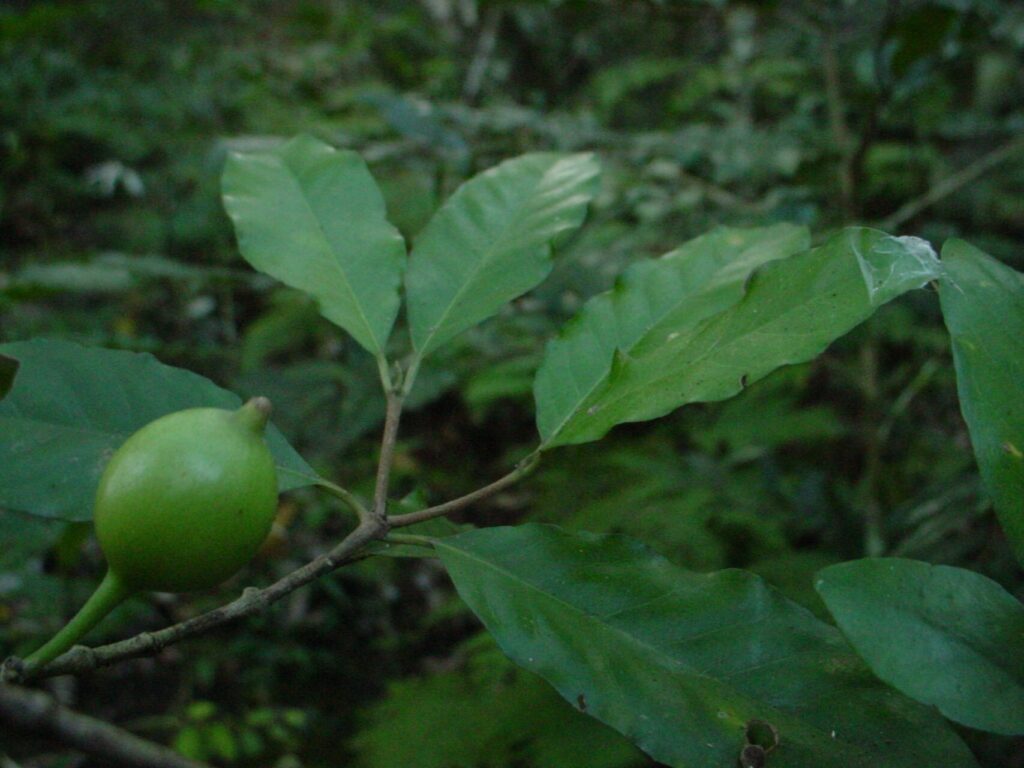
1. Seeds:
- Collecting Seeds: The easiest way to find seeds is by collecting them from the ripe berries. Watch for when the berries turn a deep, vibrant red, then carefully remove them from the plant.
- Preparation: Clean the seeds by removing the surrounding pulp, rinse them, and allow them to dry completely.
- Sowing: Sow the seeds in a well-draining seed starting mix, covering them lightly with soil. Keep the soil moist but not waterlogged.
- Patience is Key: Seed propagation requires patience. It can take several weeks for the seeds to germinate.
2. Stem Cuttings:
- Taking Cuttings: Choose healthy, mature stems that are at least 4 inches long and have several nodes (bumps on the stem where leaves grow). Make a clean cut just below a node, using a sharp knife or pair of shears.
- Remove Lower Leaves: Remove the leaves from the bottom 1-2 inches of the stem, leaving the top leaves intact. This will help to prevent rot.
- Root Hormone and Rooting Mix: Dip the cut end of the stem in rooting hormone powder, then plant it in a well-draining rooting mix.
- Humidity and Patience: Maintain a consistently moist environment for the cuttings. Misting regularly and covering the pot with a plastic dome or bag can help maintain ideal humidity levels. It can take several weeks for the cuttings to root.
3. Air Layering:
- Choose a Healthy Stem: Select a healthy, mature stem with a diameter of about ½ inch.
- Make an Incision: Gently scrape a small section (about 1 inch long) of the stem’s outer bark, exposing the cambium layer underneath.
- Wrap with Sphagnum Moss: Wrap the exposed area generously with moist sphagnum moss and secure it with plastic wrap, ensuring the moss stays consistently moist.
- Patience and Roots: It can take several months for roots to develop. Once the roots have formed, carefully cut the stem below the roots and plant it in a pot filled with potting mix.
Tips and Tricks for Success
- Use Fresh Materials: The fresher the cuttings, seeds, or stems are, the higher your success rate will be.
- Provide Consistent Humidity: Maintaining a consistently moist environment is crucial for successful root development.
- Opt for Warm Temperatures: Atractocarpus sezitat thrives in warm temperatures, so maintain a consistent warmth of around 70-75 degrees Fahrenheit for optimal rooting.
- Choose Bright, Indirect Light: Avoid direct sunlight, which can scorch delicate new growth. Provide bright but indirect light for your cuttings and air layered plants.
Enjoying Your Success
Whether you choose to propagate Atractocarpus sezitat with seeds, cuttings, or air layering, remember that patience is key. Once your new babies start to grow, you’ll be rewarded with more of this stunning plant to enjoy for years to come.