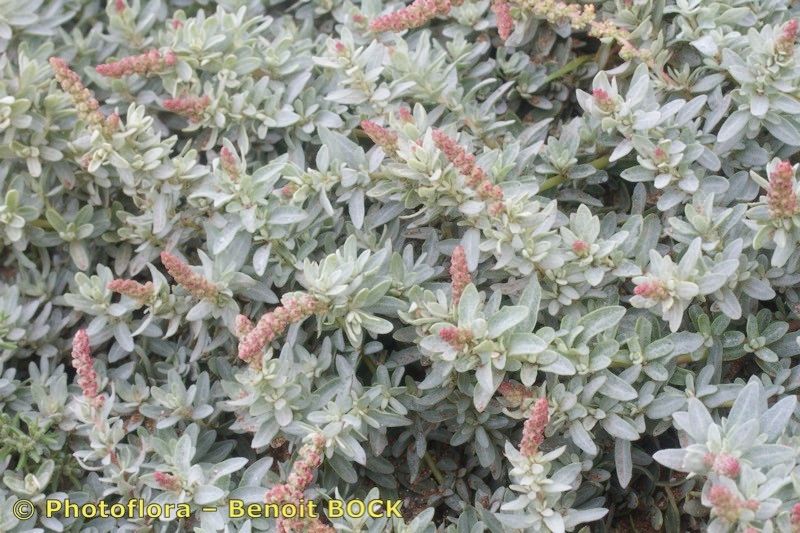
Taming the Saltbush: Propagating Atriplex muricata
Atriplex muricata, more commonly known as prickly saltbush or winged saltbush, might not be the first plant that comes to mind when you think of lush greenery. However, this hardy species offers a unique charm with its silvery foliage and remarkable resilience, especially in saline environments. If you’re intrigued by the idea of cultivating this distinctive plant, this guide will walk you through the steps of successful propagation.
Seeds of Success: The Primary Propagation Method
Atriplex muricata readily reproduces from seed, making it the preferred method for propagation. However, the seeds come encased in a tough, papery bract that can inhibit germination. To overcome this, you’ll need to employ a technique called stratification:
- Collection & Preparation: Collect mature seeds in late summer or fall. The bracts will be dry and brownish. Gently crush the bracts to release the tiny, black seeds within.
- Cold Stratification: Mimicking nature’s way, cold stratification helps break seed dormancy. Place the seeds in a moist paper towel within a sealed plastic bag. Store them in the refrigerator (around 4°C or 40°F) for 4-6 weeks.
- Sowing the Seeds: Once stratified, sow the seeds in seed trays or pots filled with well-draining seed starting mix. Sprinkle the seeds on the surface and lightly press them in, leaving them uncovered.
- Warmth & Moisture: Place the seed trays in a warm, sunny location. Consistent moisture is crucial for germination, so mist the soil regularly, ensuring it doesn’t become waterlogged.
- Germination Time: Be patient! Germination can take anywhere from 2 to 4 weeks.
Taking Cuttings: An Alternative Approach
While not as common as seed propagation, Atriplex muricata can also be propagated from stem cuttings. This method is particularly useful if you’re looking to preserve the characteristics of a specific plant:
- Timing is Key: Take cuttings in the spring or early summer from healthy, actively growing stems.
- Cutting Selection: Choose stems that are about 4-6 inches long and have several nodes (the points where leaves emerge).
- Prepare the Cuttings: Remove the lower leaves from the cuttings, leaving only a few at the top