Unlocking the Secrets of Himalayan Gold: Propagating Your Aucuba Himalica
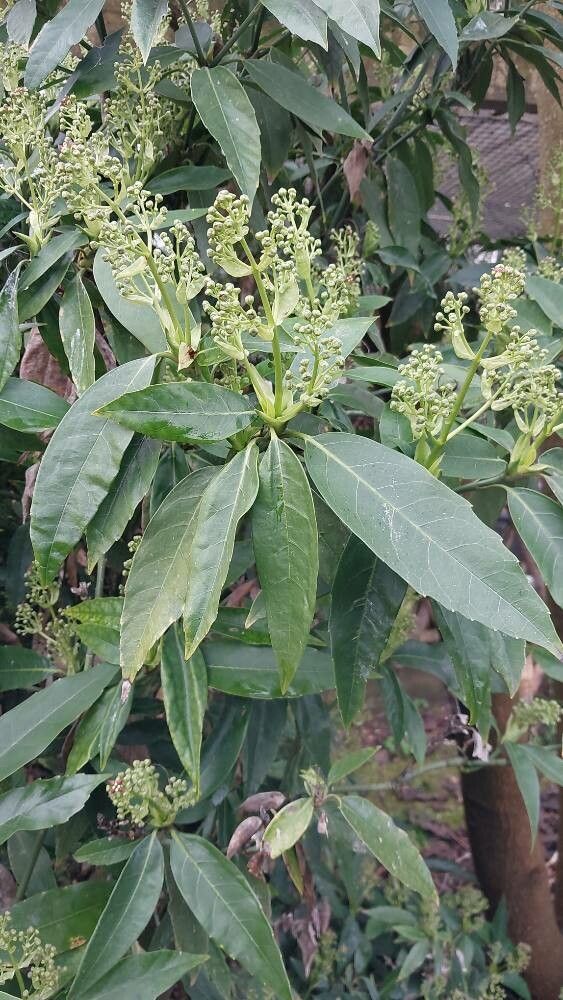
The Aucuba himalaica, with its lush, speckled foliage, brings a touch of the Himalayas right into your backyard. Often referred to as the Himalayan Gold Dust plant thanks to its beautiful yellow-spotted leaves, this evergreen shrub is a visual delight and a surprisingly resilient addition to any garden. But did you know you can easily multiply your leafy treasures through propagation?
This article unlocks the secrets of successfully propagating your Aucuba himalaica, allowing you to share this Himalayan gem with friends and family or simply expand your verdant collection.
Two Paths to Propagation: Cuttings vs. Seeds
While growing Aucuba himalaica from seeds is possible, it’s a slow and often unpredictable process. The seeds can take months to germinate, and the resulting plants might not inherit the same vibrant variegation as the parent plant.
That’s why propagating Aucuba himalaica using cuttings is the preferred method for most gardeners. This technique is relatively simple, yields faster results, and ensures the new plants retain the parent plant’s characteristics.
Mastering the Art of Aucuba Himalica Cuttings:
Here’s a step-by-step guide to propagate your Aucuba himalaica using cuttings:
1. Timing is Everything:
The optimal time to take cuttings is in late summer or early fall. During this period, the plant’s growth hormones are at their peak, encouraging quicker rooting.
2. Selecting the Perfect Cutting:
- Choose a healthy, non-flowering stem from the current year’s growth.
- Aim for a cutting that’s about 4-6 inches long and has at least two sets of leaves.
- Make a clean cut just below a leaf node (the point where a leaf emerges from the stem) using sharp, sterilized pruning shears.
3. Preparing the Cutting:
- Remove the bottom set of leaves from the cutting. This will be the portion that goes into the rooting medium.
- To further encourage rooting, you can dip the cut end in rooting hormone powder (optional but beneficial).
4. Choosing the Right Rooting Medium:
A well-draining rooting mix is crucial. You can use a combination of peat moss and perlite or sand.
5. Planting the Cutting:
- Moisten the rooting mix and fill a small pot or tray.
- Make a hole in the center with your finger or a pencil and carefully insert the bottom portion of the cutting.
- Gently firm the mix around the cutting to provide support.
6. Creating a Humid Environment:
- Cover the pot with a clear plastic bag or use a propagation dome. This will create a warm, humid environment crucial for rooting.
- Place the pot in a location with bright, indirect sunlight. Avoid direct sunlight, which can scorch the cutting.
7. Patience is Key:
- Check the soil moisture regularly and mist the cutting with water if it feels dry.
- Rooting can take anywhere from 4 to 8 weeks. You’ll know roots have formed when you see new growth on the cutting.
8. Transplanting Your Rooted Cutting:
- Once rooted, carefully transplant your new Aucuba himalaica plant into a larger pot or directly into your garden.
- Choose a location with well-drained soil and partial shade for optimal growth.
Propagating your Aucuba himalaica is a rewarding experience. It allows you to multiply your plant collection and share the beauty of this Himalayan gem with others. With a little patience and these simple steps, you’ll be surrounded by these lush, spotted beauties in no time!