Unveiling the Secrets of Augusta Rivalis Propagation: A Guide to Multiplying Your Lush Leafed Friend
Augusta rivalis, with its captivating foliage and air-purifying qualities, is a welcome addition to any plant lover’s collection. But did you know that multiplying this botanical beauty is easier than you think?
Whether you’re a seasoned plant parent or just starting your green journey, this guide will equip you with the knowledge to propagate Augusta rivalis successfully. We’ll delve into two effective methods:
1. Stem Cuttings: A Tried and True Technique
Stem cuttings are the most popular and reliable way to propagate Augusta rivalis. This method involves taking a cutting from a healthy mother plant and encouraging it to develop roots. Here’s a step-by-step breakdown:
- Gather Your Tools: You’ll need a sharp, sterilized knife or pruning shears, a small pot or tray, well-draining potting mix, and optional rooting hormone.
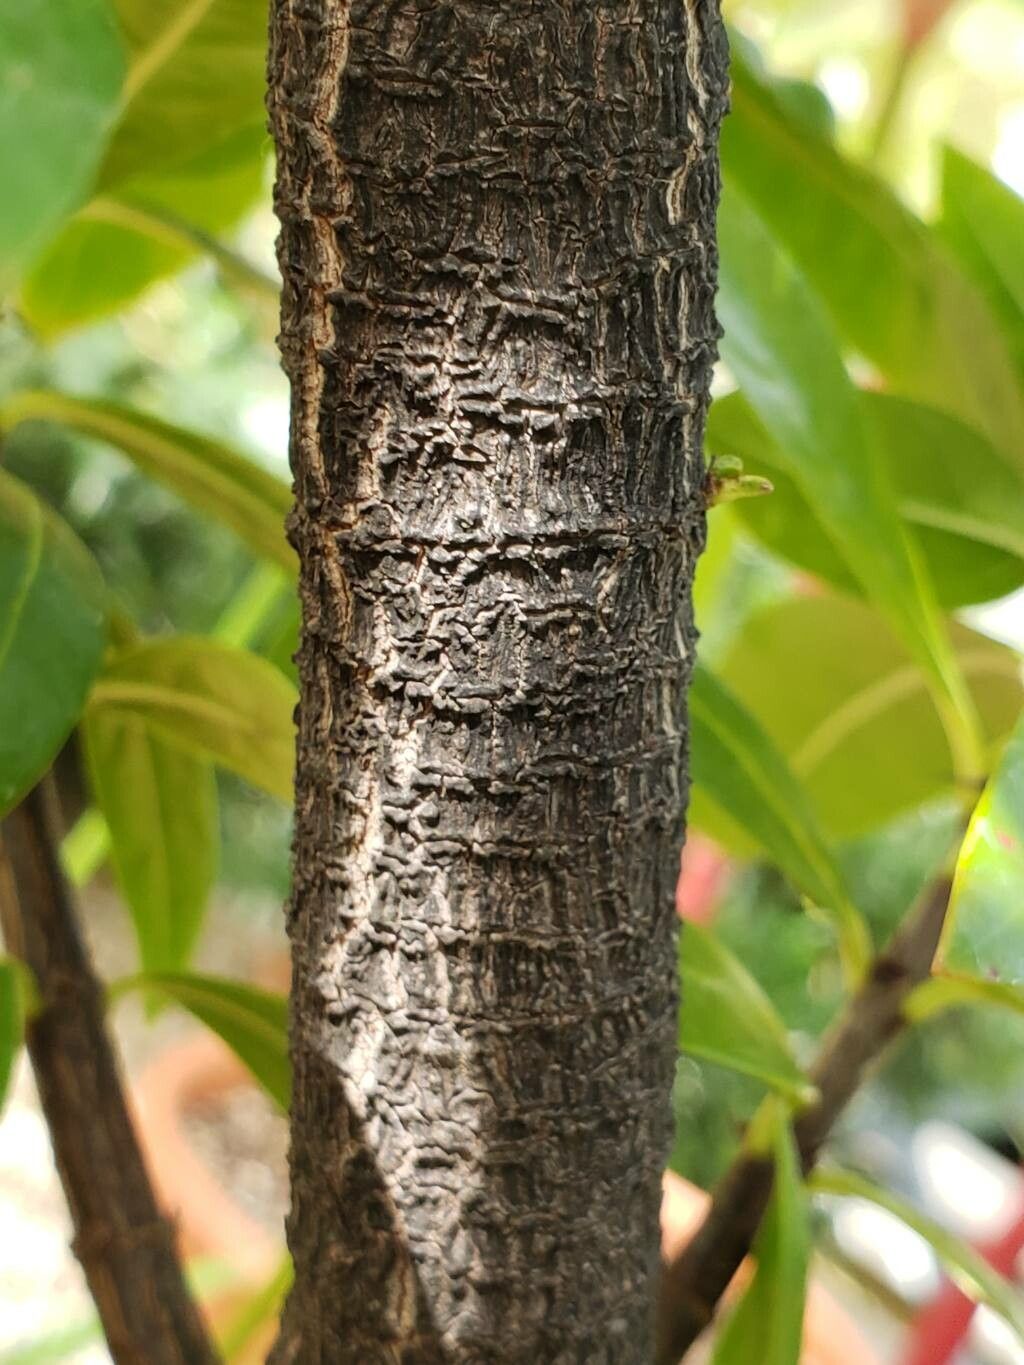
- Take the Cutting: Select a healthy stem and make a clean cut just below a node (the point where leaves emerge). The cutting should be around 4-6 inches long.
- Prepare the Cutting: Remove the lower leaves, leaving 2-3 leaves at the top. If desired, dip the cut end in rooting hormone to encourage faster root development.
- Plant and Pot: Plant the cutting in the potting mix, burying the node where you removed the leaves. Water gently.
- Create a Humid Environment: Cover the pot with a clear plastic bag or a humidity dome to trap moisture. Place it in a warm, brightly lit location, out of direct sunlight.
- Be Patient: Rooting can take a few weeks to a couple of months. Once you see new growth, you’ll know your cutting has successfully rooted. Gradually acclimate the new plant to normal humidity levels before transplanting it into a larger pot.
2. Air Layering: Propagating with Precision
Air layering offers a more advanced, albeit highly effective, method for propagating Augusta rivalis, especially for woody or mature stems. This technique involves encouraging roots to grow on a stem while it’s still attached to the mother plant. Here’s how it’s done:
- Choose a Stem: Select a healthy stem that is at least a year old.
- Make an Incision: Carefully make a shallow upward cut or scrape about an inch long on the stem, just below a node.
- Apply Rooting Hormone (Optional): Dust the wounded area with rooting hormone to stimulate root growth.
- Wrap with Sphagnum Moss: Soak sphagnum moss in water and squeeze out the excess. Wrap the moss around the wounded area, creating a ball about 2-3 inches in diameter.
- Secure with Plastic Wrap: Wrap the moss ball tightly with plastic wrap, securing the top and bottom with ties or tape.
- Monitor Moisture: Keep the moss consistently moist but not soggy. You can use a syringe to inject water if needed.
- Separate the Layered Stem: Once roots develop and become visible through the plastic wrap (usually within a few months), carefully cut the stem below the rooted portion.
- Pot your New Plant: Plant the newly rooted stem in a well-draining potting mix and water thoroughly.
Tips for Success:
- Timing: Spring or early summer is generally the ideal time for propagating Augusta rivalis, as the plant is actively growing.
- Light and Water: Provide bright, indirect light and keep the potting mix consistently moist but not waterlogged.
- Patience is Key: Remember that propagation takes time. Don’t get discouraged if it takes a while for your cuttings or air layers to root.
By following these steps and with a little patience, you can successfully propagate your Augusta rivalis and enjoy the beauty of these lush leafy plants for years to come. Happy propagating!