
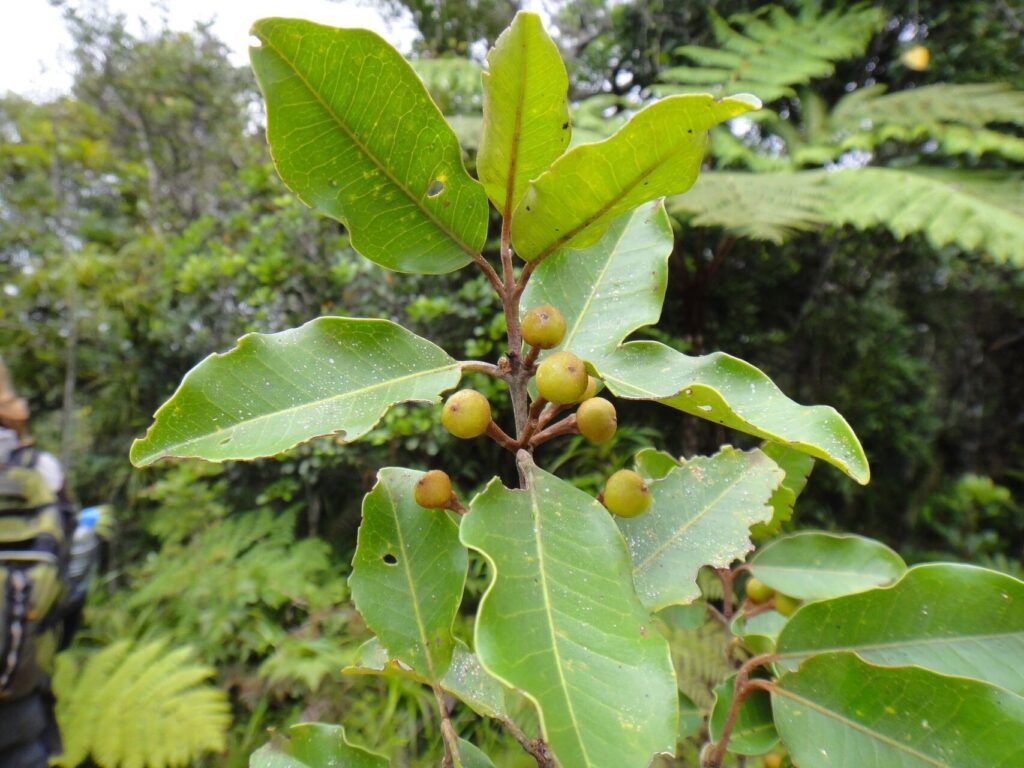
Unlocking the Secrets of Austrobuxus Ovalis: A Guide to Successful Propagation
Austrobuxus ovalis, with its glossy evergreen foliage and dense growth habit, is an Australian native gem gaining popularity in gardens across the country. Commonly known as “Brush Cherry” or “Native Box,” this versatile plant thrives as a hedge, topiary, or even a stunning container specimen. If you’re looking to expand your leafy sanctuary with more of this resilient beauty, propagation is the answer! While Austrobuxus ovalis can be grown from seed, it’s a notoriously slow process. Instead, let’s delve into the world of propagation through cuttings – a faster and more reliable method to multiply your green treasures.
Timing is Key:
The first step towards successful propagation is timing. Aim to take your cuttings during the active growing season, ideally in spring or early autumn. During these periods, the plant is bursting with energy, making root development more likely.
Selecting the Perfect Cuttings:
- Look for healthy, vigorous stems: Choose stems that are firm and free from any signs of pests or diseases. Avoid older, woody stems as they tend to be less successful.
- The ideal cutting: A good cutting is generally 10-15cm long. Make a clean cut just below a leaf node (the point where the leaf joins the stem).
- Prepare the cutting: Remove the leaves from the bottom third of the cutting, leaving 2-3 pairs at the top.
Creating the Rooting Environment:
Austrobuxus ovalis enjoys well-drained soil, and this preference extends to its rooting medium.
- Potting Mix: Opt for a mix specifically designed for propagation or seedlings. Alternatively, you can create your own by combining equal parts of peat moss, perlite, and coarse sand.
- Pots: Choose small pots (around 8-10cm in diameter) to start your cuttings. Ensure they have drainage holes to prevent waterlogging.
Planting Your Cuttings:
- Hormone Help (Optional): While not strictly necessary, dipping the base of your cuttings in rooting hormone powder can encourage faster root development.
- Gently into the Mix: Make a small hole in the center of your prepared pot and carefully insert the cutting. Gently firm the soil around the base to provide support.
The Waiting Game (and How to Win It):
- Moisture is Crucial: Keep the potting mix consistently moist but not waterlogged. Misting the cuttings regularly can also help maintain humidity.
- Light and Warmth: Place your pots in a bright area, but out of direct sunlight. Maintain a consistently warm environment with temperatures around 20-25°C.
- Patience, Young Padawan: Rooting can take anywhere from 6-8 weeks, sometimes even longer. Avoid disturbing the cuttings during this time. You’ll know roots have formed when you see new growth at the top.
Transplanting to Larger Homes:
Once your cuttings show signs of new growth and have a well-developed root system, it’s time to transplant them into larger pots (15-20cm diameter) or directly into the garden. Choose a location that receives dappled sunlight or afternoon shade, especially in warmer climates.
Propagating Austrobuxus ovalis might seem daunting at first, but with these tips, you’ll be well on your way to creating a thriving green haven filled with these beautiful native plants. Remember, patience and care are your best allies in this rewarding endeavor!