Unlocking the Secrets of Ayenia catalpifolia: A Guide to Propagation
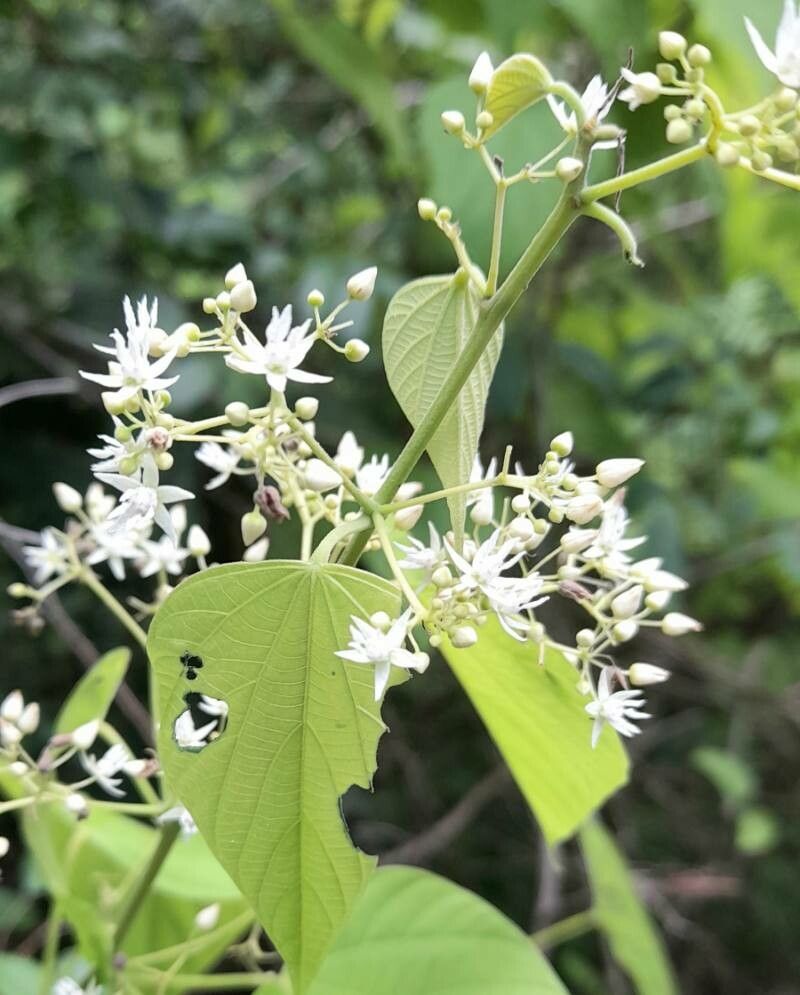
Are you captivated by the unique charm of Ayenia catalpifolia, with its striking foliage and delicate, intricately patterned flowers? Maybe you’ve fallen in love with its resilient nature, thriving in both humid and arid environments. Whatever your reasons, sharing this beauty with others can be exciting, and propagation offers the perfect way to do just that!
This guide will delve into the methods and practices for successfully propagating Ayenia catalpifolia, guiding you from seed to sapling and beyond.
Understanding the Basics:
Ayenia catalpifolia, belonging to the Sterculiaceae family, is a captivating plant that can be propagated through both seed and cuttings. Each method has its own set of advantages and drawbacks, which we’ll explore further.
Method 1: Seed Propagation
- Advantages:
- Abundant Seed Production: Ayenia catalpifolia produces copious amounts of seed, enabling you to start multiple plants.
- Genetic Diversity: Seeds offer a chance to witness variations in the progeny, leading to unique plant characteristics.
- Disadvantages:
- Slower Growth: Seedlings tend to grow slower than cuttings.
- Longer Time Commitment: Germination and establishment of seedlings requires patience and consistent care.
Step-by-Step Seed Propagation Guide:
- Harvesting Seeds: Collect ripe seed pods from your mature Ayenia catalpifolia plant.
- Cleaning and Drying: Remove seeds from the pods, and gently clean them with water. Allow them to air dry, ensuring proper ventilation.
- Sowing: Use a seed-starting mix and sow seeds at a shallow depth, approximately 1/4 inch deep.
- Light and Temperature: Provide ample sunlight, ideally with temperatures between 70-75°F (21-24°C) for optimal germination.
- Watering: Ensure the soil remains consistently moist but not waterlogged.
- Thinning: Once seedlings develop their first true leaves, thin them out, spacing them appropriately for optimal growth.
- Transplanting: After a couple of months, when the seedlings have established a good root system, you can transplant them into individual pots or directly into the garden.
Method 2: Cuttings Propagation
- Advantages:
- Faster Growth: Cuttings generally root and grow faster than seedlings.
- Exact Replicas: Cuttings produce genetically identical clones of the parent plant.
- Disadvantages:
- Limited Propagation: The availability of suitable cuttings can be a limiting factor.
- Root Development: Cuttings require specific care and conditions to establish roots successfully.
Step-by-Step Cutting Propagation Guide:
- Selecting Cuttings: Choose healthy, non-flowering stems between 4-6 inches long.
- Preparing the Cuttings: Use a sharp, clean knife or pruning shears to make a cut at a 45-degree angle just below a node (where leaves emerge).
- Hormone Treatment (Optional): Apply rooting hormone powder to the cut end to stimulate root development.
- Planting Medium: Use a well-draining potting mix and insert the cuttings about 1/3 of the way into the medium.
- Humidity and Light: Cover the cuttings with a plastic dome or humidity tent to maintain high humidity levels and provide indirect sunlight.
- Rooted Cuttings: With proper care, cuttings should start to develop roots within a few weeks. Once rooted, they can be carefully transplanted into larger pots or outdoors.
Tips for Success:
- Timing: Spring and early summer often provide the ideal conditions for both seed and cutting propagation.
- Patience: Be patient and consistent with your care routine. Propagation takes time and attention.
- Experiment: Don’t be afraid to experiment with different methods and conditions to find what works best for your specific setting.
With careful planning and attentive care, the process of propagating Ayenia catalpifolia can be a rewarding and inspiring experience. It’s the perfect way to share the beauty of this remarkable plant and contribute to the thriving world of plants. So, get ready to cultivate your own patch of vibrant Ayenia catalpifolia and enjoy the magic of propagation!