From Cushion to Colony: The Secrets to Propagating Azorella Aretioides
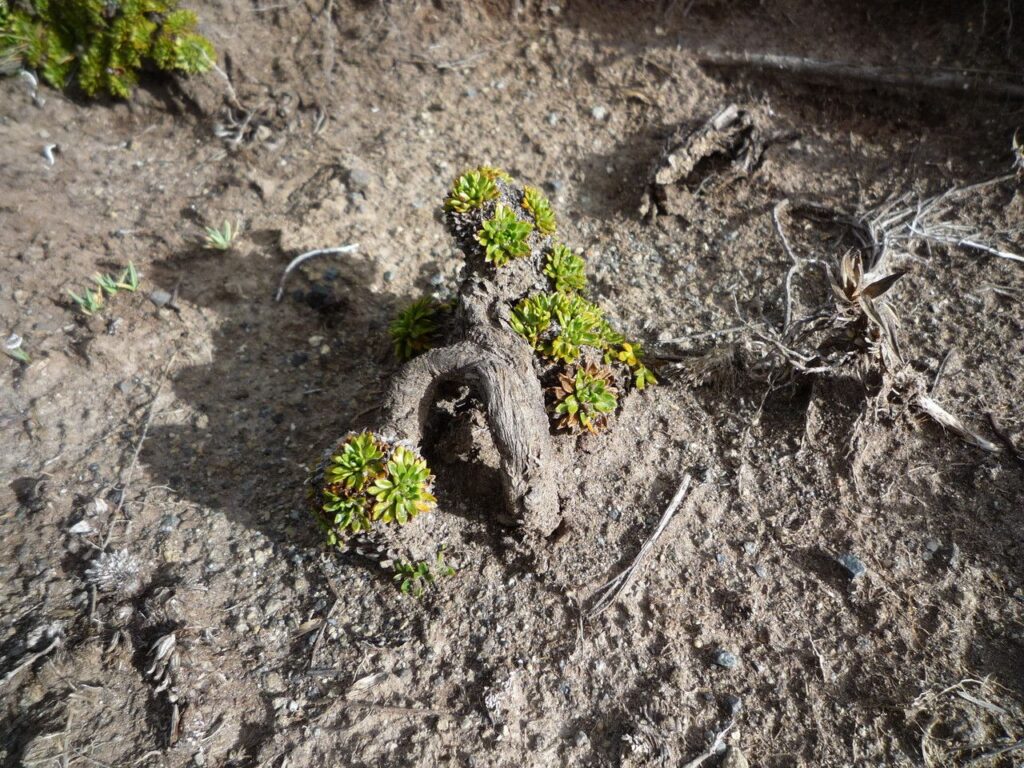
The Azorella aretioides, also known as the “Cushion Plant,” is a captivating groundcover boasting dense, moss-like growth that’s perfect for adding texture and interest to your garden. But what if you want to share this beauty with others or simply expand your own little patch? Enter the world of plant propagation.
While Azorella aretioides is known for its resilience, it’s not a plant you can just toss in the ground and expect it to thrive. However, with the right techniques, this intriguing plant can be grown from cuttings, making it a fantastic option for gardeners of all experience levels.
Understanding Azorella Aretioides: A Plant’s Personality
Before diving into the propagation process, let’s understand this unique species a bit better. Azorella aretioides is a slow-growing, low-lying plant that thrives in cool, temperate climates. Its leaves form a dense, compact cushion, making it an ideal choice for rock gardens, containers, or as a low-maintenance groundcover. The key to its success lies in its adaptability.
The Art of Propagation: Unlocking the Secrets
There are two main ways to propagate Azorella aretioides:
1. Cuttings: This is the most common and successful method for home gardeners.
- Timing is Key: The ideal time for taking cuttings is during the spring or early summer when the plant is actively growing.
- Choose the Right Cut: Select healthy stems with several nodes (where leaves grow). Cuttings should be about 3-4 inches long.
- Prepare the Cutting: Use a sharp knife or pair of shears to make a clean, angled cut just below a node. Remove a few leaves from the bottom section of the cutting, making sure to leave a few leaves at the top.
- Get Rooting Ready: Fill a pot with a well-draining potting mix designed for cuttings. You can also use a mix of perlite and peat moss. Dip the base of the cutting in a rooting hormone if desired.
- Plant and Nurture: Gently insert the cutting into the pre-moistened soil. Ensure the cutting is firm and the soil is lightly packed around it. Cover the pot with a clear plastic dome or a plastic bag to create a warm, humid environment.
- Patience is a Virtue: Place the potted cuttings in bright indirect light and avoid direct sunlight. Keep the soil consistently moist but not soggy. Rooting takes approximately 4-6 weeks.
2. Division: This method is best suited for established plants that have grown large and have several stems.
- The Right Timing: Early spring is the ideal time to divide Azorella aretioides.
- The Division Process: Carefully lift the plant from its container or from the ground, gently separating the root ball into multiple sections. Each section should have a few stems and a healthy root system.
- Re-planting: Pot the divisions in well-draining potting mix, ensuring to bury the rootball at the same level it was before.
Post-Propagation Care: Ensuring Success
Once your Azorella aretioides cuttings or divisions have established a good root system, they’ll need some additional care to thrive.
- Hardening Off: Gradually introduce the new plants to the outdoors by taking them outside for a few hours each day, increasing the time spent outdoors over a week or two.
- Watering Wisely: Water regularly, but avoid overwatering. Allow the soil to dry slightly between waterings.
- Sunlight is Key: Provide your new plant with plenty of indirect sunlight. A spot that receives morning sun and afternoon shade is ideal.
- Feed and Care: Feed your Azorella aretioides with a balanced fertilizer during the growing season. As the plant matures, you can gently prune it to maintain its desired shape and size.
Propagating Azorella Aretioides: A Rewarding Journey
While propagation requires some patience and attention, the reward of watching your cuttings or divisions grow into beautiful, self-sustaining plants is truly fulfilling. Remember to be observant, patient, and provide your plants with the right conditions, and you’ll be rewarded with the lush, textured beauty of the Azorella aretioides for years to come.