Bringing a Banksia Home: Mastering the Art of Propagation
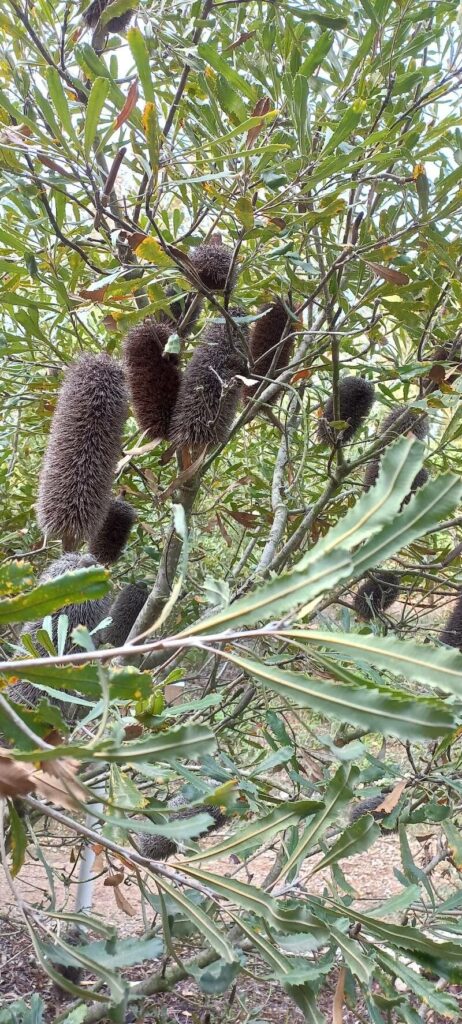
The Banksia media, with its striking golden-brown flower spikes and vibrant green foliage, is a stunning addition to any garden. But if you’re looking to expand your collection or gift a piece of its beauty to a friend, propagation is the way to go. Unlike some plants, propagating Banksia media can be a rewarding challenge. Let’s dive into the world of Banksia propagation and explore the best methods to get you started.
The Basics: Understanding Banksia Reproduction
Banksia media, like many other Banksia species, relies on fire for natural regeneration. The heat from bushfires opens their woody seed pods, releasing seeds that are then carried by the wind. However, this method is not practical for home propagation. Fortunately, there are two primary methods you can use to propagate Banksia media:
- Seed Propagation: This method takes time, but it’s a reliable way to create new plants from scratch. Collecting mature seed pods from your existing Banksia or sourcing them from reputable nurseries is a great starting point.
- Cuttings: This technique involves taking a portion of an existing plant’s stem and encouraging it to develop roots. This method is faster than seed propagation and allows you to replicate the exact characteristics of the parent plant.
Method 1: Seed Propagation
- Gather mature seeds: Look for seed pods that are dry and dark brown. Once collected, store them in a cool, dry place until you’re ready to sow them.
- Prepare a seed-raising mix: Use a well-draining mixture like a specific seed-raising mix or a blend of potting mix and perlite.
- Sow the seeds: You can directly sow them into pots or trays, or use a seed-raising tray with a lid. Place the seeds on the surface of the mix and gently press them in. Cover them with a light layer of the mix.
- Water and light: Water the seeds thoroughly, but avoid overwatering. Place the seed tray in a warm, bright spot, but avoid direct sunlight.
- Germination & Transplanting: Banksia seeds can take anywhere from a few weeks to several months to germinate. Once seedlings appear, thin them out, leaving the healthiest and strongest ones. After a few months, you can transplant them into larger pots or directly into your garden.
Method 2: Cutting Propagation
- Prepare the cuttings: Cut a 10-15 cm length from a healthy, non-flowering stem, making sure to cut just below a leaf node (where leaves emerge from the stem).
- Remove lower leaves: Remove the lower leaves on the cutting to avoid rotting.
- Dip in rooting hormone: Applying a rooting hormone can significantly increase the chances of success.
- Planting: Insert the cuttings into a pot filled with a suitable rooting mix. This should be a mix that is primarily perlite or vermiculite, and slightly damp.
- Create a humid environment: A clear plastic dome or bag placed over the pot will create the required humidity for the cuttings to root.
- Maintain the environment: Regularly check the moisture levels of the rooting mix, and keep the environment warm and bright. Cuttings will take several weeks to develop roots.
Important Tips for Success:
- Choose the right time: The best time for propagation is in late spring or early summer when temperatures are warm and there’s ample sunlight.
- Water wisely: Banksias prefer well-draining soil and don’t tolerate overly wet conditions. Water deeply but infrequently, allowing the soil to dry out between waterings.
- Provide adequate light: Banksias need plenty of sunlight to thrive. They should receive at least 6 hours of direct sunlight each day.
- Protect from frost: Banksias are generally hardy, but in colder climates, they need protection from frost and freezing temperatures.
Patience is Key
Banksia propagation takes patience and time. Don’t be discouraged if your first attempt doesn’t yield immediate results. Keep trying different techniques and learn from your experience. With time and a little bit of effort, you can successfully propagate Banksia media and enjoy its beauty in your garden for years to come.