Begonia Bonanza: How to Multiply Your ‘Coccinea’ Beauty
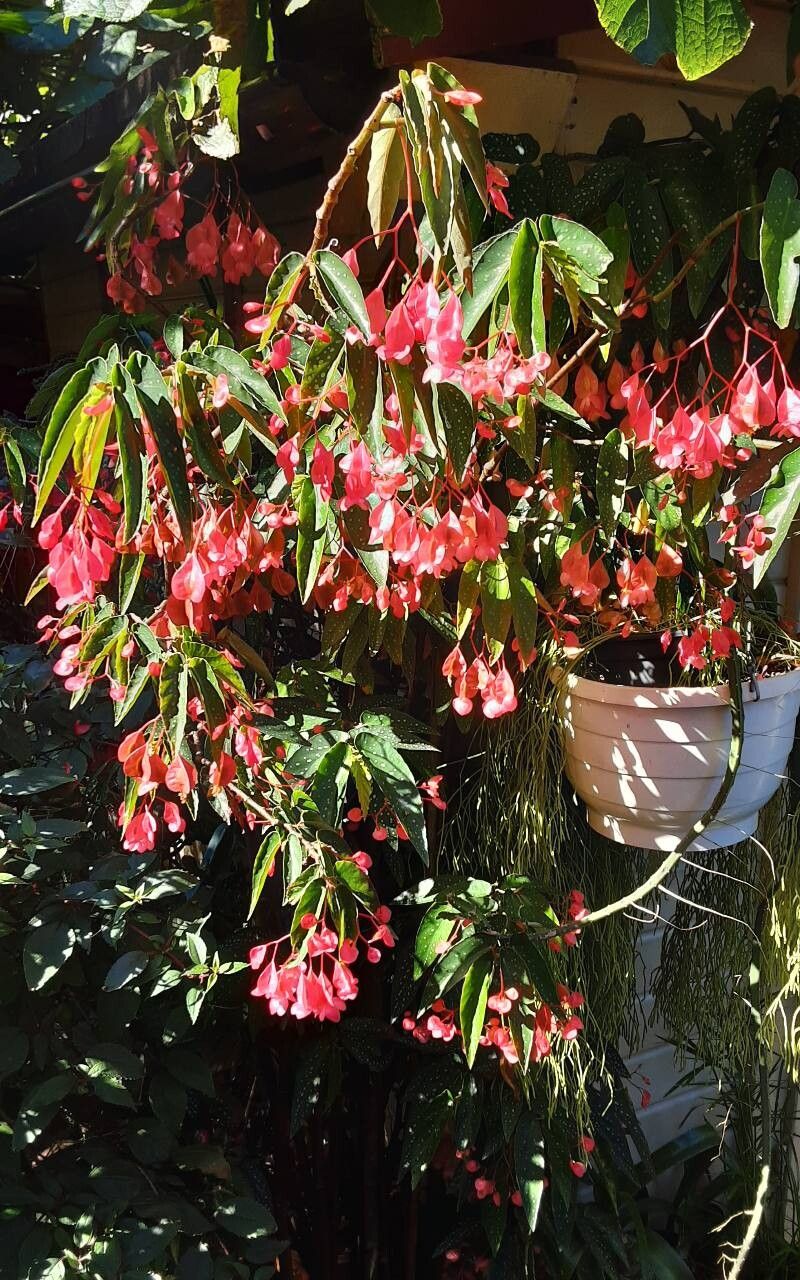
Begonia coccinea, with its vibrant red blooms that resemble tiny, fiery stars, is a captivating addition to any garden or home. But what if you could enjoy even more of this beauty without spending a fortune? The answer: propagation!
Growing your own begonias from cuttings is surprisingly easy and rewarding, allowing you to expand your collection or share these stunning plants with friends. Here’s a step-by-step guide to propagate Begonia coccinea, making you a true plant propagation pro.
1. Timing is Key: The Right Time to Start
The best time to propagate Begonia coccinea is during the spring or early summer when the plant is actively growing. This ensures the cuttings have enough energy to root and thrive. Avoid propagating during the cold winter months as the plant may struggle to establish.
2. Picking the Perfect Cutting:
The key to successful propagation lies in selecting healthy cuttings. Look for strong, non-flowering stems with at least two sets of leaves. The stem should be at least 4-6 inches long. You can either take a “terminal” cutting from the tip of the stem or a “stem” cutting from the middle of the stem.
3. Prepare Your Cutting:
- Cleanliness is Crucial: Before cutting, always sterilize your tools (scissors or a sharp knife) with rubbing alcohol to prevent the spread of disease.
- Remove Lower Leaves: Remove all leaves below the bottom node (the point on the stem where leaves grow) of your cutting. This prevents rot and encourages root development.
- Make a Cut: With a sharp blade, make a clean, angled cut just below a node. The angled cut allows for increased surface area for root growth.
4. Rooting Mediums: The Perfect Home for New Roots
There are a few excellent rooting mediums for Begonia coccinea:
- Water: Simply fill a clean glass or jar with water, insert your cuttings, and place the container in bright, indirect light. Change the water every few days to prevent bacterial growth.
- Soil-Less Mix: A combination of peat moss, vermiculite, and perlite creates an airy and well-draining soil-less mix, ideal for root development.
- Root Hormone: Dipping the cut end of your cutting in rooting hormone powder or gel can significantly enhance root growth.
5. Cultivate the Cutting:
Once you’ve chosen your rooting method, insert the cutting into the medium, ensuring the nodes are below the surface. Cover the cutting with a plastic dome or bag to create a humid environment, mimicking the conditions of a greenhouse. Place the container in a bright location with indirect sunlight and avoid direct sunlight which can scorch the young plants.
6. Patience is Key:
Begonia coccinea cuttings can take anywhere from 4 to 6 weeks to root. During this time, maintain moisture in the rooting medium and keep the cuttings in a warm, humid environment. Avoid disturbing the cuttings too frequently.
7. Transplanting Time:
Once you see new growth emerging from the cutting, it’s time to transplant it into a pot with well-draining potting soil. Place the potted cutting in a brighter location with slightly more direct sunlight. You can also pinch off the top growth to encourage bushier growth.
8. Enjoy Your Begonia Abundance:
With a little patience and care, you’ll soon have a collection of new Begonia coccinea plants thanks to your successful propagation!
Tips for Successful Propagation:
- Utilize a sharp, sterilized knife for clean cuts.
- Avoid overwatering and ensure good drainage.
- Maintain a warm, humid environment until the cuttings establish roots.
- Provide consistent, indirect sunlight.
By following this straightforward method, you can enjoy a beautiful, cost-effective way to expand your begonia collection. The thrill of watching tiny cuttings transform into vibrant plants is truly rewarding. So, start your Begonia coccinea propagation journey today and witness the magic of plant multiplication firsthand!