Unleash the Beauty of Caladium Palaciosii: A Guide to Propagation
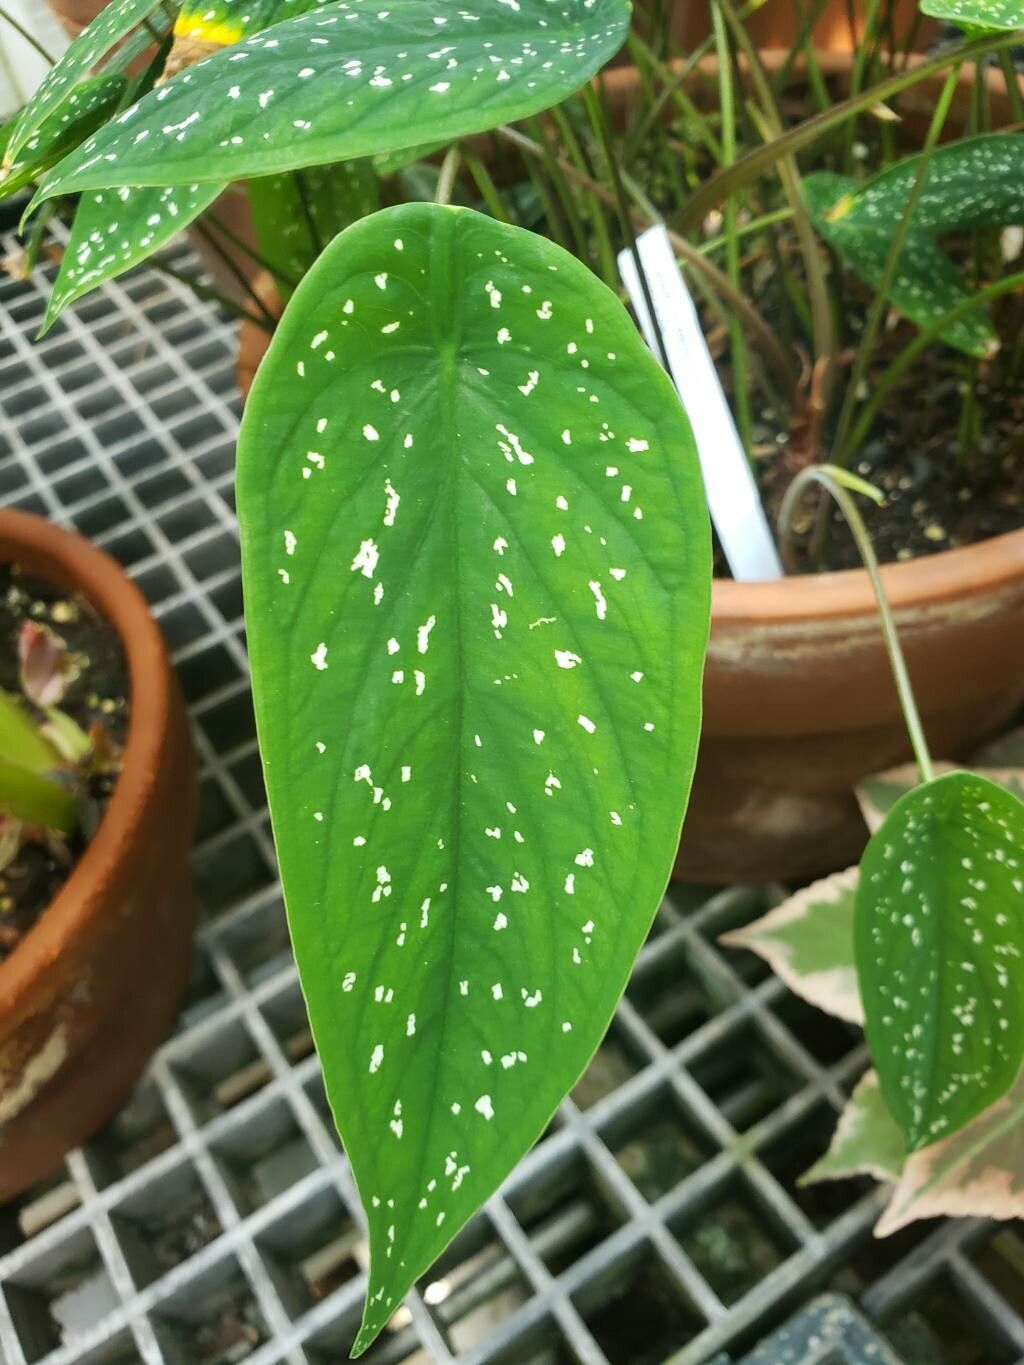
The Caladium palaciosii, with its striking foliage of vibrant greens and luminous white veins, is a true showstopper in any garden. But what if you could share this beauty with your friends or create a whole army of these eye-catching plants? The answer lies in propagation, a process that allows you to create new plants from existing ones.
This guide will walk you through the two most popular methods for propagating Caladium palaciosii: division and leaf cuttings.
1. Division: A Simple and Effective Method
Dividing a Caladium palaciosii plant involves separating its tubers (underground storage organs) into smaller sections, each with a growing point or “eye.” This is a relatively easy method that guarantees new plants with the same genetic makeup as the parent plant.
Here’s how to do it:
- Timing is key: The best time to divide Caladium palaciosii is during their dormant period, usually in late autumn or early winter.
- Prepare the tubers: Gently remove the tubers from the soil and carefully separate them. Aim for sections with at least one healthy eye on each.
- Planting: Repot the divided tubers in fresh, well-draining potting mix. Ensure the eye faces upwards, and the tubers are halfway submerged in the soil.
- Watering: Water the newly potted tubers thoroughly. Place them in a warm and humid environment to encourage growth.
- Patience is virtue: It takes time for divided tubers to develop roots and produce new foliage. Be patient and let nature do its magic.
2. Leaf Cuttings: A More Challenging but Rewarding Method
Propagating Caladium palaciosii from leaf cuttings is a little trickier than division, requiring specialized care and a bit of patience. However, it’s an exciting method that can result in multiple plants from a single leaf.
Here’s a step-by-step guide:
- Choosing the right leaf: Select a healthy, mature leaf, preferably with a petiole (stalk) that’s at least 2-3 inches long.
- Make the cut: Using a sharp knife or scissors, make a clean cut at the base of the petiole.
- Preparing the cutting: After the cut, dip the base of the petiole in rooting hormone for better chances of success.
- Planting: Place the cutting in a small pot filled with a moist and well-draining potting mix. Ensure the petiole is buried about half an inch deep.
- Humidity and light: Cover the pot with a plastic dome or a clear plastic bag to create a humid environment. Place it in a warm and bright location, but avoid direct sunlight.
- Patience and encouragement: It can take several weeks for leaf cuttings to develop roots and produce new plants. Keep the soil moist but don’t overwater, and provide adequate humidity.
Important Tips for Success:
- Sterilize: Always sterilize your tools before working with plants to prevent disease.
- Water wisely: Keep the soil evenly moist but avoid overwatering, which can lead to rot.
- Provide good light: Caladium palaciosii prefer bright indirect light, so avoid direct sunlight.
- Fertilizers: Once new growth appears, you can start applying a balanced fertilizer solution every few weeks.
With these methods, you’ll find yourself surrounded by the captivating beauty of Caladium palaciosii in no time. Give it a try and witness the joy and satisfaction of propagating your own tropical paradise. Enjoy!