Unlocking the Secrets of Begonia Comorensis Propagation: A Step-by-Step Guide
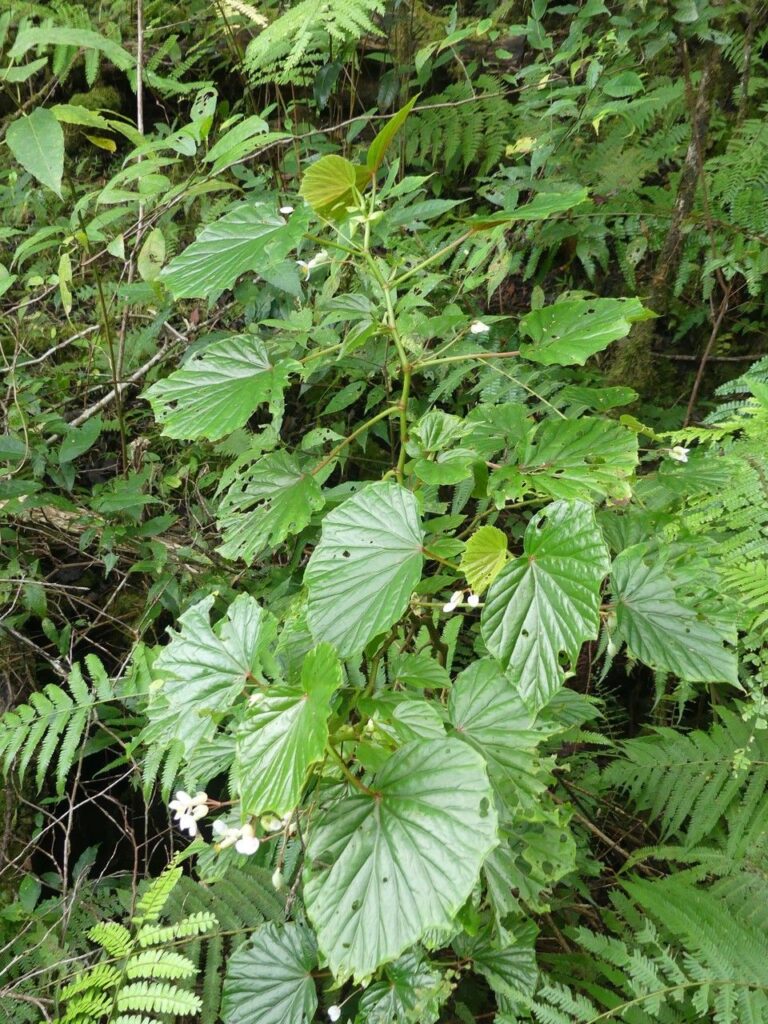
The Begonia comorensis, with its captivating silver-spotted leaves and cascading growth habit, is a sight to behold. This stunning species, native to the Comoro Islands, has taken the houseplant world by storm. If you’re lucky enough to own one, you might be wondering how to create more of these beauties. Well, you’re in luck! Propagating Begonia comorensis, while slightly more nuanced than some other houseplants, is entirely achievable with a little patience and the right approach.
Three Paths to Propagation Success
There are three primary methods for propagating Begonia comorensis:
- Stem Cuttings: This is the most common and reliable method.
- Leaf Cuttings: Offers the potential for multiple plants from a single leaf.
- Seeds: A more challenging route, but ideal for large-scale propagation.
Let’s delve into each method step-by-step:
1. Stem Cuttings: A Surefire Approach
What you’ll need:
- Sharp, sterilized pruning shears or scissors
- Small pots (2-3 inches in diameter)
- Well-draining potting mix
- Rooting hormone (optional but recommended)
Steps:
- Choose healthy stems: Select stems that are at least 3-4 inches long and have at least two nodes (the small bumps where leaves emerge).
- Make the cut: Using your sterilized shears, cut just below a node at a 45-degree angle. Remove any leaves from the bottom inch of the stem.
- Apply rooting hormone (optional): Dip the cut end of the stem into rooting hormone to encourage faster root development.
- Plant the cutting: Insert the cutting into the pre-moistened potting mix, burying the node just below the surface.
- Provide warmth and humidity: Cover the pot with a plastic bag or place it in a humidity dome to create a warm, humid environment.
- Indirect light and patience: Place the cutting in a bright location but out of direct sunlight. Keep the soil consistently moist but not soggy.
- Root development: In 4-6 weeks, you should start to see new growth, indicating successful rooting. Once the roots are established, you can transplant the cutting into a slightly larger pot.
2. Leaf Cuttings: Maximizing Your Propagation Potential
What you’ll need:
- Same supplies as stem cuttings
- Additionally: a sharp, clean razor blade or scalpel
Steps:
- Select a healthy leaf: Choose a mature, healthy leaf from your Begonia comorensis.
- Leaf Sectioning: Using the razor blade, carefully cut the leaf into sections, ensuring each section includes a vein.
- Apply rooting hormone (optional): Dip the cut edge of each section into rooting hormone.
- Place on the medium: Lay the sections flat on top of the moist potting mix, pressing down gently to ensure contact.
- Warmth, humidity, and patience: Follow the same instructions as for stem cuttings, maintaining a warm, humid environment and providing indirect light.
- New growth: You will likely see tiny plantlets emerging from the cut edges of the leaf sections in several weeks. Once these plantlets develop roots, you can carefully separate and pot them individually.
3. Seed Propagation: A Long-Term Commitment
Propagating Begonia comorensis from seeds requires patience as the seeds are extremely small and germination can be slow and inconsistent. It’s best to purchase seeds from a reputable supplier. Sow the seeds on top of a seed starting mix, mist lightly, and cover with plastic wrap to retain moisture. Place the tray in a warm, bright location. Germination can take several weeks to months. Once seedlings are large enough to handle, transplant them into individual pots.
A Rewarding Endeavor
Propagating Begonia comorensis might require a touch of patience, but the results are well worth the effort. By mastering these techniques, you can expand your plant collection and share the beauty of this captivating species with fellow plant enthusiasts. So go ahead, unleash your inner propagator, and watch your Begonia comorensis family flourish!