Grow Your Own Fern Paradise: A Guide to Propagating Blechnum Cartilagineum
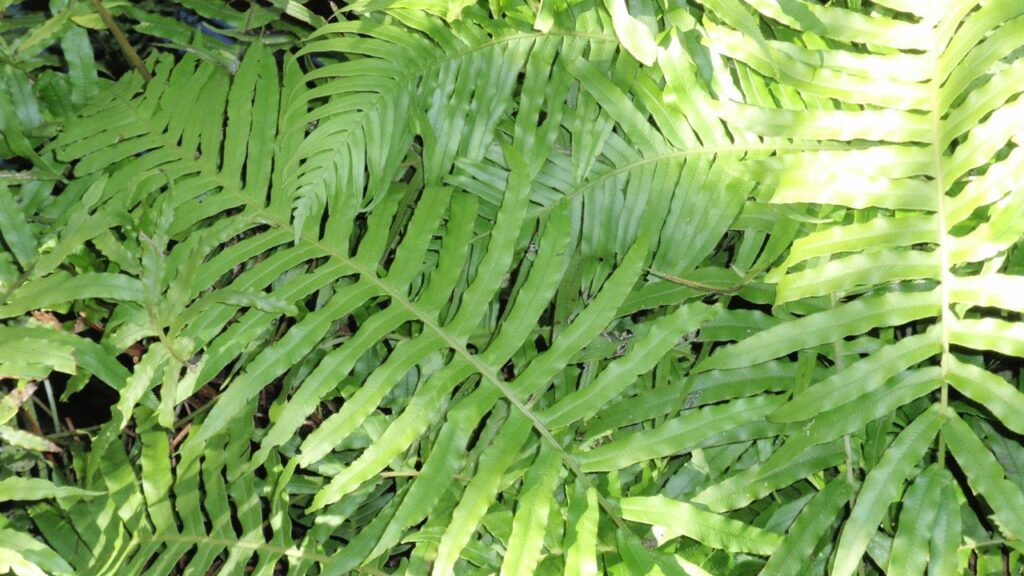
Blechnum cartilagineum, also known as the “Cartilage Fern” or “Rigid Blechnum,” is a striking addition to any garden. With its glossy green, leathery fronds and unique, almost prehistoric appearance, it’s no wonder this fern has gained popularity among plant enthusiasts. While you can purchase these ferns from nurseries, there’s a certain satisfaction in propagating your own plants, which is luckily achievable for the Blechnum cartilagineum.
The Secret to Success: Spore Propagation
Blechnum cartilagineum, like most ferns, reproduces through spores, not seeds. So forget about cuttings or divisions – the path to new ferns lies in understanding the spore lifecycle.
1. Harvesting the Spores:
- Look for mature fronds with brown, rust-colored patches on their underside. These patches, called “sori,” contain the spores.
- Gently scrape the sori with a dull knife or a spoon, collecting the spores on a piece of paper.
- Store the spores in a cool, dry place for later use.
2. Preparing the Growing Medium:
- Fill a shallow tray or container with a mixture of equal parts peat moss, perlite, and vermiculite. This creates a well-draining but moisture-retentive environment ideal for germination.
- Sterilize the mix by heating it in the oven for 30 minutes at 180°C, or by microwaving it for 3-5 minutes. This helps prevent fungal infections.
3. Sowing the Spores:
- Sprinkle the spores evenly on the surface of the prepared medium. Do not bury them; they need light to germinate.
- Lightly mist the surface with water to keep it moist.
- Cover the tray with a clear plastic wrap or lid to create a humid environment.
4. Patience is Key:
- Place the tray in a bright, but indirect, light location. Avoid direct sunlight, which can overheat the spores.
- Keep the medium consistently moist but not soggy. You can use a spray bottle to mist the surface every few days.
- Although spores are tiny, they’re quite hardy. However, germination can take several weeks, even months. Patience is key!
5. From Spore to Fern:
- Once the spores germinate, they will develop into tiny, heart-shaped structures called “prothalli.”
- These prothalli will eventually produce tiny ferns.
- Once the ferns have developed a few fronds, you can carefully transplant them into individual pots filled with a well-draining potting mix.
Tips for Successful Propagation:
- Maintain humidity: Ferns thrive in humid environments. Regularly misting the plants and creating a humid microclimate around them helps them thrive.
- Choose the right pot: Select a pot with drainage holes to prevent waterlogging.
- Use filtered water: Avoid using water with high mineral content, which can damage young ferns.
- Avoid over-fertilizing: Newly transplanted ferns are sensitive to excessive nutrients. It’s best to use a weak fertilizer solution only occasionally.
Conclusion:
Propagating Blechnum cartilagineum from spores can be a rewarding and fascinating experience. With a little patience and the right techniques, you can grow your own fern paradise, adding a touch of prehistoric charm to your home or garden. So grab your tools, gather your spores, and get ready to embark on this rewarding propagation journey.