Unlocking the Secret to Growing More Bocquillonia nervosa: A Guide to Propagation
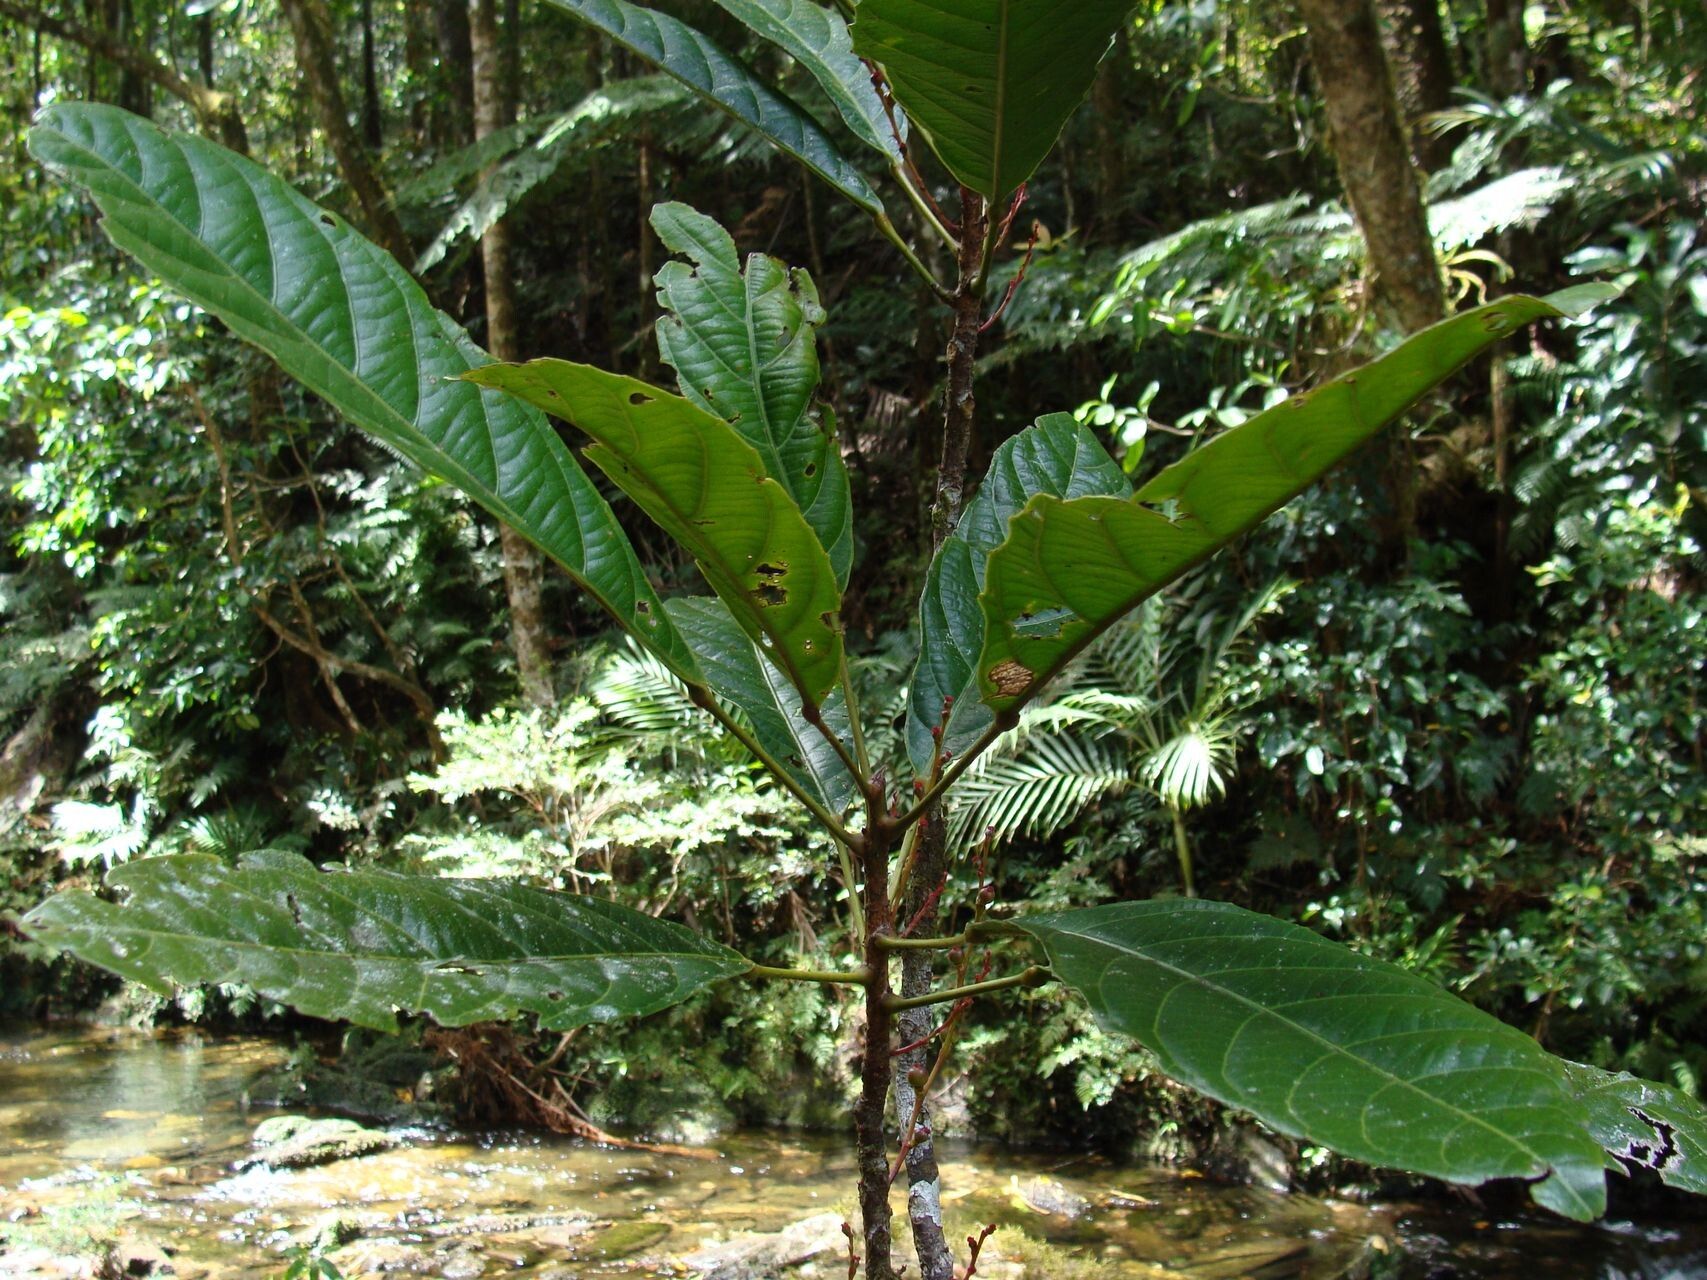
Have you fallen in love with the vibrant foliage of Bocquillonia nervosa, but wish you could have more of its beauty in your space? You’re not alone! This striking plant, known for its bold, green leaves and attractive, red-tinged stems, is a popular choice for its tropical elegance. But did you know that you can easily create your own Bocquillonia nervosa plants from cuttings?
This guide will walk you through the simple steps of propagating Bocquillonia nervosa using cuttings. With a little patience and the right techniques, you can enjoy the satisfaction of nurturing new life and expanding your plant collection.
Choosing the Right Cuttings
The key to successful propagation starts with selecting the right cuttings. Look for:
- Healthy, mature stems: Opt for stems that are not too young or too old.
- Sturdy growth: Choose stems that are strong and have a few nodes (where leaves grow from).
- Sharp, clean cuts: Use a clean, sharp knife or pruning shears to make a precise cut below a node.
The Propagation Process
Now for the fun part – actually propagating! You can choose between two methods:
1. Water Propagation:
- Prepare the water: Use clean, fresh water and change it regularly to prevent bacteria growth.
- Place your cuttings: Insert the base of the cutting (the cut end) into the water.
- Provide indirect light: Avoid direct sunlight, which can burn delicate stems.
- Patience is key: It might take a few weeks for roots to appear, but you’ll notice new growth as the roots develop.
- Transfer to soil: Once you have a solid root system (at least an inch long), gently transfer the cutting to a pot filled with well-draining potting mix.
2. Soil Propagation:
- Prepare your soil: Use a well-draining potting mix, ideally one specifically formulated for cuttings.
- Prepare the cutting: Dip the base of the cutting in rooting hormone to encourage root development.
- Plant the cutting: Make a small hole in the soil and carefully insert the cutting, ensuring the node is buried just below the soil surface.
- Keep it moist: Water the soil lightly but keep it moist, not soaking wet.
- Create a mini greenhouse: You can use a plastic bag or a propagation dome to create a humid environment that will promote root growth.
- Patience again: Like with water propagation, give it time! Roots will develop over several weeks.
Tips for Success
- Humidity is your friend: Keeping the surrounding air humid promotes root growth. You can mist the cuttings regularly or place a humidifier nearby.
- Warmth is key: Bocquillonia nervosa thrives in warm temperatures. Ideal temperatures for propagation are between 70-80 degrees Fahrenheit.
- Avoid direct sunlight: Keep your cuttings out of direct sunlight, as intense rays can damage delicate stems.
- Don’t overwater: Always allow the soil to dry slightly between waterings to prevent root rot.
From Cuttings to Thriving Plants
With a few simple steps and a little patience, you can enjoy the rewarding experience of propagating Bocquillonia nervosa and expanding its beauty in your home. Not only will you have more of this stunning plant, but you’ll also learn a valuable skill that will empower you to grow more of your favorite plants from cuttings. So, grab a clean knife and get started – your own personal Bocquillonia oasis awaits!