From One to Many: Propagating the Graceful Myrsine Paniensis
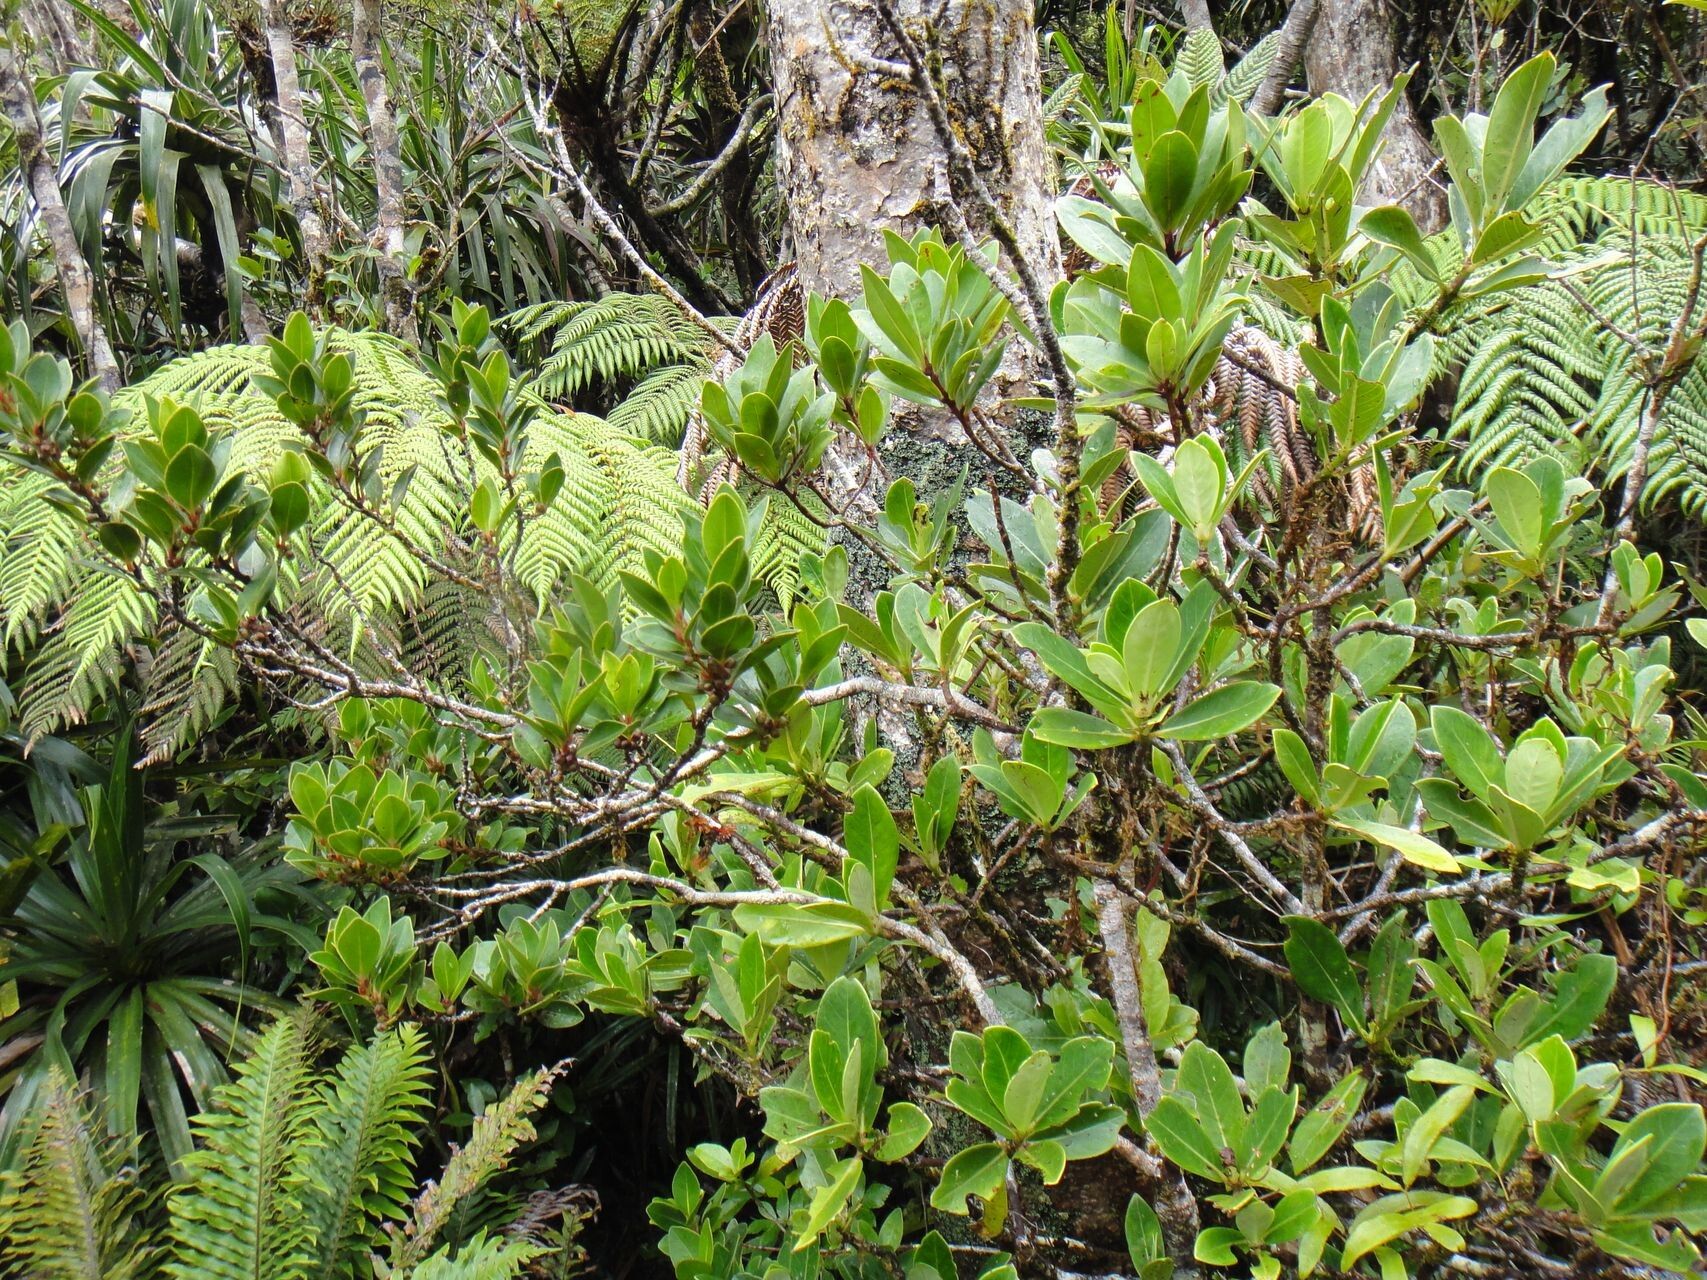
The Myrsine paniensis, with its lush, glossy leaves and charmingly compact growth habit, is a true gem in the plant world. Whether you’re a seasoned green thumb or just starting your horticultural journey, this plant is a joy to cultivate. But what if you want more than just the single plant you’ve fallen in love with? Enter the world of propagation, where you can create a whole new generation of Myrsine paniensis from your existing plant!
The Magic of Propagation
Propagation essentially means creating new plants from a parent plant. For the Myrsine paniensis, the most common method is semi-hardwood cutting. This technique involves taking cuttings from new growth that has become slightly woody, but is still pliable.
Step-by-Step Guide to Propagation
Here’s a breakdown of the process:
- Choose Your Cuttings: Select healthy, disease-free stems about 4-6 inches long from the new growth on your Myrsine paniensis. The cutting should have at least 3-4 leaves, and ideally, a node (a point where the leaves emerge) near the bottom.
- Prepare the Cuttings: Using a sharp knife or pruning shears, make a clean cut just below a node. Remove leaves from the lower 1-2 inches of the cutting to encourage root development.
- Root Hormone (Optional): Dip the cut end of the cutting into a rooting hormone powder or gel. This isn’t strictly necessary, but it can improve success rates.
- Planting Medium: Fill a small pot or seed tray with a light, well-draining potting mix suitable for seedlings. Ensure the mix is moist but not soggy.
- Planting the Cutting: Make a small hole in the potting mix with your finger and carefully insert the cutting. Firm the soil around the base of the cutting to ensure good contact.
- Humidity & Light: Cover the pot with a clear plastic dome or wrap to create a humid environment. Place the pot in a bright location with indirect sunlight, ideally with temperatures around 70-75°F (21-24°C).
- Patience & Maintenance: Keep the potting mix consistently moist but not waterlogged. The roots should start to develop within 4-6 weeks. Once the cutting shows signs of new growth, you know it’s successfully rooted! You can gradually acclimate the new plant to normal room conditions by removing the plastic cover and increasing light exposure over several days.
Additional Tips for Success:
- Sterilization: Before taking cuttings, sterilize your cutting tools with rubbing alcohol to prevent the spread of diseases.
- Water Propagation: This method is also an option for Myrsine paniensis propagation. Simply place cuttings in a jar of clean water, ensuring the bottom inch is submerged.
- Timing: The ideal time for cuttings is during the spring or early summer when the plant is actively growing.
- Patience: Propagation can take time! Don’t be discouraged if it doesn’t happen overnight. Be patient, and with proper care, your cuttings will eventually develop into thriving new plants.
Sharing the Joy
Propagation allows you to multiply your Myrsine paniensis and share this beautiful plant with friends and family. You can also create a collection of these graceful plants to adorn your home or garden.
Whether you’re propagating for your own enjoyment or to pass on the love of plants, the process of giving life to a new Myrsine paniensis is a rewarding experience. So, grab your pruning shears, get your hands dirty, and start a delightful new chapter in your plant journey!