
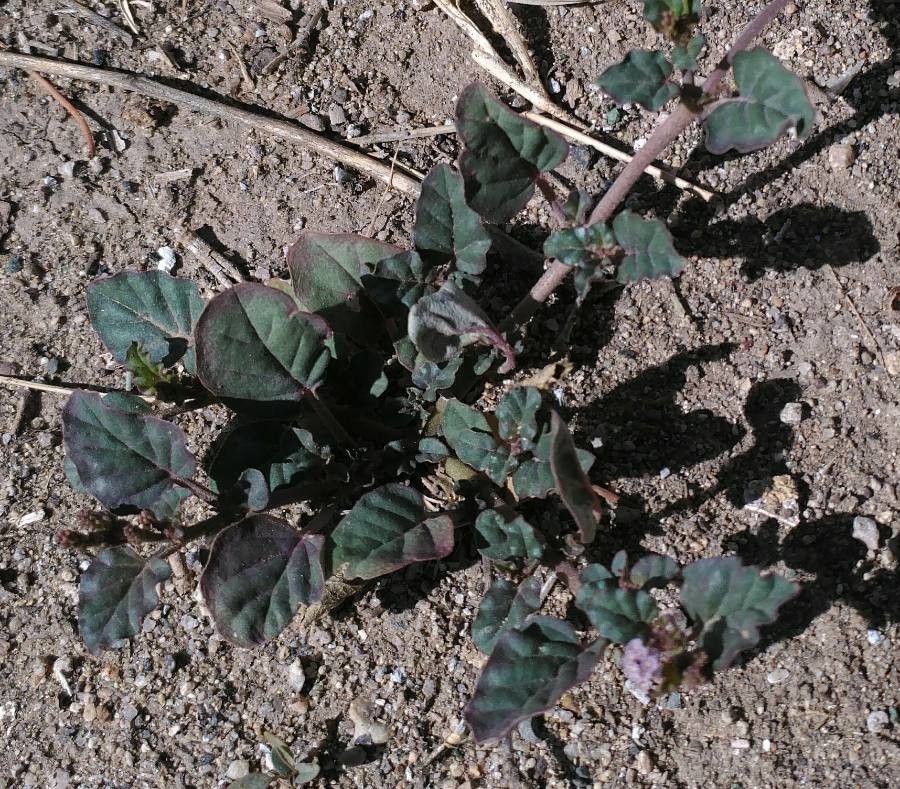
Unleashing the Magic: Propagating the Resilient Boerhavia coulteri
The Boerhavia coulteri, also known as Coulter’s spiderling, is a fascinating plant with delicate, heart-shaped leaves and clusters of tiny, vibrant pink flowers. This Southwestern native is surprisingly tough despite its dainty appearance, thriving in arid climates and adding a splash of color to rocky slopes and sandy washes. If you’re looking to invite this resilient beauty into your garden or home, propagating Boerhavia coulteri is surprisingly easy. Let’s explore two successful methods: growing from seed and taking cuttings.
1. Seed Starting: A Dance with Patience
Gathering the Goods: Coulter’s spiderling produces small, nut-like fruits. Look for mature, dry fruits that readily release their seeds.
Preparing for Success:
- Scarification: Nicking the tough outer coating of the seeds with a file or sandpaper can improve germination rates by allowing water to penetrate.
- Soil Savvy: Use a well-draining seed starting mix.
- Sow with Care: Sprinkle seeds on the surface and lightly press them in, barely covering them with soil.
- Moisture is Key: Mist the soil gently to avoid disturbing the seeds and keep it consistently moist but not soggy.
- Light and Warmth: Place the tray in a warm, bright location out of direct sunlight.
Germination Time: Patience is a virtue! Boerhavia coulteri seeds can take anywhere from a few weeks to a couple of months to germinate.
Transplanting Triumph: Once seedlings have developed several sets of true leaves, they can be transplanted into individual pots or directly into the garden after hardening them off.
2. Cutting Edge Propagation: A Quicker Route
Timing is Everything: The best time to take cuttings is during the active growing season, ideally in spring or early summer.
Making the Cut:
- Select Healthy Stems: Choose vigorous stems that are free of pests and diseases.
- Clean and Sharp: Use sterilized pruning shears or a sharp knife to take 3-4 inch cuttings just below a leaf node.
- Prepare the Cuttings: Remove the lower leaves, leaving a couple of leaves at the top. Dip the cut end in rooting hormone (optional but helpful).
Planting the Cuttings:
- Medium Matters: Insert cuttings into a well-draining potting mix, ensuring at least one node is buried.
- Humidity Boost: Create a humid environment by covering the pot with a clear plastic bag or using a propagation dome.
- Indirect Light: Place the cuttings in a location with bright, indirect light.
Root Development: Within a few weeks, the cuttings should begin to develop roots. Check for resistance when gently tugging on the base of the cutting.
Transplanting Time: Once roots have sufficiently developed, usually within 4-6 weeks, the new plants can be transplanted into larger pots or outdoors.
Nurturing Your Boerhavia coulteri
Whether you choose to grow from seed or cuttings, providing the right environment is crucial for your Boerhavia coulteri to flourish. This includes well-draining soil, full sun to partial shade, and occasional deep watering, allowing the soil to dry out between each watering.
Propagating your own Boerhavia coulteri is a rewarding experience. With a bit of patience and the right technique, you can enjoy the delicate beauty and enduring resilience of this fascinating plant for years to come.