
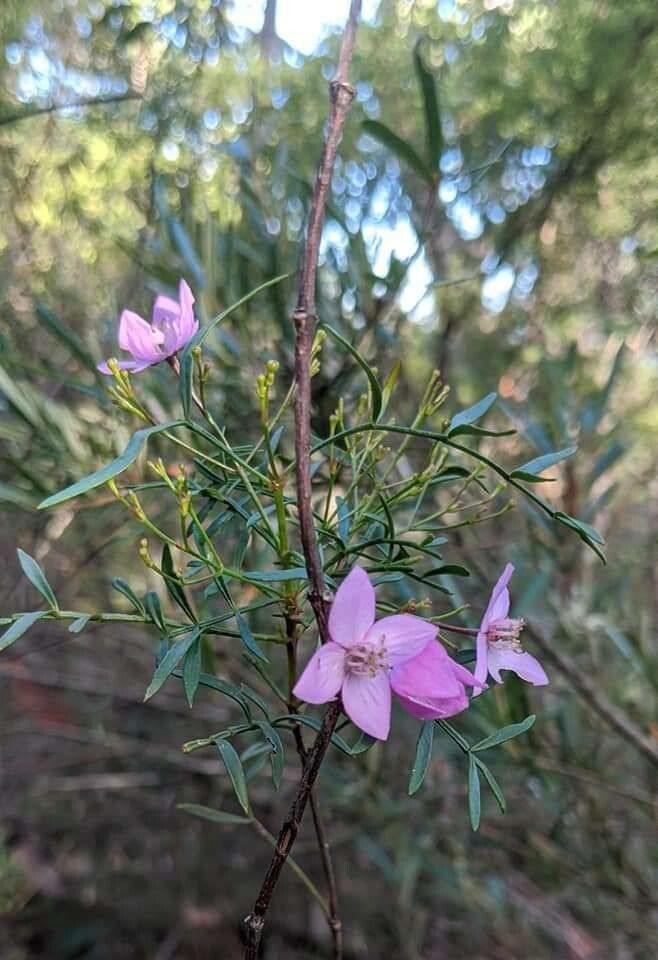
From Seed to Bloom: Unlocking the Secrets of Boronia Pinnata Propagation
Boronia pinnata, with its delicate, fragrant flowers and fern-like foliage, is a treasured addition to any garden. But acquiring this attractive shrub can be a challenge, as it’s not always readily available at nurseries. Luckily, propagation from seed or cuttings provides a rewarding and feasible solution for plant enthusiasts.
Let’s delve into the fascinating world of Boronia pinnata propagation, exploring both methods and providing tips for success.
Starting from Seed: A Journey of Patience
While it requires more time and effort than cuttings, the process of growing Boronia pinnata from seed offers a unique and fulfilling experience. Here’s how to embark on this botanical adventure:
- Harvesting Seeds: Gather ripe seed capsules, typically appearing after flowering. The capsules should be brown and slightly dry.
- Extraction and Preparation: Carefully crack open the capsule and extract the small, black seeds. Carefully clean them, removing any surrounding debris.
- Sowing Seeds: Choose a well-draining seed-starting mix and sow the seeds thinly on the surface. Cover lightly with a layer of the mix.
- Creating Optimal Conditions: Maintain a warm, humid environment (around 20-25°C) and provide consistent moisture by misting regularly. A clear plastic dome or humidity tray can help.
- Patience is Key: Germination can take several weeks to months. Be patient and keep the seed mix moist, but not soggy.
Once seedlings emerge, provide them with ample sunlight and allow them to grow for a few months before transplanting them into individual pots.
Cutting for Quick Success: A Shortcut to Blooms
Propagation from cuttings presents a faster and more reliable method for growing Boronia pinnata. Here’s a step-by-step guide:
- Choosing Cuttings: Select healthy, non-flowering stems from the current season’s growth. Cuttings should be about 10-15 cm long.
- Preparing Cuttings: Remove leaves from the bottom 2-3 cm of the stem and trim the cut at a 45° angle.
- Hormonal Boost: Dip the cut end of the stem in a rooting hormone powder or solution to encourage root development.
- Potting Mix and Conditions: Choose a well-draining potting mix formulated for cuttings and pots with drainage holes. Insert the cuttings into the mix, leaving a few leaves above the soil.
- Maintain Humidity and Light: Cover the pots with a clear plastic dome or humidity tray to maintain a high humidity level. Place the cuttings in a bright location with indirect sunlight.
Within a few weeks, you should start to see new growth indicating the presence of roots. Once the cuttings have established themselves, gradually acclimate them to outdoor conditions.
Tips for Success:
- Light: Boronia pinnata thrives in a sunny or partly shaded location. However, protect them from harsh afternoon sun.
- Drainage: Ensure a well-draining soil mix to prevent root rot, as this plant dislikes soggy conditions.
- pH: A slightly acidic soil with a pH of 6.0 – 6.5 suits this species best.
- Fertilizer: Use a balanced fertilizer during the active growing season, but avoid over-fertilizing.
- Pest and Disease Control: Keep an eye out for common garden pests and diseases, and intervene early to minimize damage.
Challenges and Solutions:
- Slow Growth: Boronia pinnata is known for its slow growth rate. Be patient and provide optimal conditions for steady development.
- Root Rot: Overwatering can lead to root rot. Ensure proper drainage and allow the soil to dry out slightly between waterings.
- Pest infestations: Be vigilant for aphids and other pests, and take preventative measures as needed.
By following these guidelines, you can successfully propagate Boronia pinnata and enjoy the beauty of these delicate plants in your own garden. Remember that patience and consistent care are key to seeing your propagation efforts blossom!