Unlocking the Secrets of Brachyclados caespitosus: A Propagation Guide
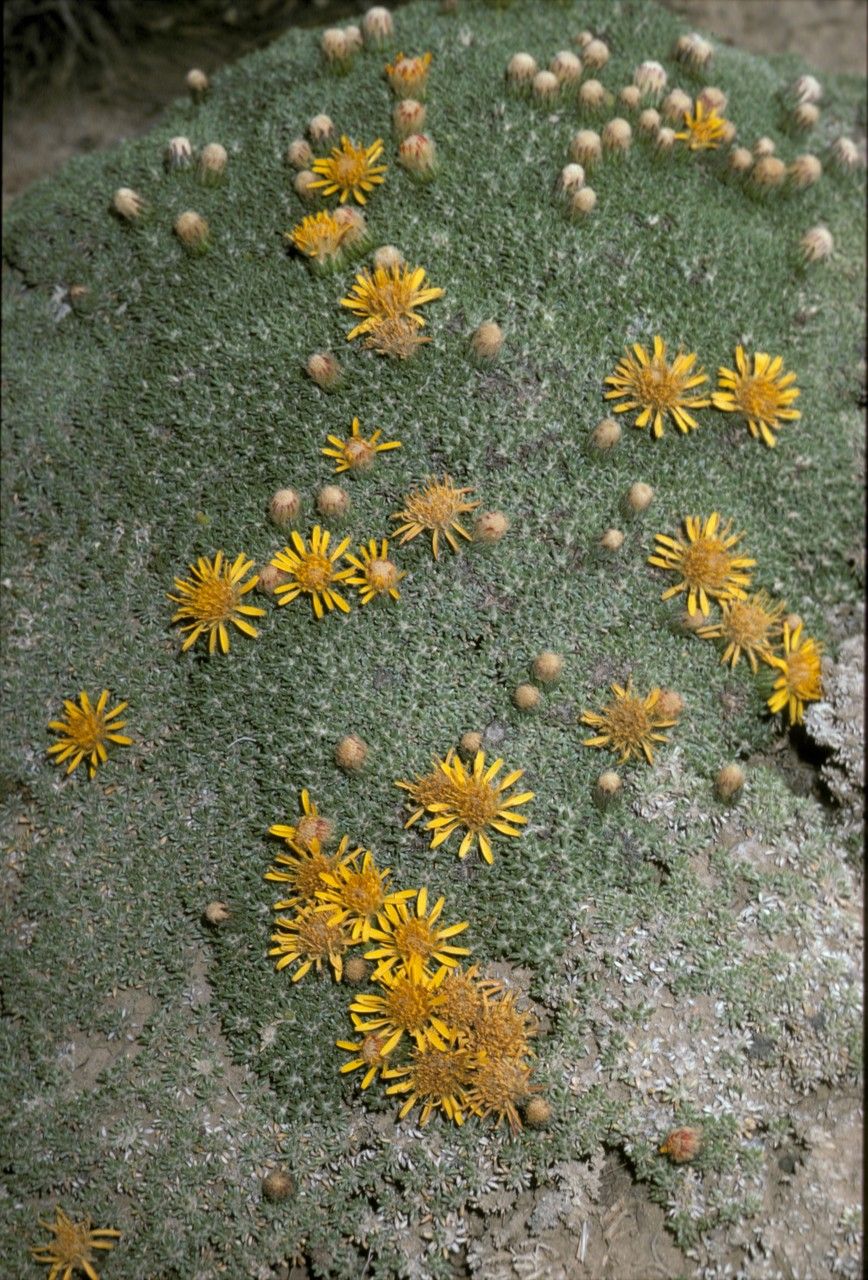
Brachyclados caespitosus, the intriguing plant with the complicated name, has been turning heads in the gardening world. Known for its unique silver-green foliage and fascinating shrubby structure, this South African native brings a touch of the exotic to any garden. But have you ever wondered about the secrets to propagating this fascinating species? Let’s delve into the world of Brachyclados caespitosus propagation and learn how to grow more of this intriguing plant.
Understanding the Basics
Before we jump into the “how-to,” let’s get acquainted with Brachyclados caespitosus. This drought-tolerant evergreen thrives in well-drained soil and prefers a sunny spot in your garden. Its ability to withstand harsh conditions makes it a low-maintenance choice for experienced gardeners and beginners alike.
Propagation Methods: Unveiling the Options
Two primary methods reign supreme when it comes to propagating Brachyclados caespitosus:
Seed Propagation: This method involves collecting seeds from mature plants. While it’s a viable option, remember that Brachyclados caespitosus seeds can be inconsistent in their germination rate.
- When to Sow: Spring offers the ideal climate for sowing your Brachyclados caespitosus seeds. The warmth encourages faster germination and healthier seedling development.
- Soil Choice: Opt for a well-draining seed starting mix that won’t retain excess moisture.
- Sowing Depth: Gently press the seeds onto the soil surface, ensuring they are well-lit but not buried deeply.
- Maintaining Moisture: Keep the soil consistently moist but not waterlogged using a gentle spray bottle to avoid disturbing the seeds.
- Patience is Key: Seed germination can take several weeks. Be patient and maintain a consistent environment for optimal results.
Cuttings: This method offers a higher rate of success and involves taking cuttings from established plants.
- Choosing the Right Cuttings: Select healthy, non-flowering stems during the spring or early summer when the plant is actively growing.
- Making the Cut: Using a clean, sharp knife or pruning shears, take cuttings about 4-6 inches long. Remove the lower leaves, leaving a couple of sets at the top.
- Hormone Power: While optional, dipping the cut end in rooting hormone can encourage faster root development.
- Planting the Cuttings: Insert the cuttings into a well-draining potting mix. A mixture of peat moss and perlite works well for this purpose.
- Creating a Humid Environment: Cover the pot with a clear plastic bag or use a propagation dome to trap moisture and create a mini-greenhouse effect.
- Light and Watering: Place the cuttings in a bright location but out of direct sunlight. Keep the soil consistently moist but not waterlogged.
- Rooting Time: Allow 4-6 weeks for the cuttings to develop roots. You can gently tug on the cutting to check for resistance, which signals successful rooting.
Transplanting Your Success
Once your seedlings or cuttings have developed a strong root system, they’re ready for transplanting. Choose a location in your garden with well-drained soil and ample sunlight. When transplanting, handle the young plants gently to avoid damaging their delicate roots.
Reap the Rewards
Propagating Brachyclados caespitosus may require a bit of patience, but the rewards are well worth the effort. By mastering these techniques, you’ll be able to expand your collection of this stunning plant and add a touch of unique beauty to your garden or indoor space.