Untangling the Secrets of Teasel Gourd Propagation: Grow Your Own Cucumis dipsaceus
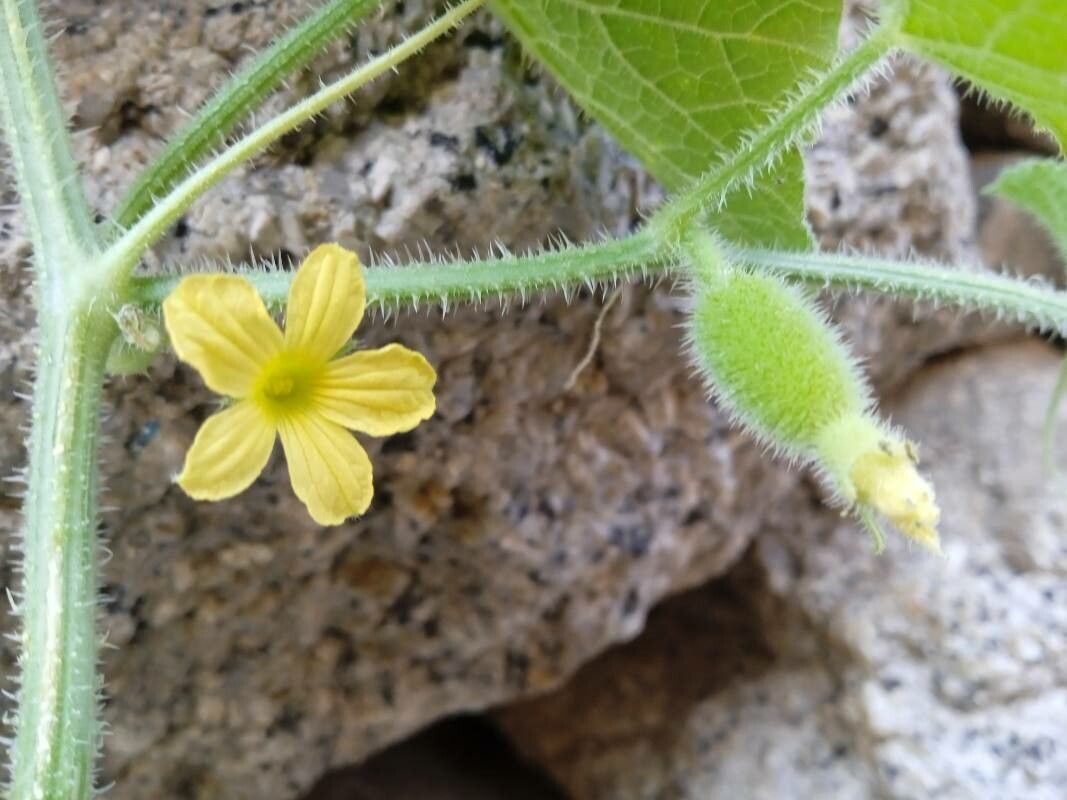
The Teasel Gourd (Cucumis dipsaceus), with its intriguing spiky fruit and fast-growing nature, is a unique addition to any garden. Native to Africa, this annual vine, also known as the hedgehog gourd or wild cucumber, is relatively easy to grow and offers both ornamental and practical uses. But how do you go about propagating this fascinating plant? Let’s delve into the world of Cucumis dipsaceus propagation and equip you with the knowledge to successfully grow your own.
The Power of Seeds: Starting Your Journey
The most common and rewarding method of propagating Teasel Gourd is through seeds. As they require a warm environment to germinate, it’s best to sow them indoors 4-6 weeks before the last frost.
Here’s a step-by-step guide:
- Prepare your seed starting mix: Opt for a well-draining, seed-starting mix, or create your own using equal parts peat moss, vermiculite, and compost.
- Sow the seeds: Plant the seeds about ½ – 1 inch deep in individual pots or seed trays.
- Provide warmth and moisture: Place the pots in a warm, sunny location, maintaining a temperature of around 70-75°F (21-24°C). Keep the soil consistently moist but not waterlogged.
- Be patient: Germination typically takes 7-14 days. Once the seedlings emerge, provide them with ample sunlight or grow lights for at least 6 hours a day.
- Transplant outdoors: When the danger of frost has passed and the seedlings have developed a few true leaves, harden them off gradually by acclimating them to outdoor conditions for a week. Transplant them into larger pots or directly into the ground, spacing them about 2-3 feet apart.
Alternative Route: Propagation through Cuttings
While less common, Teasel Gourd can also be propagated through stem cuttings. This method is particularly useful if you want to preserve desirable traits from a specific plant.
Here are the steps:
- Select healthy stems: Choose healthy, non-flowering stems from a mature Teasel Gourd plant.
- Take cuttings: Using a sharp, sterilized knife or pruning shears, cut a 4-6 inch section of stem just below a leaf node.
- Prepare the cuttings: Remove the lower leaves from the cutting, leaving only a few leaves at the top.
- Encourage rooting: Dip the cut end in rooting hormone (optional) and plant the cutting in a well-draining potting mix.
- Provide humidity and warmth: Cover the pot with a plastic bag or humidity dome to create a greenhouse-like environment. Maintain a temperature of around 70-75°F (21-24°C).
- Transplant: Once the cutting develops roots (typically in a few weeks), you can transplant it into a larger pot or directly into the garden.
Beyond Propagation: Caring for Your Teasel Gourd
Successfully propagating your Teasel Gourd is just the beginning. Providing adequate care is crucial for healthy growth and a bountiful harvest. Ensure your plant has:
- Full sunlight: Aim for at least 6 hours of direct sunlight daily.
- Well-drained soil: The soil should be fertile and well-drained to prevent root rot.
- Support structure: As a vigorous vine, the Teasel Gourd thrives with a trellis, fence, or other support structures to climb.
- Regular watering: Water deeply and regularly, especially during hot and dry periods.
- Fertilization: Apply a balanced fertilizer every 2-3 weeks to promote healthy growth.
By following these propagation techniques and care tips, you’ll be well on your way to nurturing a thriving Teasel Gourd plant in your own garden. Enjoy its unique beauty, fascinating fruits, and the satisfaction of cultivating this intriguing plant from seed or cutting to fruition.