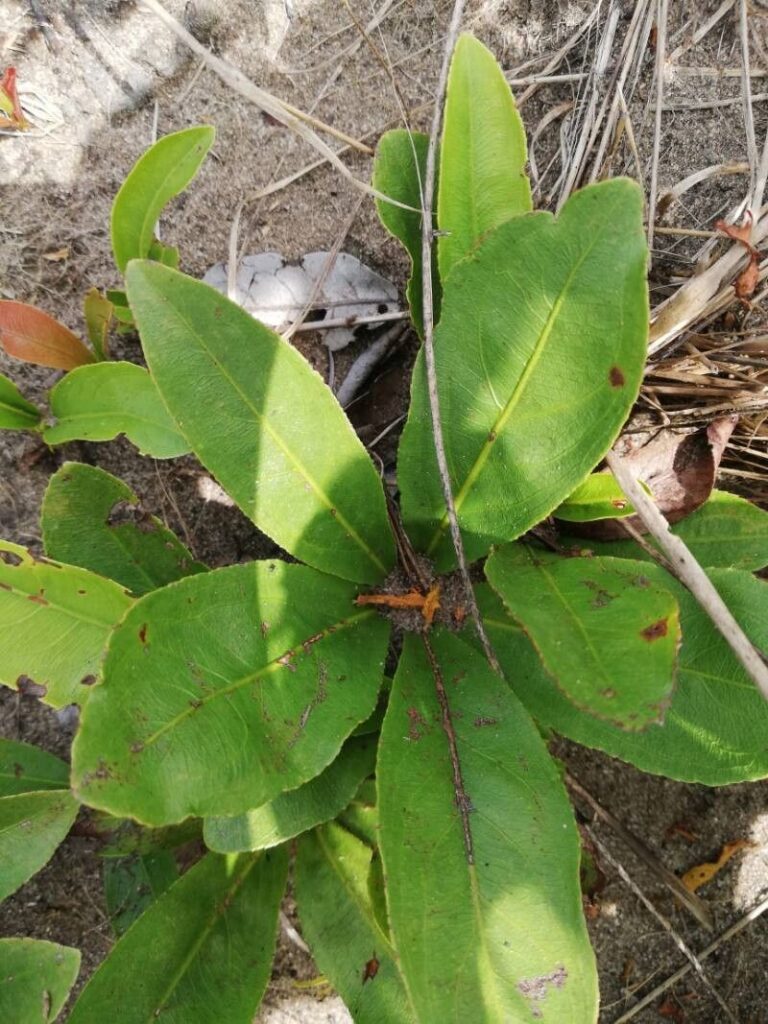
From Seed to Success: How to Grow a Brackenridgea arenaria
The Brackenridgea arenaria, a charismatic native to South Africa, boasts stunning, vibrant flowers that transform your garden into a captivating spectacle. But how do you bring this beauty into your home? The answer lies in propagation – the art of creating new plants from existing ones. This guide will equip you with knowledge, techniques, and tips to successfully grow your own Brackenridgea arenaria, from seed to blooming glory.
The Seed of Success:
-
Collecting Seeds: The first step is to collect ripe seeds from existing Brackenridgea arenaria plants. Look for seed pods that have fully matured and turned brown. Gently collect the seeds and let them dry in a cool, airy place for a few days.
-
Preparing for Germination: While Brackenridgea arenaria seeds are relatively easy to germinate, success depends on proper preparation. Sow them in a mix of quality seed-starting compost, ensuring good drainage. Shallowly bury the seeds, no deeper than twice their own diameter, and keep the mixture consistently moist but not waterlogged.
-
Finding the Perfect Light: Brackenridgea arenaria seeds require bright, indirect sunlight for germination. Place the seed tray or pot in a sunny spot indoors or outdoors, shielded from harsh direct sunlight.
- Patience is Key: Germination can take anywhere from a few weeks to several months, depending on the seed quality and environmental factors. Keep the soil moist and monitor for any signs of growth. Soon enough, you’ll be rewarded with tiny, delicate seedlings.
From Seedling to Sturdiness:
-
Transplanting: Once the seedlings develop their first true leaves, it’s time to transplant them into larger pots or directly into the garden. Choose pots with drainage holes and a well-draining potting mix.
-
Sunlight and Water: Brackenridgea arenaria prefers sunny locations with well-drained soil. Water consistently, especially during the initial stages, allowing the soil to dry slightly between watering.
- Fertilizing: Feed the young plants with a balanced liquid fertilizer diluted to half strength once a month.
The Joy of Propagation:
-
Stem Cuttings: For faster results, propagation through stem cuttings is an effective method. Take cuttings from healthy stems that have matured but are not yet woody. Remove the lower leaves and dip the cut end in rooting hormone. Plant the cuttings in a well-draining mix, keeping them moist and shielded from direct sunlight.
- Layering: Air layering is another viable method. Make a cut on a branch, wrap it in sphagnum moss, and secure it with plastic wrap. Once roots develop, sever the branch and plant it in a pot or directly in the ground.
Nurturing Your Brackenridgea Arenaria:
-
Pest and Disease Control: Brackenridgea arenaria is generally resistant to pests and diseases. However, keep an eye out for common garden pests and treat them accordingly.
- Pruning: Regular pruning is important for maintaining the shape and size of your Brackenridgea arenaria. Prune after flowering to encourage bushy growth and promote new blooms.
Conclusion:
Propagating a Brackenridgea arenaria is a rewarding journey that allows you to enjoy the breathtaking beauty of this unique plant. By following these steps, you can witness the magic of nature at work and create a vibrant tapestry of blooming wonders in your garden.