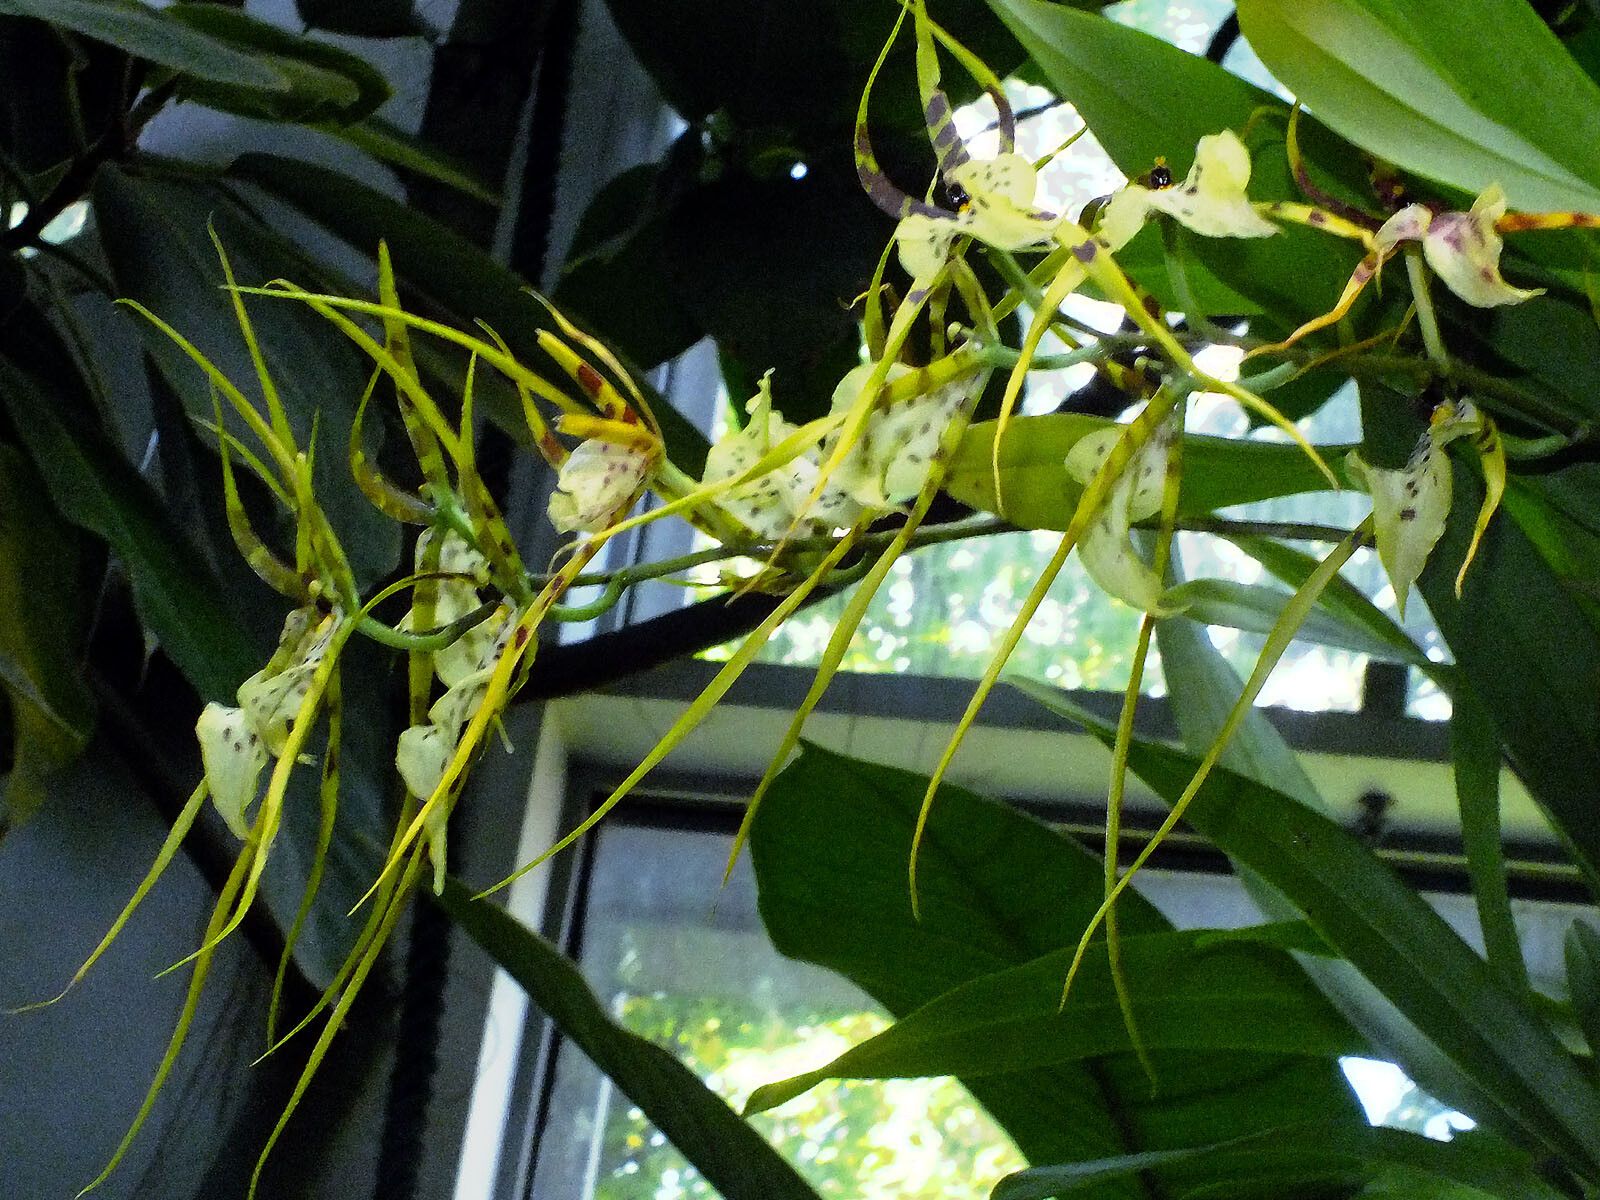
Unlocking the Secrets of Brassia Caudata Propagation: A Guide to Multiplying Your Spider Orchid
The Brassia caudata, affectionately known as the Spider Orchid, is a showstopper in the orchid world. Its dramatic, spidery blooms with elongated petals and intricate patterns are a sight to behold. If you’re lucky enough to have one gracing your home, you’ve probably wondered about the possibility of propagating it to create more of this botanical wonder. The good news is that while it requires a bit of patience, Brassia caudata propagation is achievable even for enthusiasts who don’t consider themselves green thumbs!
Understanding the Basics
Before we delve into the methods, it’s crucial to understand that Brassia caudata, like many orchids, doesn’t reproduce true to type from seeds at home. Their complex genetics make it nearly impossible to replicate the exact parent plant. Instead, we focus on vegetative propagation, which ensures you get identical copies.
Two Primary Methods for Propagation Success
There are two main ways you can propagate your Brassia Caudata:
1. Division: This method capitalizes on the orchid’s natural growth pattern. Over time, a healthy Brassia will develop multiple pseudobulbs, which are those plump, bulb-like structures at the base of the leaves. Each pseudobulb has the potential to become a new plant. Here’s how:
* **Timing is Key:** The best time for division is during the plant's active growing season, ideally in spring, just as new growth begins.
* **Tools of the Trade:** Gather sterilized pruning shears, a clean pot, and fresh orchid potting medium before you start.
* **Dividing with Care:** Carefully remove the orchid from its pot. Identify sections of the plant with at least 3-4 healthy pseudobulbs connected by a sturdy rhizome (the horizontal stem).  Using the shears, make a clean cut through the rhizome.
* **Potting Your Divisions:** Plant each division in a pot filled with fresh, well-draining orchid medium, ensuring the base of the pseudobulbs is level with the potting mix.
2. Keikis: Sometimes, your Brassia will surprise you with a gift – keikis! These are essentially baby orchids that sprout on the flower stalk itself.
* **Identifying Keikis:** You'll recognize them as small plants with tiny leaves and roots.
* **When and How to Remove:** Once the keiki has developed a few roots and leaves (about an inch long), it's ready for independence. Carefully detach it from the mother plant, ensuring you get as much of the root system as possible.
* **Potting Your New Treasure:** Pot the keiki as you would a mature division, using a small pot and a well-draining orchid medium.
Post-Propagation TLC: Nurturing Your New Plants
After successfully propagating your Brassia caudata, providing the right care is paramount:
- Bright, Indirect Light: Place your divisions or keikis in a location with bright, indirect light, similar to the parent plant’s preferred conditions.
- Maintain Humidity: Brassia orchids thrive in humidity. Mist regularly or place the pots on a pebble tray filled with water.
- Watering Wisely: Only water when the potting medium is almost dry. Overwatering can lead to root rot, a common problem for orchids.
- Patience is a Virtue: It can take several months for divisions and keikis to adjust and start producing their own blooms. During this time, focus on providing optimal care.
Conclusion:
Propagating your Brassia caudata might seem daunting at first, but with a little patience and the right knowledge, you can multiply your collection and share your love for this exquisite orchid. Just remember to approach the process with care, provide the right growing conditions, and enjoy the reward of witnessing new life emerge from your beloved plant.