Unleash the Magic of Breynia: A Guide to Easy Propagation
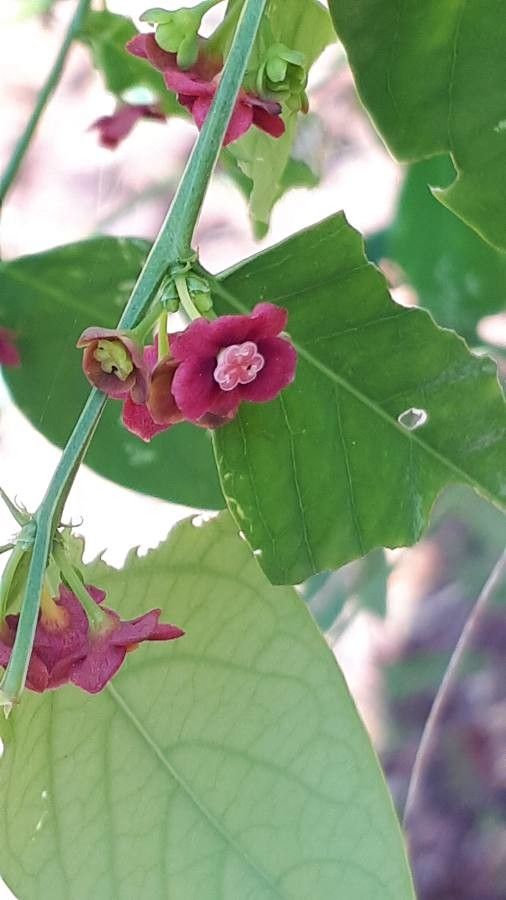
Breynia androgyna, with its vibrant foliage of pink, red, and green, is a true showstopper in any garden or home. But did you know you can easily multiply this beauty and create even more vibrant displays? This blog post will guide you through the simple process of propagating Breynia, unlocking the secret to growing even more of this captivating plant.
The Power of Propagation: More Breynia, Less Spending
Propagation is the magical process of creating new plants from existing ones. Not only does it allow you to expand your collection without spending a fortune on new plants, but it also allows you to share the beauty of Breynia with others.
Two Simple Methods for Breynia Propagation:
-
Stem Cuttings: This is the most common and straightforward method.
- Step 1: Cutting Selection: Choose healthy, non-flowering stems from your Breynia plant. Cut them into sections about 4–6 inches long, ensuring each cutting has at least two sets of leaves.
- Step 2: Removing Lower Leaves: Remove the leaves from the bottom inch or two of each cutting. These leaves will rot and impede root development.
- Step 3: Rooting Hormone (Optional): Applying a rooting hormone to the cut ends will encourage faster root development.
- Step 4: Planting Medium: Fill a small pot or seed tray with a mixture of equal parts peat moss and perlite, or use a commercial rooting mix. Moisten the medium but avoid overwatering.
- Step 5: Planting the Cuttings: Insert the prepared cuttings into the moistened medium, ensuring at least one set of leaves remains above the soil.
- Step 6: Providing Humidity: Cover the cuttings with a clear plastic dome or bag to create a humid environment. This encourages root growth and prevents moisture loss.
- Step 7: Patience is Key: Place the cuttings in a bright location but out of direct sunlight. Keep the soil consistently moist and maintain temperatures around 70-75°F. Roots will typically begin to develop after 4-6 weeks.
- Air Layering: This method involves encouraging roots to form on a stem while still attached to the parent plant.
- Step 1: Choosing a Stem: Select a healthy stem with a circumference of at least half an inch.
- Step 2: Making the Cut: Make a shallow cut, about half an inch deep, into the stem.
- Step 3: Applying Rooting Hormone (Optional): Lightly apply rooting hormone to the cut.
- Step 4: Wrapping the Cut: Wrap a generous layer of damp sphagnum moss tightly around the cut and secure it with plastic wrap or aluminum foil.
- Step 5: Providing Moisture: Maintain the moisture of the moss by occasionally spraying it with water.
- Step 6: Monitoring Progress: Roots will typically develop within 4-8 weeks. When you notice new growth emerging from the wrapped area, it’s time to sever the branch below the root ball.
- Step 7: Planting the New Plant: Carefully separate the newly rooted stem from the parent plant and pot it in your desired soil mix.
Caring for Your Newly Rooted Breynia:
- Sunlight: Once your cuttings or air layers have developed roots, they are ready to be transplanted into their permanent pots. Breynia thrives in bright indirect light but avoids direct sunlight, which can scorch the leaves.
- Watering: Water regularly to keep the soil consistently moist but avoid overwatering, which can lead to root rot.
- Fertilizer: Feed your Breynia with a balanced liquid fertilizer diluted to half strength every 4-6 weeks during the growing season.
- Pruning: Regular pruning encourages bushier growth and helps maintain the vibrant colors of Breynia’s foliage.
With a little patience and care, you can enjoy the rewards of propagation: a stunning array of Breynia plants that will fill your space with vibrant color and a sense of accomplishment. So grab your scissors and get ready to unlock the magic of propagation. Your little cuttings will soon grow into a collection of colorful companions!