Spreading the Rosy Carpet: Easy Propagation Techniques for Calandrinia affinis
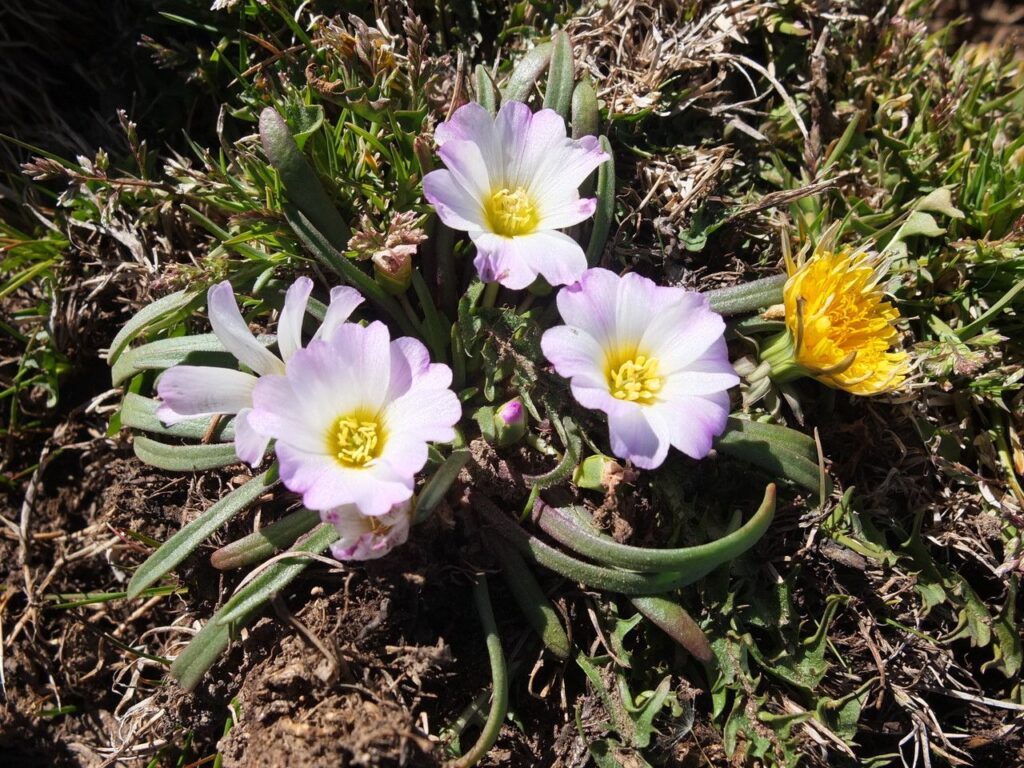
Calandrinia affinis, more affectionately known as the Red Maids or Pink Purslane, is a ground-hugging charmer native to Australia. This delightful little plant captivates with its succulent-like foliage and a profusion of vibrant pink flowers that burst open with the morning sun. While readily available in nurseries, there’s a special satisfaction (and budget-friendly bonus!) to propagating your own Calandrinia. Lucky for us, this is one plant that enjoys multiplying!
Let’s explore the easiest ways to propagate Calandrinia affinis and soon you’ll have a whole colony of these beauties gracing your garden.
Seeds: Sow and Behold!
Calandrinia affinis is an enthusiastic seeder. In fact, you might find it popping up around your garden all on its own! Harnessing this natural vigor is the simplest way to propagate. Here’s how:
- Seed Collection: As the flowers fade, keep an eye out for small, round seed pods to form. Once dry, they’ll split open, revealing tiny black seeds.
- Sowing Time: You can sow these seeds directly outdoors after the last frost, or start them indoors 6-8 weeks prior to your last frost date.
- Sowing Process: Sprinkle the seeds over well-draining soil, barely pressing them into the surface. Light is crucial for germination.
- Water & Patience: Mist the soil regularly, keeping it consistently moist but not soggy. Germination takes about 1-3 weeks.
- Thinning the Herd: Once the seedlings develop a few true leaves, thin them out to provide adequate space (around 6-8 inches apart).
Cuttings: Cloning Your Favorites
Want an exact replica of a particular plant with maybe extra-showy flowers? Cuttings are the way to go!
- Timing is Key: Spring, when the plant is actively growing, is the perfect time to take cuttings.
- Choosing the Stem: Select a healthy, non-flowering stem that is around 3-4 inches long.
- Making the Cut: Using a sharp, sterilized knife or pair of shears, make a clean cut just below a leaf node.
- Preparing the Cutting: Remove the lower leaves from the bottom inch of the cutting.
- Potting Up: Dip the cut end in rooting hormone (optional, but helpful). Plant the cutting in a well-draining potting mix, burying the nodes where the leaves were removed.
- Creating a Humid Environment: Cover the pot with a plastic bag or a propagation dome to create a warm, humid environment.
- Patience, Young Padawan: Place the pot in a well-lit area but out of direct sunlight. Keep the soil consistently moist. Rooting will occur in a few weeks, indicated by new growth.
Division: Multiplying Your Clumps
Mature Calandrinia plants tend to form dense clumps, making division another fantastic propagation option.
- Timing: Early spring or fall, when the plant is entering a less active growth phase, is ideal for division.
- Digging Up: Carefully lift the entire clump from the ground using a garden fork.
- Dividing the Spoils: Gently tease apart the clump into smaller sections, making sure each section has a good root system and several healthy stems.
- Replanting: Replant the divisions at the same depth they were previously growing. Water well to settle the roots.
A Bounty of Rosy Blooms
Propagating Calandrinia affinis is a rewarding endeavor that even novice gardeners can achieve. With a little patience and care, you’ll be treated to a cascade of rosy blooms year after year. So go forth, propagate, and enjoy the delightful charm of this easy-going groundcover!