Unlocking the Secrets of Silver: Propagating Your Calocephalus Lacteus
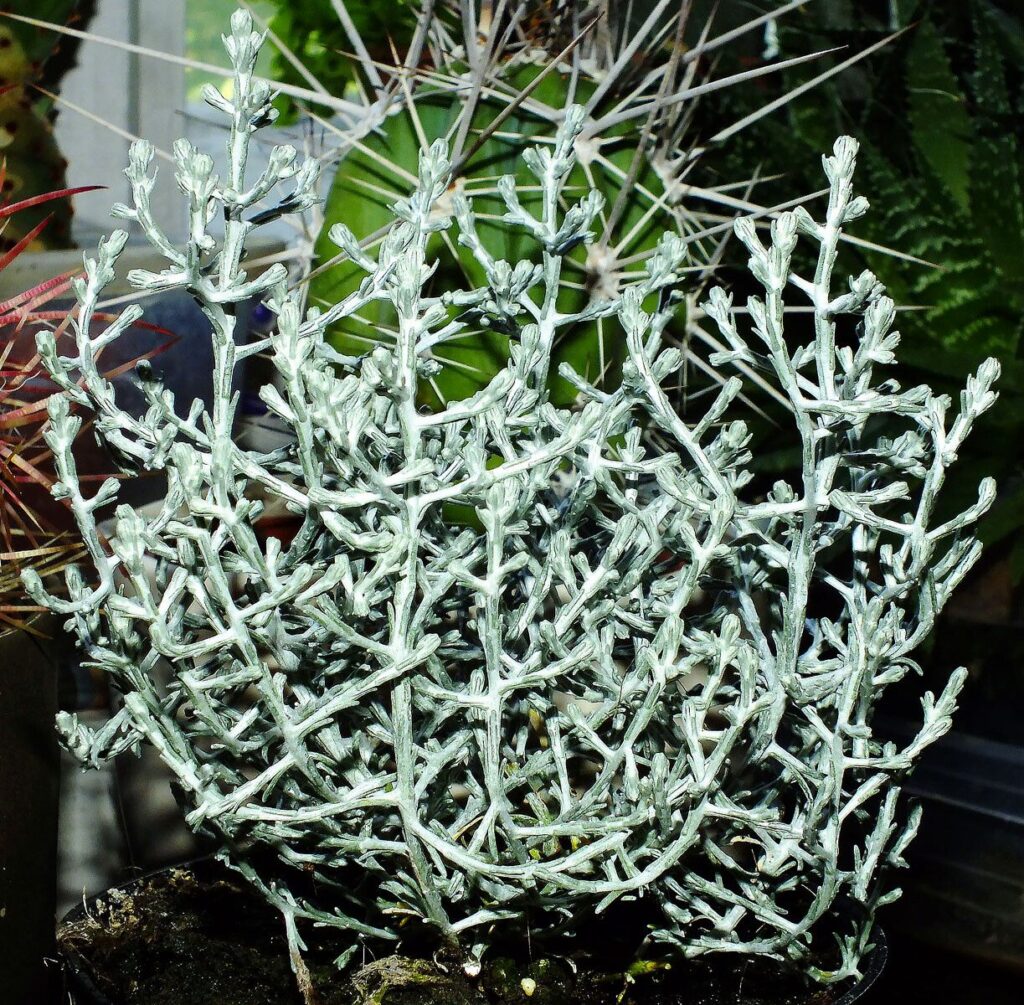
Calocephalus lacteus, more affectionately known as the Silver Bush or Cushion Bush, is a gardener’s dream come true. This stunning Australian native captivates with its unique, silvery-white foliage and adds a touch of ethereal elegance to any landscape. While relatively low-maintenance, propagating your own Calocephalus can be incredibly rewarding and surprisingly easy!
This comprehensive guide dives deep into the secrets of propagating this silvery marvel, equipping you with the knowledge to multiply your collection and share the magic with fellow plant enthusiasts.
Two Paths to Propagation: Choosing Your Adventure
There are two primary methods for propagating Calocephalus lacteus:
- Propagation from Seed: Embark on a slightly more challenging yet rewarding journey by starting your Calocephalus journey from seed.
- Propagation from Cuttings: Opt for a quicker and generally more straightforward approach by taking cuttings from an established plant.
Let’s explore both options in detail:
1. Propagation from Seed – A Test of Patience and Skill
While Calocephalus seeds can be a bit trickier to germinate, the satisfaction of witnessing the emergence of life is unmatched. Here are the steps to maximize your success:
- Sourcing Seeds: Purchase seeds from a reputable supplier or collect them from your existing mature plant (ensure the seed pods are dry and brown before harvesting).
- Sowing the Seeds: Sow the seeds lightly on the surface of a well-draining seed-raising mix. Do not bury them, as light aids germination.
- Creating a Humid Environment: Mist the soil surface with water and cover the tray or pot with a propagator lid or plastic wrap to maintain humidity.
- Patience is Key: Place the tray in a warm, brightly lit location (avoid direct sunlight). Germination can take anywhere from a few weeks to a couple of months, so be patient!
- Thinning Out: Once the seedlings emerge and have a couple of sets of true leaves, thin them out to give the strongest ones adequate space to grow.
- Transplanting: When the seedlings are large enough to handle, carefully transplant them into individual pots filled with well-draining potting mix.
2. Propagation from Cuttings – The Fast Track to Success
Propagating Calocephalus from cuttings offers a quicker and often more successful route:
- Timing is Everything: The best time to take cuttings is during the spring or early summer when the plant is actively growing.
- Selecting the Right Cuttings: Choose healthy, non-flowering stems, ideally 4-6 inches long. Make a clean cut just below a leaf node (where the leaf joins the stem).
- Preparing the Cuttings: Remove the lower leaves from the cutting, leaving only a few at the top.
- Hormone Boost (Optional): Dip the cut end in rooting hormone powder (optional but can increase the success rate).
- Planting the Cuttings: Insert the cuttings into a pot filled with a well-draining potting mix, ensuring the leaf nodes are buried.
- Creating a Greenhouse Effect: Cover the pot with a plastic bag or propagator lid to create a humid environment.
- Monitoring and Care: Place the pot in a warm, brightly lit location, out of direct sunlight. Keep the soil consistently moist but not waterlogged.
- Signs of Success: New growth indicates successful rooting, typically within 4-6 weeks. Gradually acclimate the rooted cuttings to normal conditions before transplanting them into larger pots or the garden.
Final Thoughts
Propagating Calocephalus lacteus is an enjoyable and rewarding process that allows you to expand your plant collection while deepening your horticultural knowledge. Whether you choose the challenging path of seed propagation or the quicker route of cuttings, the key lies in understanding the plant’s needs and providing the optimal conditions for success. With patience and care, you’ll soon have a flourishing collection of these silvery beauties to enhance your garden’s enchantment.