
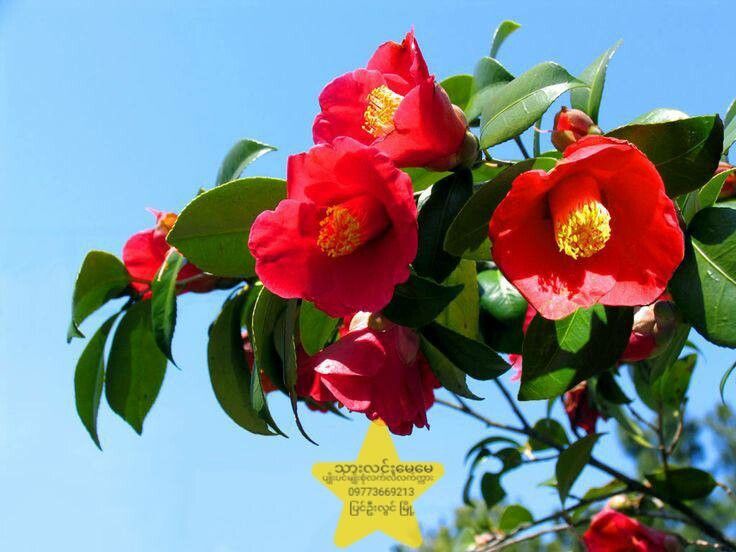
Unleash the Beauty: Propagating the Rare and Exquisite Camellia forrestii
The Camellia forrestii, a stunning evergreen shrub hailing from the mountains of Yunnan, China, is prized for its elegant, white, and delicately fragrant flowers. But this gem isn’t readily available at your local garden center. If you’re lucky enough to own one, you might be wondering how to share its splendor with others. That’s where propagation comes in.
While the Camellia forrestii can be a bit finicky, it’s not impossible to propagate. Let’s delve into the methods that offer you the best chance of success:
1. The Art of Cuttings:
This is the most popular way to propagate Camellia forrestii. Here’s the step-by-step guide:
- Timing is Key: Take your cuttings in late summer or early fall when the plant is actively growing but the heat of summer has subsided.
- Choose the Right Cuttings: Select healthy, semi-hardwood stems with at least 3-4 nodes (the point where leaves grow). The ideal length is 3-4 inches.
- Prepare the Cuttings: Make a clean cut just below a node using a sharp knife or pruning shears. Remove any lower leaves that would be submerged in the rooting medium.
- The Rooting Process: Dip the cut end in rooting hormone (optional) and insert it into a pot filled with a well-draining rooting medium like a mix of peat moss and perlite. Water generously and cover the pot with a clear plastic dome or bag to create a humid environment.
- Patience is Virtue: Keep the rooting medium moist and maintain a temperature of 70-75°F. It can take several weeks to several months for roots to develop. You’ll know they’re taking hold when new growth appears.
2. The Magic of Layering:
While less common, layering is a reliable method that can be used for Camellia forrestii. This method involves encouraging roots to develop on a stem while it’s still attached to the parent plant:
- Select a Sturdy Branch: Choose a healthy, flexible stem near the ground.
- Prepare the Branch: Gently scrape a small area of the bark on the stem to expose the cambium layer, which is responsible for root growth.
- Wrap and Secure: Wrap the scraped area with moist sphagnum moss and secure it with a plastic wrap or aluminum foil. Root hormone can be applied to the cut as well.
- Patience Again: Keep the moss moist and wait for roots to develop. It could take several months. Once roots are established, sever the stem from the parent plant and pot it up.
3. Seeds: A Long Journey
While camellia seeds are readily available, keep in mind that they can take 1-2 years to germinate and even longer to reach flowering stage. This is not the quickest or easiest method for propagation and may result in a plant that is genetically different from the parent. However, if you’re patient and enjoy a challenge, seed propagation is a rewarding experience.
Important Considerations:
- Environment: The Camellia forrestii thrives in well-drained, slightly acidic soil with partial shade. Make sure to mimic these conditions during propagation.
- Patience: Be patient! Propagation requires time and care. Don’t be discouraged if it takes longer than expected.
Sharing the Beauty:
Propagating your Camellia forrestii allows you to share this rare and beautiful plant with friends, family, or fellow gardeners. It’s a process that requires knowledge, patience, and care. But the reward of seeing your plants thriving is truly worth the effort. So embrace the challenge and experience the joy of nurturing this exquisite species and spreading its beauty far and wide.