Demystifying the Magic: Propagating the Rare and Lovely Camellia grijsii
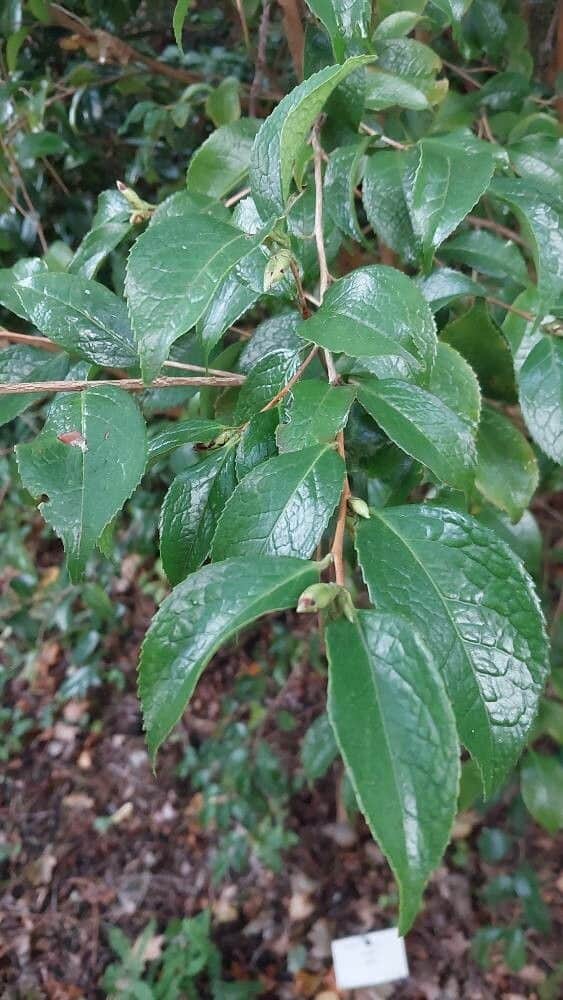
The plant world is a treasure trove of diversity, and few families capture the imagination like the Camellias. Among them, the Camellia grijsii stands out, a species coveted for its elegance and rarity. Native to the forests of southeastern China, this evergreen shrub enchants with its glossy foliage and delicate, fragrant blooms.
If you’re captivated by the Camellia grijsii’s allure and dream of adding its beauty to your garden, you might be surprised to learn that propagating this enchanting species isn’t as daunting as it seems. While patience is key, the rewards are well worth the effort.
Methods for Propagation:
While seed propagation is possible, it’s less reliable for Camellia grijsii, as seedlings might not retain the parent plant’s unique characteristics. Instead, two methods offer higher success rates and maintain the integrity of the cultivar:
1. Semi-Hardwood Cuttings:
This method, favored for its relative simplicity, involves taking cuttings from healthy, semi-mature stems during the summer.
- Timing is Key: Late summer to early fall, when the new growth starts to harden, is the ideal period.
- Selection Process: Choose stems with healthy leaves and no flower buds. The cutting should be around 4-6 inches long.
- Prepping the Cutting: Remove the lower leaves, leaving two or three pairs at the top. Dip the cut end in rooting hormone to encourage root development.
- Planting and Care: Plant the cuttings in a well-draining potting mix, ensuring at least one leaf node is buried. Maintain consistently moist soil and place the pot in a warm, bright location, shielded from direct sunlight.
- Patience is a Virtue: Rooting can take several weeks to months. You’ll know it’s time to transplant when you see new growth.
2. Air Layering:
For those seeking a slightly more involved yet rewarding technique, air layering provides an excellent avenue for propagating Camellia grijsii.
- Choosing the Right Branch: Select a healthy branch, about the thickness of a pencil, from the current year’s growth.
- Creating the Wound: Make a small upward-angled incision, about an inch long, just below a leaf node.
- Encouraging Root Development: Dust the wounded area with rooting hormone and wrap it with moist sphagnum moss. Securely cover the moss with plastic wrap, creating a sealed environment around the wound.
- The Waiting Game: Be patient! Roots can take several months to develop within this humid environment.
- Separation and Potting: Once roots are visible through the plastic, carefully sever the branch below the newly formed roots and pot it using a well-draining mix.
Caring for Your Propagated Camellia grijsii:
Successfully rooting your cuttings or air layering is a cause for celebration, but the journey doesn’t end there. Young Camellia grijsii require specific care to thrive:
- Gradual Acclimatization: Avoid shocking your young plant by slowly acclimating it to outdoor conditions before transplanting it into the garden.
- Well-Draining Soil: Choose a planting spot that provides excellent drainage, as waterlogged soil can be detrimental.
- Partial Shade Preference: Camellia grijsii flourishes in areas with morning sun and afternoon shade.
- Regular Watering: While they appreciate consistently moist soil, avoid overwatering.
- Nourishing Feed: Feed your Camellia grijsii with an acid-loving fertilizer during the growing season.
Propagating the rare and exquisite Camellia grijsii might require patience and dedication, but the journey is a rewarding one. By understanding its preferences and employing these propagation methods, you can cultivate this botanical treasure and enjoy its unique beauty for years to come. So, gather your gardening tools, embrace the challenge, and experience the joy of nurturing this exquisite species from a cutting or air layer to a flourishing shrub in your own garden.