Propagate Your Own Paradise: A Guide to Growing Camellia Sasanqua from Cuttings
Imagine your garden bursting with the delicate beauty of Camellia sasanqua flowers, their soft petals gracing you with their delicate beauty throughout autumn and early winter. What if we told you that you could create this fragrant haven without relying solely on purchased plants? The answer lies in the magical world of plant propagation, and in this guide, we’ll show you how to bring your own Camellia sasanqua dreams to life.
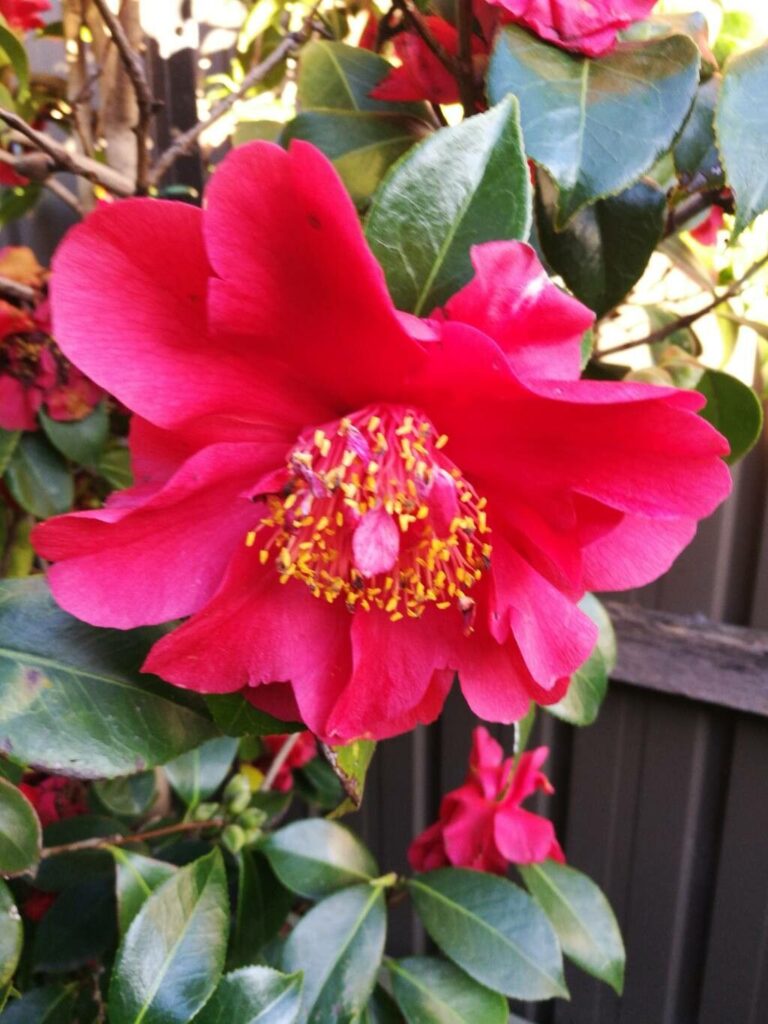
Camellia sasanqua, known for its hardiness and prolific bloom, is a fantastic candidate for propagation via cuttings. This method, when done correctly, allows you to replicate the beloved characteristics of your existing plants with ease.
Here’s a step-by-step guide to success:
1. Timing is Key: The best time to take Camellia sasanqua cuttings is in late summer or early autumn, just after the plant has finished flowering. This time period ensures the cuttings have ample time to develop their root systems before the winter chill sets in.
2. Choosing the Right Cuttings: Look for healthy, non-flowering stems, approximately 6-8 inches long. Select stems with a firm texture and a few well-developed leaf nodes, from which new roots will emerge.
3. Clean and Prepare: Using a sharp, sterilized knife or shears, make a clean, angled cut just below a leaf node. This encourages root growth. Remove lower leaves along the stem, leaving a few at the top.
4. The Power of Rooting Hormone: Dip the cut ends of your cuttings into a rooting hormone powder or solution. This gives your cuttings a boost and increases their chances of developing strong root systems.
5. Planting Your Potential: Fill a pot with a well-draining potting mix and create small holes for your cuttings. Gently insert the prepared cuttings into these holes, making sure that at least one leaf node is buried. Firm the soil around the cuttings.
6. Create a Greenhouse Effect: To mimic the humid conditions required for root development, cover your pot with a clear plastic dome or bag. This creates a mini-greenhouse environment that retains moisture and encourages root growth.
7. Patience is a Virtue: Place the pot in a bright location with indirect sunlight. Keep the soil consistently moist, but not soggy. It can take several weeks for the cuttings to develop robust root systems.
8. The Wait is Over: After a while, you’ll start to see signs of new growth. This is a good indication that your cuttings are taking root. Once the new growth is strong and established, gently remove the plastic cover.
9. Transplant Time: Once your cuttings are firmly rooted, you can transplant them into larger pots or directly into the garden. When transplanting, choose a location with well-drained soil and partial shade.
10. Nurture Your New Camellias: Water your new Camellia sasanqua regularly, especially during the first year after planting. Fertilize them with a balanced fertilizer during the growing season to encourage healthy growth.
Enjoy Your Floral Bounty: With a little patience and care, your propagated Camellia sasanqua cuttings will thrive, filling your garden with their beautiful blooms and enchanting fragrance for years to come.
By mastering the art of propagation, you’ll not only create a flourishing garden filled with your own grown Camellia sasanqua, but you’ll also embark on a rewarding journey of horticultural discovery. So, get ready to propagate and unveil the captivating beauty that awaits you.