Unlocking the Secrets of Hornbeam Propagation: Grow Your Own Shade Masterpiece
The majestic European Hornbeam (Carpinus betulus) graces landscapes with its elegant form and stunning foliage. This versatile tree, known for its tolerance of shearing and its ability to withstand harsh conditions, is a popular choice for hedges, topiaries, and even bonsai. But did you know you can extend the magic of hornbeam by propagating it yourself?
This guide unlocks the secrets of hornbeam propagation, empowering you to cultivate your own stately specimens from the comfort of your garden.
The Power of Cuttings:
One of the most commonly used methods for propagating hornbeam is through softwood cuttings. This technique involves taking cuttings from new growth during the spring and early summer.
Here’s how to make it happen:
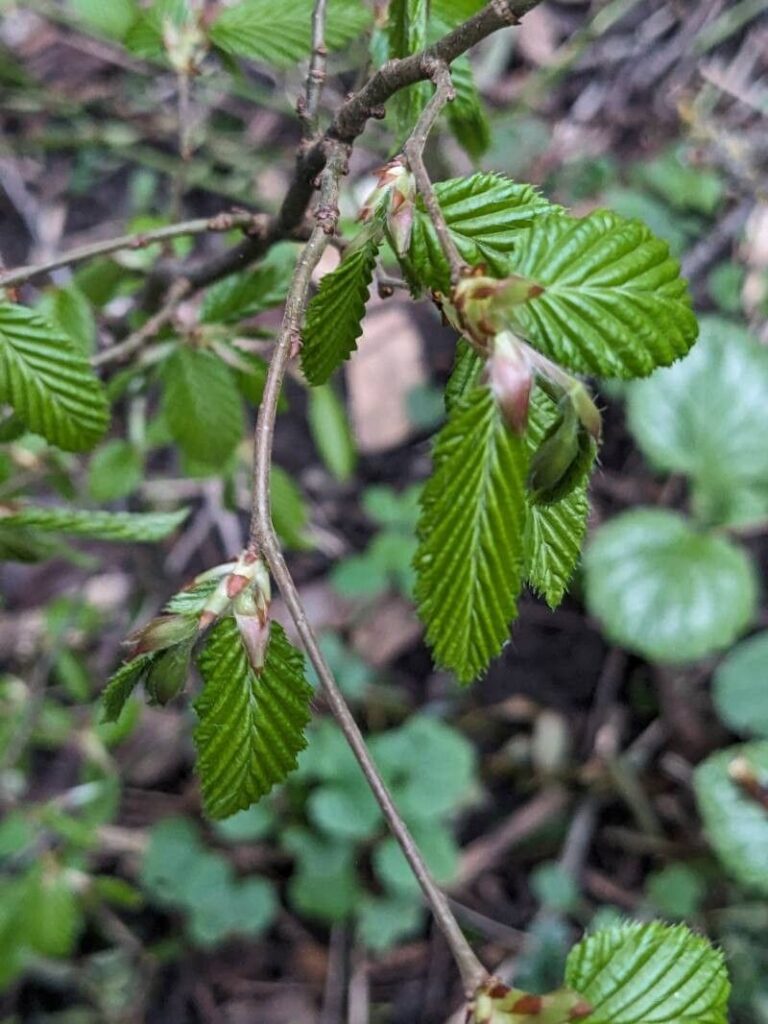
- Choose Your Cuttings: Select healthy, non-flowering shoots that are still pliable but have hardened slightly. Aim for stems that are 4-6 inches long.
- Preparation is Key: Using a sharp knife or pruning shears, make a clean cut just below a node (the point where a leaf or branch grows). Remove any lower leaves from the cutting, leaving only 2-3 leaves at the top.
- Root Hormone Boost: Dip the base of the cutting in a rooting hormone powder to encourage root development.
- The Right Environment: Prepare a pot filled with moist, well-draining potting mix. Gently insert the cuttings, leaving the upper leaves exposed.
- Nurture the Growth: Cover the pot with a clear plastic bag to create a humid environment. Place it in a bright, indirect light location, and maintain consistent moisture.
- Patience is Key: It can take 6-8 weeks for roots to develop. Keep the cuttings moist and warm, and monitor for signs of growth.
Seed Propagation for the Patient Gardener:
Hornbeam can also be propagated from seed, a more time-consuming process but ultimately rewarding.
Here’s the breakdown:
- Harvesting Seeds: Collect mature seeds from the tree in the fall, identifying them by their small, nut-like appearance, encased in a leafy bract.
- Preparation for Sowing: Clean the seeds thoroughly and soak them in water for 24 hours.
- Stratification for Success: Hornbeam seeds require a period of cold stratification to break their dormancy. This process mimics the natural winter conditions they would experience. Place the seeds in a plastic bag filled with slightly moist peat moss or vermiculite and keep them in a refrigerator for 3-4 months.
- Sowing the Seeds: After stratification, sow the seeds in a seed tray filled with a well-draining seed-starting mix. Cover the seeds lightly with soil and keep them moist.
- Tender Care: Germination can take several weeks, but have patience! Provide plenty of light and maintain consistent moisture levels.
- Transplanting Time: Once seedlings develop a few true leaves, you can transplant them into individual pots or a prepared garden bed.
Beyond the Basics:
No matter which propagation method you choose, remember these essential tips:
- Watering is key: Keep the cuttings and seedlings consistently moist but never waterlogged.
- Sunlight matters: Provide ample indirect light, especially during the rooting phase.
- Patience is a virtue: Propagation takes time, so don’t get discouraged if you don’t see results immediately.
- Protect from pests: Keep an eye out for any pests or diseases that could threaten your young plants.
With a little patience and the right approach, you can propagate your own hornbeam, creating a legacy that will stand the test of time. The satisfaction of nurturing a plant from a cutting or seed to a majestic tree will bring years of joy and a deep connection to the natural world. So, why wait? Get started on your own hornbeam propagation journey today!