Unlocking the Secrets: How to Propagate Cattleya crispata for Orchid Enchantment
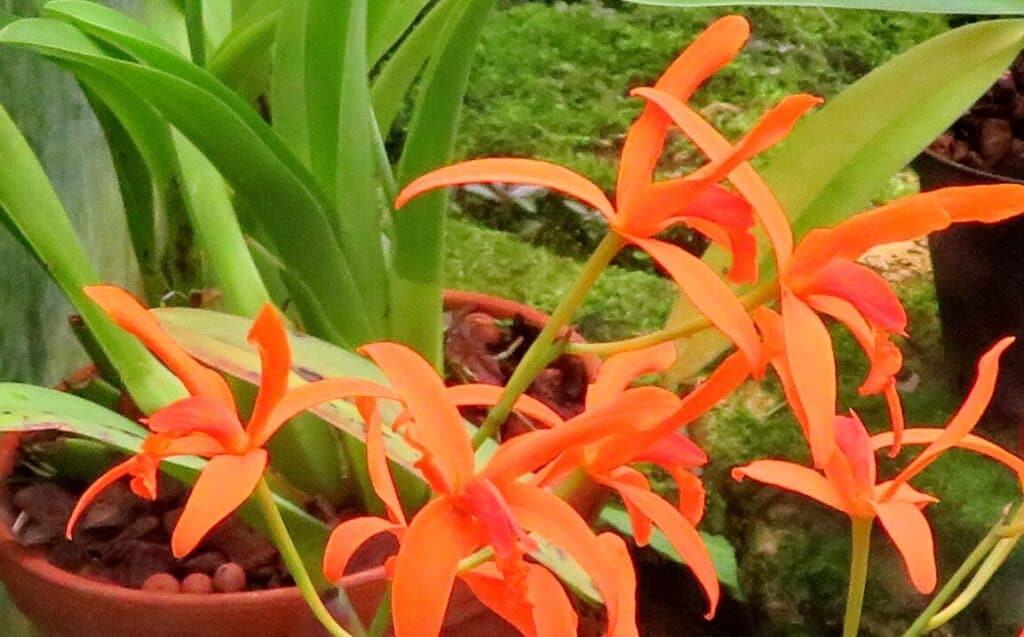
The Cattleya crispata, with its delicate beauty and captivating fragrance, holds a special allure for orchid enthusiasts. This Brazilian native, unlike some fussy cousins, is surprisingly approachable for home propagation. If you’re ready to expand your orchid family or simply delve into the rewarding world of plant propagation, read on!
Understanding the Basics
Before diving in, let’s clarify what we mean by propagation. It’s simply the process of creating new plants from existing ones. For Cattleya crispata, there are two primary methods:
-
Division: The most common and generally successful method, division involves splitting a mature, healthy plant into smaller sections, each capable of independent growth.
- Back Bulbs: This method utilizes older, leafless pseudobulbs (the swollen stem-like structures) to generate new growth.
Method 1: Division – A Step by Step Guide
-
Timing is Key: The ideal time to divide your Cattleya crispata is just as new growth emerges in the spring. This ensures the divisions have sufficient time to establish themselves before winter.
-
Gather Your Tools: You’ll need a sterilized sharp knife or pruning shears, a pot with good drainage, fresh orchid potting mix, and cinnamon or rooting hormone (optional).
-
Prepare the Plant: Gently remove the orchid from its pot and inspect the root system. Healthy roots should be firm and white or silver. Trim away any dead or mushy roots.
-
Divide with Care: Aim for divisions with at least 3-4 healthy pseudobulbs each. Carefully cut the rhizome (the horizontal stem connecting the bulbs) with your sterilized tool.
-
Potting Your Divisions: Place each division in a pot just large enough to accommodate the roots. Use a well-draining orchid mix, ensuring the base of the pseudobulbs sits at or slightly above the soil line.
- Aftercare: Water sparingly until new growth emerges, then resume a regular watering schedule. Place the newly potted divisions in a warm, humid environment with bright, indirect light.
Method 2: Back Bulbs – Reviving the Past
-
Identify Suitable Bulbs: Look for healthy, plump back bulbs that have lost their leaves but still possess dormant eyes (small bumps on the bulb).
-
Preparation and Potting: Prepare a mix of sphagnum moss and perlite (1:1 ratio) known for its moisture retention. Place the back bulb horizontally on the surface, ensuring the eye faces upwards.
- Patience is a Virtue: Keep the medium consistently moist and place the pot in a warm, humid location. It can take several months for new growth to emerge. Once it does, treat the new plant as you would a mature Cattleya crispata.
Tips for Success
- Hygiene is Paramount: Sterilize your cutting tools with rubbing alcohol before and after each use to prevent the spread of disease.
- Less is More: When it comes to watering newly potted divisions or back bulbs, err on the side of caution. Overwatering is a common mistake.
- Patience Pays Off: Propagating Cattleya crispata is a rewarding but gradual process. Be patient and attentive, and your efforts will be rewarded with beautiful, fragrant blooms.
By following these steps, even novice gardeners can experience the joy of propagating Cattleya crispata. So go ahead, unlock the secrets of propagation and expand your orchid collection with this captivating species.