Unveiling the Secrets of Cavendishia Callista: A Propagation Guide for Stunning Blooms
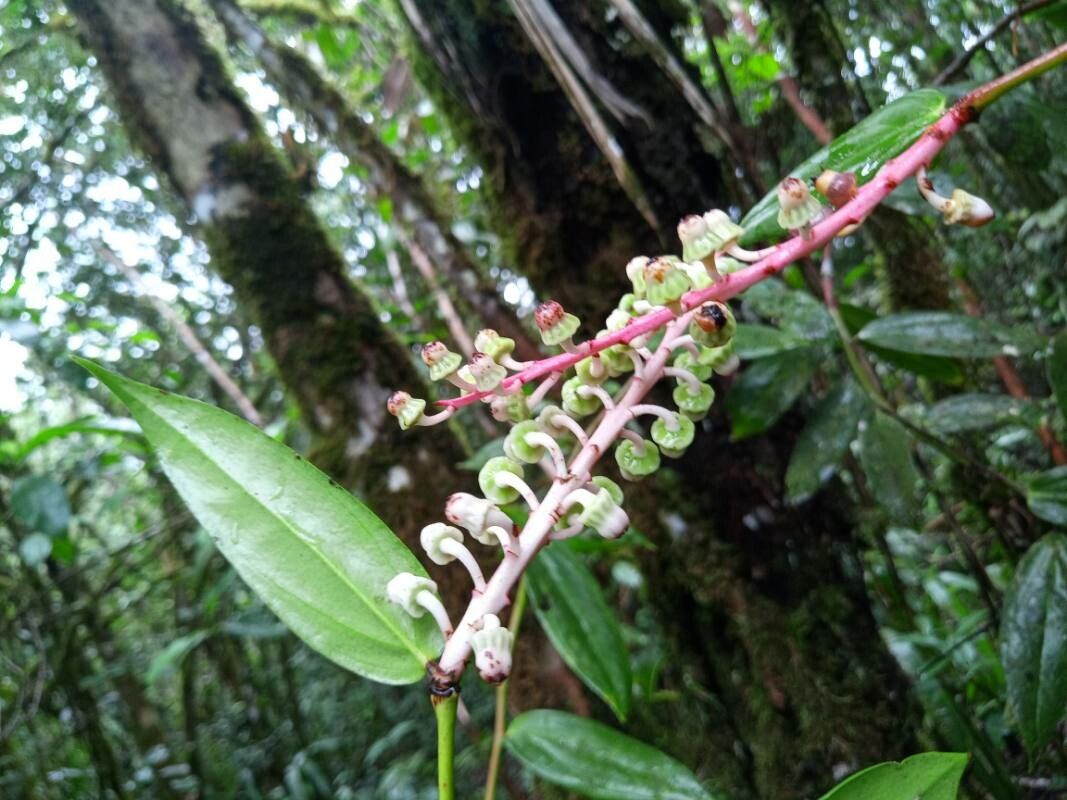
Cavendishia callista, with its enchanting cascades of vibrant, waxy flowers, is a sight to behold. This tropical shrub, native to the cloud forests of the Americas, is a favorite amongst collectors but often considered a challenge for propagation. Fear not, fellow plant enthusiasts! This guide will demystify the process and give you the tools to grow your own dazzling Cavendishia.
Understanding the Plant:
Cavendishia callista, a member of the Ericaceae family (related to blueberries and rhododendrons), thrives in cool, humid environments with bright, indirect light. Understanding their natural habitat is crucial for successful propagation.
While Cavendishia can be grown from seed, it’s a lengthy and often difficult process. The most reliable methods are:
1. Stem Cuttings:
- Timing is Key: Take cuttings in spring or early summer when the plant is actively growing.
- Selecting Cuttings: Choose healthy, non-flowering stems about 4-6 inches long. Make a clean cut just below a leaf node.
- Preparing the Cuttings: Remove the lower leaves, leaving 2-3 pairs at the top. Dip the cut end in rooting hormone (optional but recommended).
- Planting: Insert the cuttings into a well-draining rooting mix (equal parts peat moss, perlite, and vermiculite work well). Gently firm the soil around the base.
- Creating a Humid Environment: Cover the pot with a clear plastic bag or place it in a propagation box to maintain high humidity.
- Patience is a Virtue: Rooting can take several weeks to months. Keep the soil consistently moist but not soggy, and ensure bright, indirect light.
2. Air Layering:
This method encourages roots to develop on a stem while it’s still attached to the parent plant.
- Choose a Healthy Stem: Select a mature stem that’s at least a year old.
- Make an Incision: Carefully make a 1-inch upward slanting cut about 1/3 of the way through the stem, just below a leaf node.
- Apply Rooting Hormone (optional): Dust the wound with rooting hormone.
- Wrap with Sphagnum Moss: Surround the incision with moist sphagnum moss and wrap it securely with plastic wrap.
- Wait for Roots: It can take several weeks to months for roots to develop. Once you see roots through the plastic, carefully cut the stem below the new root system and pot it up.
Post-Propagation Care:
- Potting Up: Once your cuttings or air layers have developed a healthy root system, pot them in a well-draining acidic potting mix.
- Watering: Keep the soil consistently moist but avoid overwatering, which can lead to root rot.
- Fertilizing: Use a balanced, water-soluble fertilizer diluted to half strength every 4-6 weeks during the growing season.
- Humidity and Light: Remember, Cavendishia callista thrives in humid environments with bright, indirect light. Consider using a humidifier or placing the plant on a pebble tray filled with water.
Propagating Cavendishia callista requires patience and attention to detail, but the rewards are well worth the effort. With the right techniques and a little TLC, you can enjoy the captivating beauty of these exotic blooms in your own home.