Unlocking the Secrets of Cerastium Scaranii Propagation: A Guide to Multiplying the Snow-in-Summer
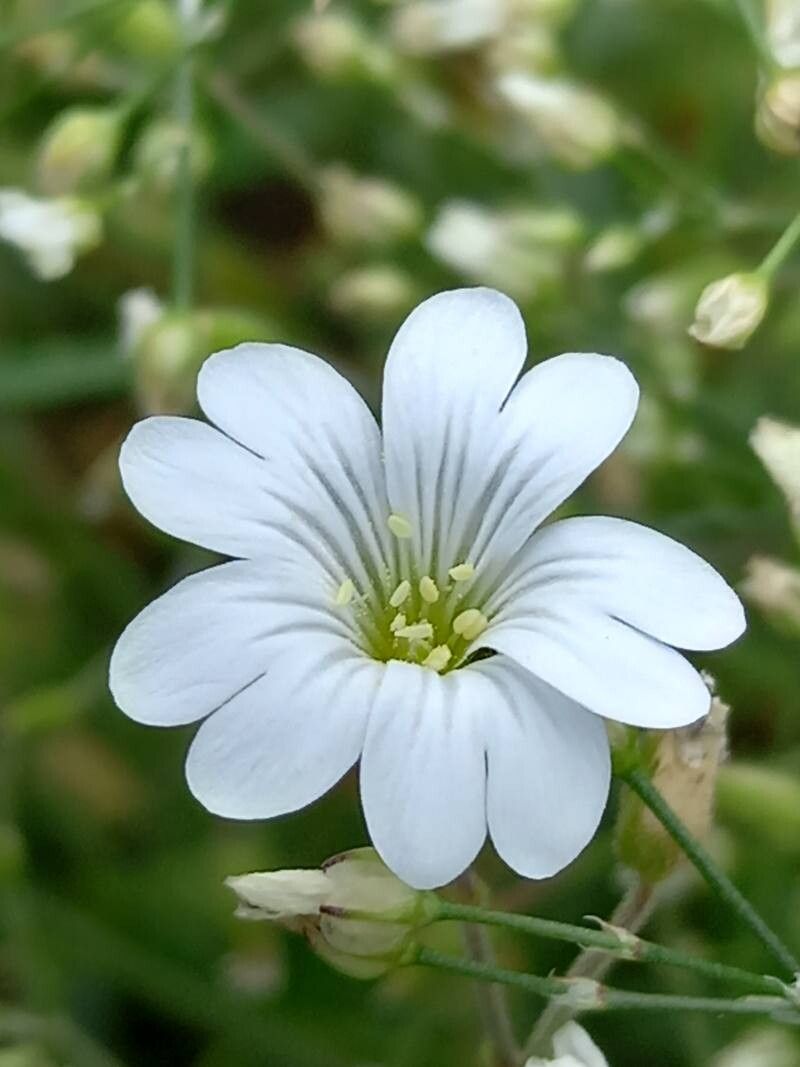
Cerastium tomentosum, lovingly nicknamed “Snow-in-Summer,” is a gardener’s delight. This hardy perennial boasts a cascading carpet of silvery foliage, exploding in a flurry of snow-white blooms throughout the late spring and early summer months. If you’re lucky enough to have this plant gracing your garden, you’re probably wondering how to get more of this beautiful groundcover. The good news is that propagating Cerastium scaranii (a synonym for Cerastium tomentosum) is surprisingly simple! Let’s explore the best methods to increase your stock of this snowy wonder.
Method 1: Division – The “Share the Love” Technique
Division is the easiest and most successful way to propagate Cerastium scaranii. This method simply involves digging up an established plant and dividing it into smaller sections, each containing roots and shoots. Here’s how:
- Timing is Key: The best time for division is in early spring or fall when the weather is cooler.
- Dig Deep: Carefully dig around the plant, ensuring you’ve encompassed the entire root ball.
- Gently Divide: Loosen the soil around the roots and gently pull apart the plant into smaller sections. Each division should have a good amount of healthy roots and shoots.
- Replant & Water: Replant the divisions at the same depth they were previously growing and water thoroughly.
Method 2: Cuttings – Cloning Your Favorite Clumps
Taking cuttings is another successful propagation method, especially for creating numerous new plants. Here’s a step-by-step guide:
- Time for Snipping: Take cuttings in the late spring or early summer from healthy, non-flowering stems.
- Clean Cut: Using clean, sharp pruning shears, take 3-4 inch cuttings just below a leaf node.
- Prepare the Cuttings: Remove the lower leaves from the cutting, leaving a couple of pairs at the top.
- Potting Up: Dip the cut end in rooting hormone (optional but recommended) and plant the cutting in a well-draining potting mix.
- Creating a Humid Environment: Cover the pot with a plastic bag or use a propagation dome to maintain humidity and warmth.
- Patience is a Virtue: Keep the cuttings in a bright location but out of direct sunlight. It will take several weeks for roots to develop.
Method 3: Seed Starting – A Test of Patience
While possible, propagating Cerastium scaranii from seed can be a bit more challenging and less predictable. If you’re up for the task, here’s how:
- Seed Collection: Collect seeds from dried flower heads in the late summer.
- Sowing Time: Start seeds indoors 6-8 weeks before the last expected frost in your area.
- Light is Life: Sprinkle seeds over a seed-starting mix, pressing them lightly into the surface. Cerastium seeds need light to germinate.
- Keep It Moist: Mist the soil regularly to keep it evenly moist but not soggy.
- Transplanting Time: Once the seedlings have developed a couple of sets of true leaves, they can be transplanted outdoors after the risk of frost has passed.
Mastering the Art of Cerastium Care:
No matter which propagation method you choose, providing the right growing conditions is essential for success:
- Sunlight is Key: Cerastium scaranii thrives in full sun to partial shade.
- Well-Drained Soil is Crucial: This plant prefers well-drained soil and is relatively drought-tolerant once established.
- Keep it Trimmed: For bushier growth and repeat blooming, shear back plants after flowering.
With a little effort and these simple techniques, you can easily multiply your Cerastium scaranii, creating a breathtaking sea of snowy blooms, year after year.