Unleash the Spirit of the Caribbean: Propagating Your Very Own Culantro
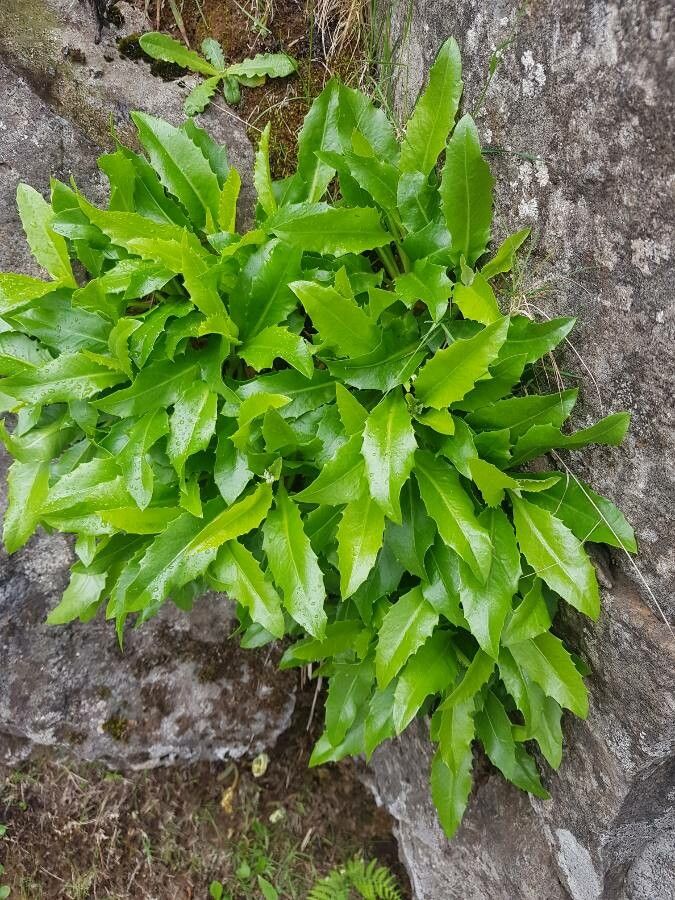
Culantro, also known as Recao or Ngo Gai ( Eryngium foetidum), is a pungent herb that brings the vibrant flavors of the Caribbean to your kitchen. This resilient plant, with its serrated leaves and unique aroma, is a staple in many cuisines, adding depth to stews, salsas, and marinades. While readily available at specialty markets, why not cultivate your own endless supply of this culinary gem? Propagating culantro is surprisingly easy and rewarding, ensuring fresh flavors right at your fingertips.
Two Paths to Culantro Glory: Seeds vs. Cuttings
The beauty of propagating culantro lies in its simplicity, offering two straightforward methods:
1. Seed Starting: A Journey from Tiny Specks to Flavor Explosions
- Source your seeds: Purchase seeds online or from reputable nurseries specializing in herbs.
- Prepare for Success: Use a well-draining seed starting mix, moisten it evenly, and sprinkle the seeds on the surface. Culantro seeds benefit from light, so avoid burying them deep.
- Create a Humid Haven: Cover the seed tray with a clear lid or plastic wrap to lock in moisture and warmth. Place it in a bright location, out of direct sunlight.
- Patience is Key: Germination typically takes 10-21 days. During this time, maintain consistent moisture and ventilation.
- Transplanting Time: Once seedlings develop a couple of true leaves, transplant them into individual pots or your garden bed.
2. Cuttings: A Shortcut to Aromatic Abundance
- Select a Healthy Parent: Choose a mature culantro plant with robust stems and vibrant leaves.
- Take the Plunge: Using clean, sharp scissors, take cuttings about 4-6 inches long, making the cut just below a leaf node.
- Prepare the Cutting: Remove the lower leaves, leaving only a few at the top.
- Water Propagation: Place the cuttings in a glass or jar of water, ensuring the leaf nodes are submerged. Keep the water fresh, changing it every other day.
- Root Development: After a week or two, you’ll notice roots starting to develop. Once the roots are about an inch long, the cuttings are ready to be planted.
Nurturing Your Culantro Haven
Whether you’ve chosen seeds or cuttings, providing the right environment ensures your culantro thrives:
- Sunlight Kiss: Culantro enjoys bright, indirect sunlight or partial shade, especially in hotter climates.
- Well-Drained Soil: Use a fertile, well-drained potting mix or amend garden soil with compost for optimal drainage.
- Moisture Mastery: Keep the soil consistently moist but not waterlogged. Water deeply when the topsoil feels dry to the touch.
- Pest Patrol: Culantro is relatively pest-free, but keep an eye out for common garden pests and address them promptly.
Harvesting: Savor the Fruits (or Leaves!) of your Labor
In approximately 2-3 months, your culantro will be ready to harvest. Use a sharp knife or scissors to snip off leaves as needed, taking care not to remove more than a third of the plant at a time. This encourages bushier growth and a continuous supply of its unique, pungent flavor.
Propagating your own culantro is an easy and rewarding way to infuse your culinary creations with a taste of the Caribbean. So, why wait? Unleash your inner gardener and embark on this flavorful journey!