Unlocking the Secrets of the Katsura Tree: A Guide to Propagating Cercidiphyllum japonicum
The Katsura tree (Cercidiphyllum japonicum), with its heart-shaped leaves and captivating scent of burnt sugar in autumn, is a true garden gem. While admiring a mature specimen is always a treat, have you ever considered propagating your own Katsura tree? While it might seem daunting, it’s a rewarding endeavor that’s entirely achievable with a little guidance. Let’s delve into the world of Katsura propagation and discover the methods for cultivating this enchanting tree.
Method 1: Seeds of Change – Growing Katsura from Seed
Propagating Katsura from seed can be an adventure, albeit one that requires patience. Here’s what you need to know:
-
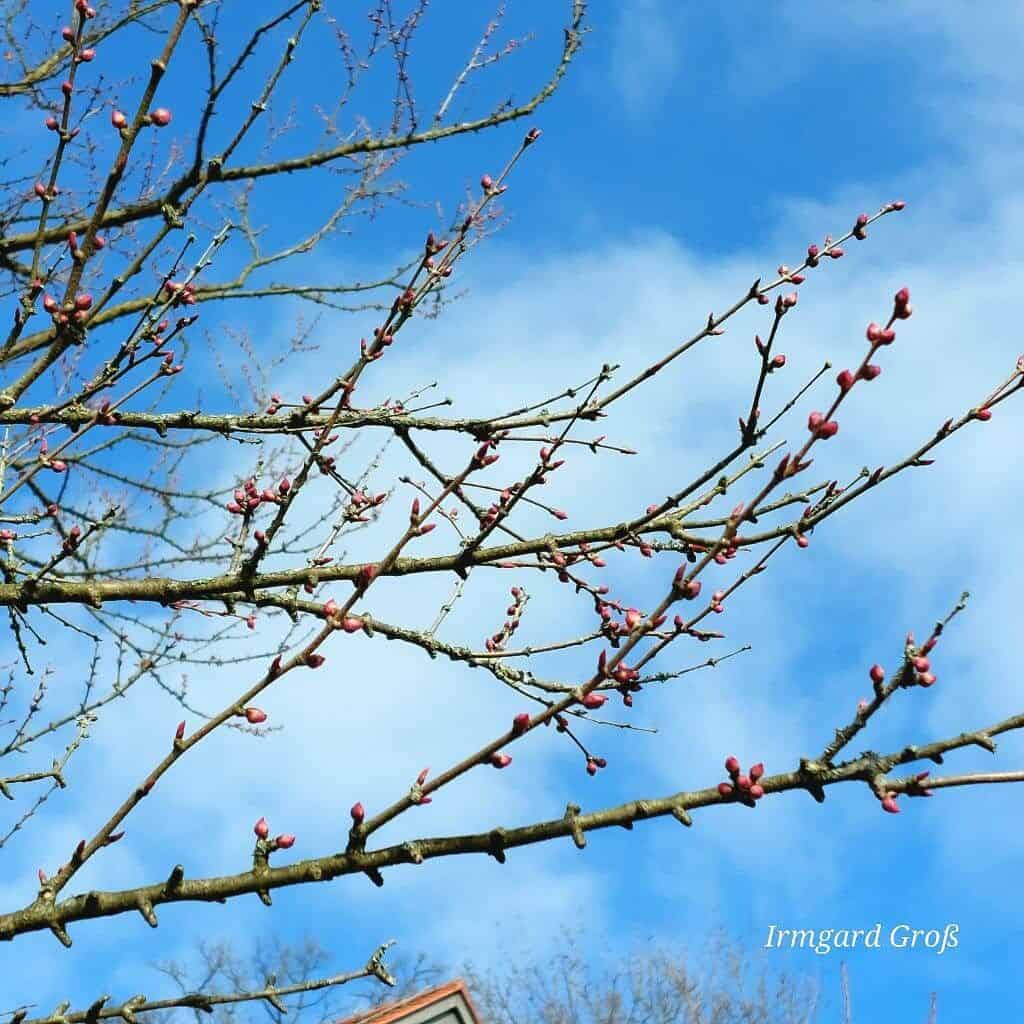
Seed Collection: Gather ripe seed pods in fall, identifiable by their brown color and papery texture. Extract the tiny seeds within.
-
Cold Stratification: Katsura seeds need a period of cold to break dormancy. Mix the seeds with moist vermiculite or sand and store them in a refrigerator (around 4°C) for 2-3 months.
-
Sowing Time: In spring, after the last frost, sow the cold-stratified seeds in seed trays filled with well-draining potting mix. Surface sow the seeds, barely pressing them into the soil.
- Patience is Key: Germination can be erratic and may take several weeks or even months. Provide consistent moisture, warmth (around 20-25°C), and indirect light.
Method 2: Cuttings for Quicker Results
Taking cuttings offers a faster propagation method with a higher success rate:
-
Timing is Everything: Early summer is ideal for taking hardwood cuttings.
-
Select and Prepare: Choose healthy, non-flowering shoots from the current year’s growth. Cut a 6-8 inch section just below a leaf node. Remove the lower leaves, leaving a few at the top.
-
Hormone Boost: Dip the cut end in rooting hormone to encourage root development.
-
Planting and Care: Plant the cuttings in a pot filled with a mix of peat moss and perlite. Water well and cover with a plastic bag to maintain humidity.
- Root Development: After 4-8 weeks, gently tug on the cutting. Resistance signifies root development. Once roots are established, you can transplant to larger containers.
Method 3: Layering – A Natural Approach
Layering utilizes the tree’s natural ability to form roots:
-
Branch Selection: In Spring, choose a low-growing, flexible branch.
-
Wounding and Preparation: Make a small wound on the underside of the branch. Apply rooting hormone to the wounded area.
-
Bury and Secure: Bend the branch down and bury the wounded section in the soil, securing it with a stake.
- Patience and Separation: Keep the soil consistently moist. After a year, check for root development. Once roots are established, separate the layered branch from the parent tree.
Caring for Your Katsura Progeny
Regardless of your chosen propagation method, young Katsura trees thrive in moist, well-drained soil and partial shade. Protect them from harsh winds and frost, especially in their early years.
The Joy of Propagation
Propagating your own Katsura tree is a captivating journey that connects you with the wonders of nature. Whether you choose the patient path of seeds, the efficiency of cuttings, or the natural technique of layering, your efforts will be rewarded with a stunning addition to your landscape. So, embrace the challenge, get your hands dirty, and enjoy watching your very own Katsura tree flourish.