
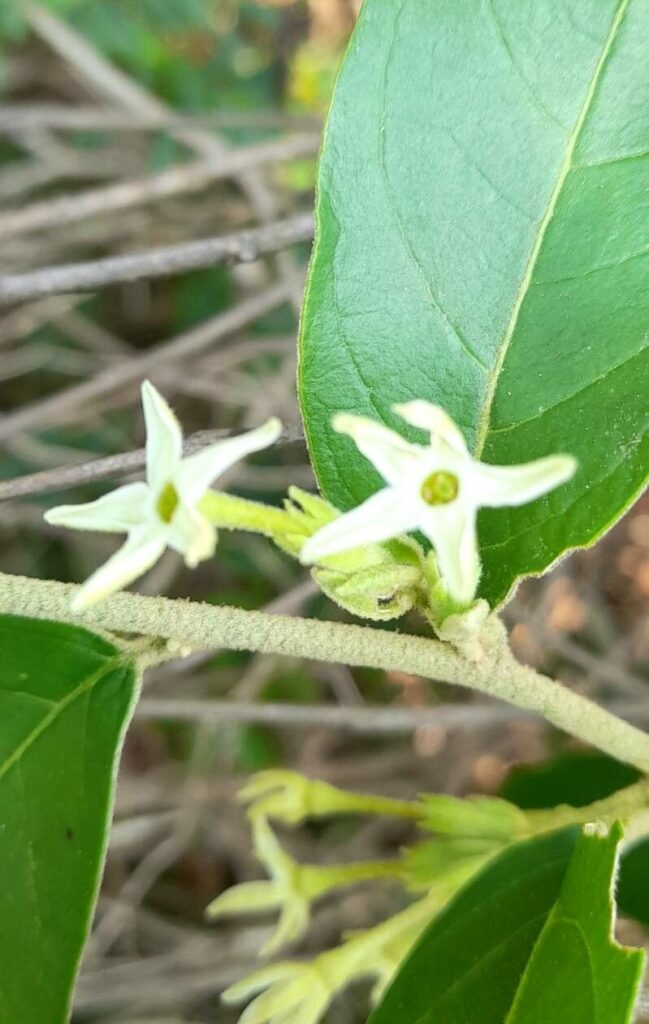
Unlocking the Secrets of Cestrum strigilatum Propagation: A Step-by-Step Guide
Cestrum strigilatum, with its cascading clusters of fragrant, trumpet-shaped blooms, is a sight to behold. This captivating shrub, native to the tropical regions of South America, is a showstopper in any garden, attracting hummingbirds and butterflies with its alluring fragrance. But have you ever wanted to multiply your Cestrum strigilatum and share its beauty with others? Look no further! This guide will equip you with the knowledge to propagate this stunning plant successfully.
Two Paths to Propagation
Cestrum strigilatum can be propagated through two primary methods:
-
Seed Propagation: While possible, growing Cestrum strigilatum from seed can be unpredictable. The plant doesn’t always produce viable seeds, and germination rates can be low.
- Stem Cuttings: This is the more reliable and faster method for propagating Cestrum strigilatum. By taking cuttings from a healthy mother plant, you can easily create clones that retain the parent plant’s characteristics.
The A to Z of Propagating from Stem Cuttings
Here’s a detailed walkthrough of the stem cutting method:
1. Timing is Key: The best time to take cuttings is during the plant’s active growing season, typically in spring or early summer.
2. Gather Your Tools:
- Sharp, sterilized pruning shears or a knife
- Seed starting mix or a well-draining potting medium
- Small pots or seed trays
- Rooting hormone (optional but recommended)
- Water
- Clear plastic bag or humidity dome (optional)
3. Selecting the Perfect Cutting:
- Choose a healthy, non-flowering stem that is about 4-6 inches long.
- Look for stems with new growth, as they tend to root more readily.
4. Prepare Your Cutting:
- Using your clean shears, make a cut just below a leaf node (the point where a leaf emerges from the stem).
- Remove the leaves from the bottom third of the cutting to prevent rot.
- If desired, dip the cut end in rooting hormone to encourage faster rooting.
5. Planting Your Cutting:
- Fill your pots or trays with the prepared potting mix.
- Moisten the mix thoroughly.
- Make a small hole in the center of each pot and gently insert the bottom inch of the cutting into the soil.
- Firm the soil around the cutting.
6. Encouraging Root Development:
- Place the pots in a warm, bright location out of direct sunlight.
- To increase humidity, you can cover the pots with a clear plastic bag or humidity dome.
- Mist the soil regularly to keep it evenly moist, but avoid overwatering.
7. Patience is a Virtue:
- It will typically take 4-8 weeks for roots to develop.
- You’ll know roots have formed when you see new growth emerging from the cutting.
8. Transplanting Your Success:
- Once your cuttings have developed a strong root system, you can transplant them into larger pots or your garden.
- Choose a location with well-drained soil and partial to full sun.
Nurturing Your New Cestrum strigilatum:
- Watering: Water regularly, allowing the soil to dry slightly between waterings.
- Fertilizing: Feed your plants with a balanced fertilizer during the growing season.
- Pruning: Regularly pinch back new growth to encourage bushier growth and more blooms.
By following these steps, even novice gardeners can experience the joy of propagating Cestrum strigilatum. This rewarding process allows you to expand your garden with the intoxicating beauty and fragrance of this captivating plant. So why wait? Start propagating and share the magic of Cestrum strigilatum with fellow plant enthusiasts!