Unveiling the Secrets: How to Propagate the Unique Cheiridopsis spiculata
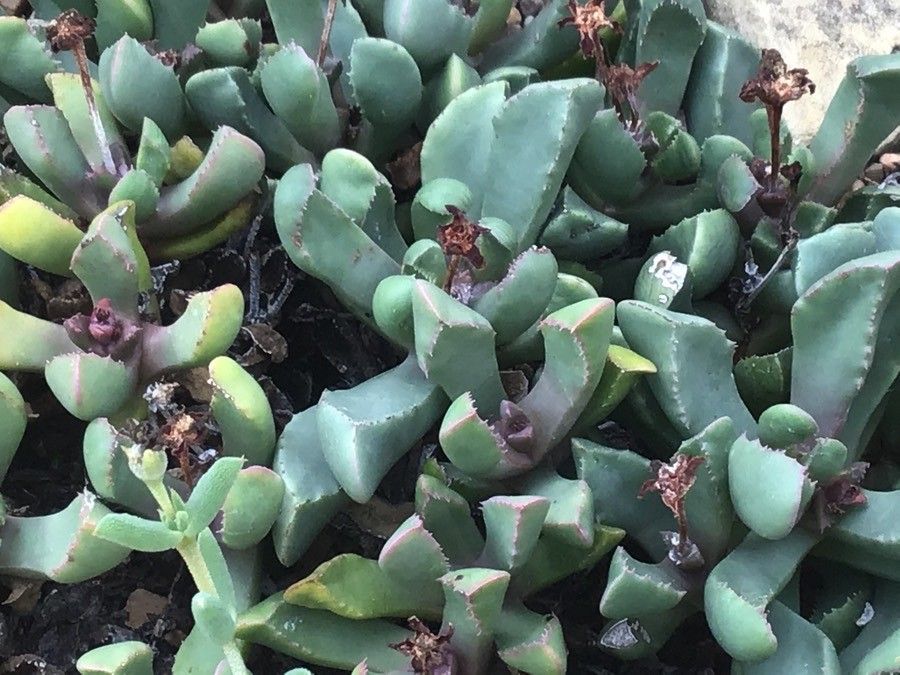
Have you ever laid eyes on the Cheiridopsis spiculata and been captivated by its unique charm? Native to South Africa, this succulent boasts unusual, finger-like foliage that adds a touch of the exotic to any collection. Perhaps you’ve been hesitant to add one to your plant family, thinking it might be too difficult to propagate. Fear not! This guide will demystify the art of multiplying your very own Cheiridopsis spiculata.
Two Paths to Propagation Success: Seeds vs. Cuttings
While Cheiridopsis spiculata offers two main avenues for propagation – seeds and cuttings – both come with their own set of advantages and challenges:
1. The Seed Route: A Journey of Patience and Discovery
Propagating from seed offers an exciting opportunity to witness the plant’s entire lifecycle. However, be prepared to embrace patience as this method takes longer.
Here’s what you’ll need:
- Fresh Cheiridopsis spiculata seeds: Sourcing viable seeds can be tricky. Look for reputable online sellers specializing in succulents or try your luck harvesting seeds from existing plants.
- Well-draining soil mix: A blend specifically formulated for cacti and succulents is ideal.
- Shallow seed tray or small pots: Opt for containers with drainage holes.
- Light watering device: A spray bottle provides gentle hydration.
Steps to success:
- Sow seeds: Sprinkle seeds thinly over the soil surface without burying them.
- Mist lightly: Keep the soil consistently moist but not waterlogged.
- Provide warmth and light: Place the tray in a bright, warm location with indirect sunlight.
- Be patient: Germination can take several weeks to months.
- Thin out: Once seedlings emerge, thin them out to provide space for growth.
2. The Cutting Edge: The Faster Track to Multiplication
For a quicker and often more successful approach, propagating from cuttings is highly effective with Cheiridopsis spiculata.
Essentials for success:
- Sharp, sterile knife or pruning shears
- Healthy mother plant: Choose a mature specimen with robust growth.
- Rooting hormone (optional but recommended)
- Well-draining soil mix (same as for seeds)
- Small pots with drainage
Let’s get propagating:
- Take your cuttings: Carefully select healthy stems and make clean cuts. Aim for cuttings at least 2-3 inches long.
- Allow callusing: Leave cuttings on a dry surface for a few days to allow the cut end to callous over, preventing rot.
- Dip in rooting hormone (optional): Lightly coat the calloused end to encourage faster root development.
- Plant your cuttings: Insert the calloused end into the prepared soil, burying about an inch deep.
- Water sparingly: Keep the soil lightly moist but avoid overwatering.
- Be patient (again!): It can take several weeks for roots to establish. Gently tug on the cutting; resistance indicates root development.
Nurturing Your New Cheiridopsis Family:
Whether you choose the seed route or the cutting edge, proper care is crucial for thriving new plants. Provide bright, indirect light, well-draining soil, and water only when the soil is dry to the touch. With the right conditions, you’ll soon have a flourishing collection of these fascinating succulents to admire!