From Seed to Showstopper: Propagating the Elegant Cheirolophus uliginosus
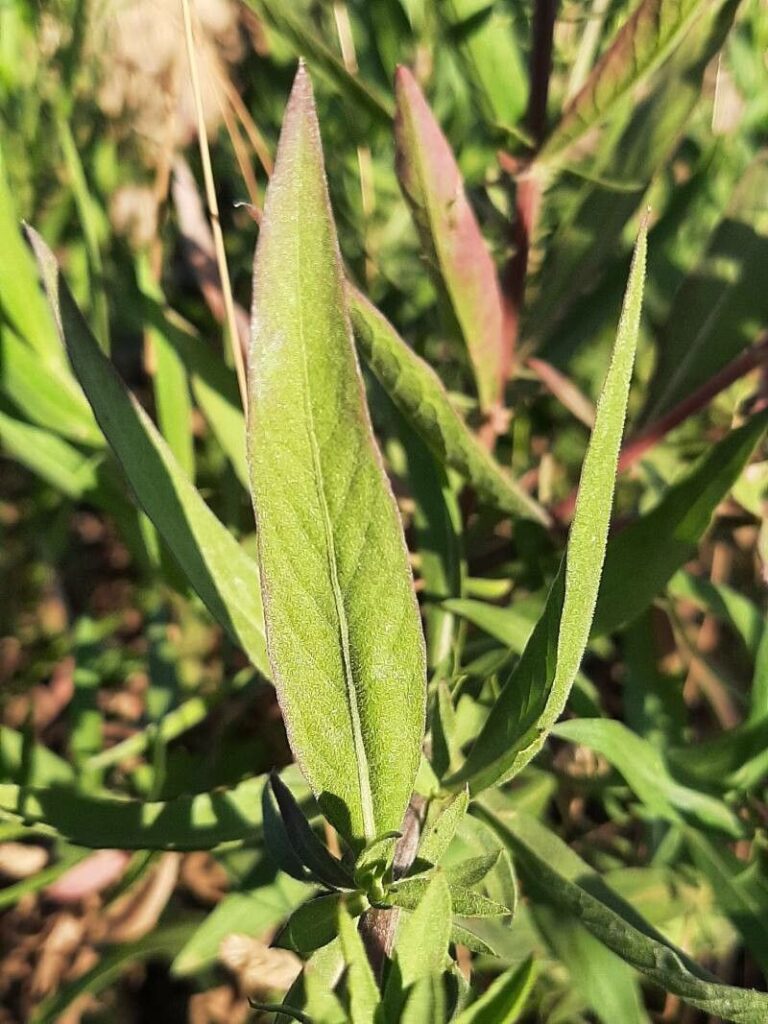
The Cheirolophus uliginosus, also known as the “Woolly Thistle,” is a striking plant that instantly captures attention with its beautiful, silvery-grey foliage and vibrant, daisy-like blooms. But beyond its aesthetic appeal, this species offers a rewarding experience for gardeners looking to explore propagation techniques.
Why Propagate Cheirolophus uliginosus?
Propagating your own Cheirolophus uliginosus plants has several advantages:
- Cost-effectiveness: Purchasing multiple plants can become expensive, especially for those looking to create a larger display. Propagation allows you to multiply your existing plants, saving you money in the long run.
- Genetic diversity: Seed propagation introduces the possibility of new and unique variations within your plant population, leading to exciting surprises in your garden.
- Joy of Creation: The process of nurturing a plant from seed or cutting to a thriving specimen is deeply satisfying and allows you to connect with the natural world on a personal level.
Methods of Propagation
Cheirolophus uliginosus can be effectively propagated through two primary methods:
-
Seed Propagation: This is the most common method for this species. Seeds are readily available online and from specialized nurseries. Follow these easy steps:
- Sowing: Sow seeds in a well-draining seed-starting mix. Gently press them into the soil, but do not cover them deeply.
- Germination: Maintain a warm and humid environment, ideally around 70°F, and provide ample sunlight. Seedlings should emerge within 2-3 weeks.
- Pricking Out: Once the seedlings have two true leaves, carefully transplant them into individual pots to encourage further growth.
- Hardening Off: Before planting outdoors, gradually acclimate your seedlings to the outdoor conditions over a period of a week or two.
-
Cuttings: This method provides quicker results and allows you to replicate the exact characteristics of your parent plant.
- Take Cuttings: Select healthy, non-flowering stems with several nodes. Use a sharp, clean knife or pruning shears to cut the stem just below a node.
- Remove Lower Leaves: Snip off the leaves below the soil line to prevent rotting.
- Dip in Rooting Hormone: This step is optional but can promote root development.
- Plant Cuttings: Insert the cuttings into a well-draining potting mix, ensuring the nodes are buried below the soil line.
- Maintain Humidity: Create a humid environment by covering the pots with a clear plastic bag or dome. Keep the soil moist but not soggy.
- Monitor and Transplant: Rooting can occur within 4-6 weeks. Once roots have formed, transplant the cuttings into larger pots or directly into the garden.
Tips for Success
- Choosing the Right Time: Spring and early summer are the ideal times for seed propagation. Cuttings can be taken throughout the growing season.
- Proper Lighting: Cheirolophus uliginosus thrives in full sun or partial shade. Provide ample sunlight for optimal growth.
- Well-Draining Soil: This species is susceptible to root rot, so ensure your soil is well-draining. Amend heavy soil with sand or perlite.
- Watering: Keep the soil consistently moist, but avoid overwatering. Allow the top inch of soil to dry out between waterings.
- Fertilize: Provide a balanced fertilizer solution during the growing season to promote healthy foliage and flower production.
Beyond Propagation:
Once you have successfully propagated your Cheirolophus uliginosus, enjoy watching these beautiful plants grace your garden with their unique charm. With their silvery-grey foliage and striking blooms, they’re a welcome addition to any landscape, brightening your garden from late spring to early fall.