
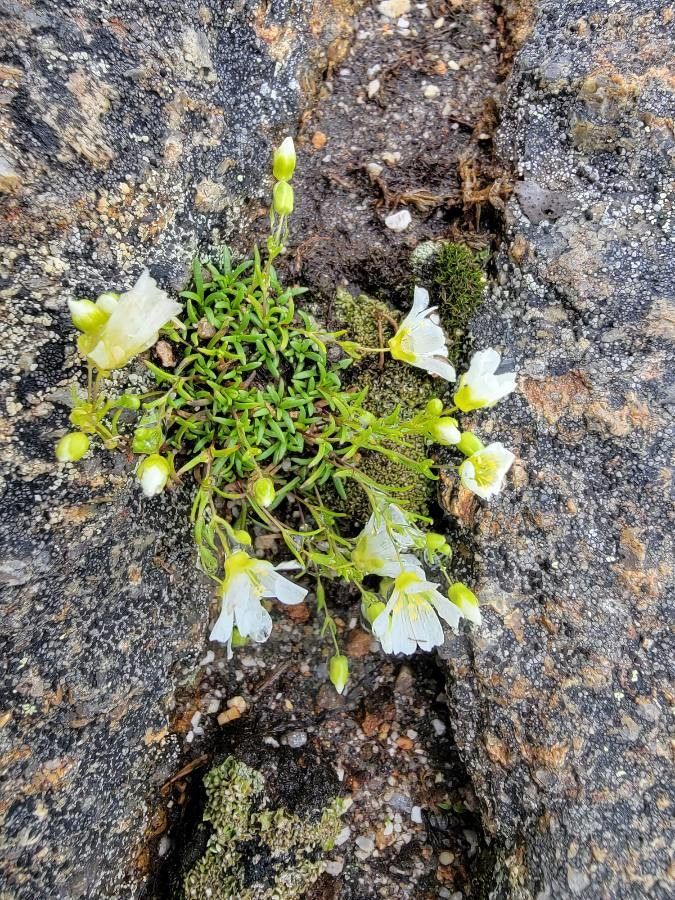
Unlocking the Secrets of Cherleria obtusiloba Propagation: A Guide for Enthusiasts
Cherleria obtusiloba, with its charming cushions of silvery-green foliage and delicate white flowers, might seem like a plant better suited for seasoned gardeners. But fear not, fellow plant enthusiasts, because propagating this alpine beauty is an achievable feat, even for beginners!
While Cherleria obtusiloba might not be as readily propagated as your average houseplant, knowing the optimal methods and understanding its specific needs can dramatically increase your chances of success. So, let’s delve into the world of propagating this intriguing alpine plant.
Method 1: Seed Starting – Embracing the Patience of Nature
Propagating Cherleria obtusiloba from seed offers a rewarding experience and allows you to witness the entire life cycle of this captivating plant.
- Timing is Key: Sow seeds in late winter or early spring (February – March) in seed trays filled with a well-draining seed starting mix.
- Light Germination: These seeds require light for germination. Lightly press them onto the soil surface without burying them.
- Temperature & Moisture: Maintain a cool temperature (around 15-18°C or 59-64°F) and keep the soil consistently moist but not soggy.
- Patience, Young Padawan: Germination can be slow, ranging from a few weeks to a couple of months. Be patient and don’t lose hope!
- Transplanting Time: Once the seedlings have developed a couple of true leaves and are large enough to handle, carefully transplant them into individual pots filled with a well-draining potting mix.
Method 2: Cuttings – Taking a Shortcut to Success
Taking cuttings is a quicker propagation method that involves rooting a portion of a healthy, established plant.
- Choose Wisely: In late spring or early summer, select healthy, non-flowering stems. Ideally, these stems should be around 5-8cm long.
- Prepare the Cutting: Using a sharp, clean knife or pruning shears, make a clean cut just below a leaf node. Remove the lower leaves, leaving only a couple at the top.
- Hormone Boost (Optional): Dipping the cut end in rooting hormone can enhance the rooting process but is not strictly necessary.
- Planting Time: Plant the prepared cutting in a pot filled with a well-draining medium, like a mixture of peat moss and perlite.
- Creating a Humid Environment: To encourage rooting, cover the pot with a clear plastic bag or humidity dome, ensuring proper ventilation.
- Signs of Success: After several weeks, gently tug on the cutting. If you feel resistance, it indicates successful rooting. Gradually acclimate the rooted cutting to normal humidity levels before transplanting.
Caring for Your Cherleria Obtusiloba Progeny
Whether you choose seeds or cuttings, providing the right conditions is crucial for the healthy development of your Cherleria obtusiloba offspring:
- Well-Draining Soil: They thrive in gritty, well-draining soil that replicates their natural alpine environment.
- Light Requirements: Provide them with a bright location, ideally with some morning sun and afternoon shade.
- Watering Needs: Water moderately, allowing the soil to dry slightly between waterings. Avoid overwatering, as soggy conditions can lead to root rot.
- Feeding Time: Fertilize lightly during the growing season with a balanced, diluted fertilizer.
Propagating Cherleria obtusiloba may require patience and attention to detail, but the rewards are well worth the effort. By following these tips, you’ll increase your chances of success and cultivate a thriving population of this unique and captivating alpine plant. So, roll up your sleeves, embrace the challenge, and enjoy the satisfaction of witnessing new life emerge from your propagation efforts!