
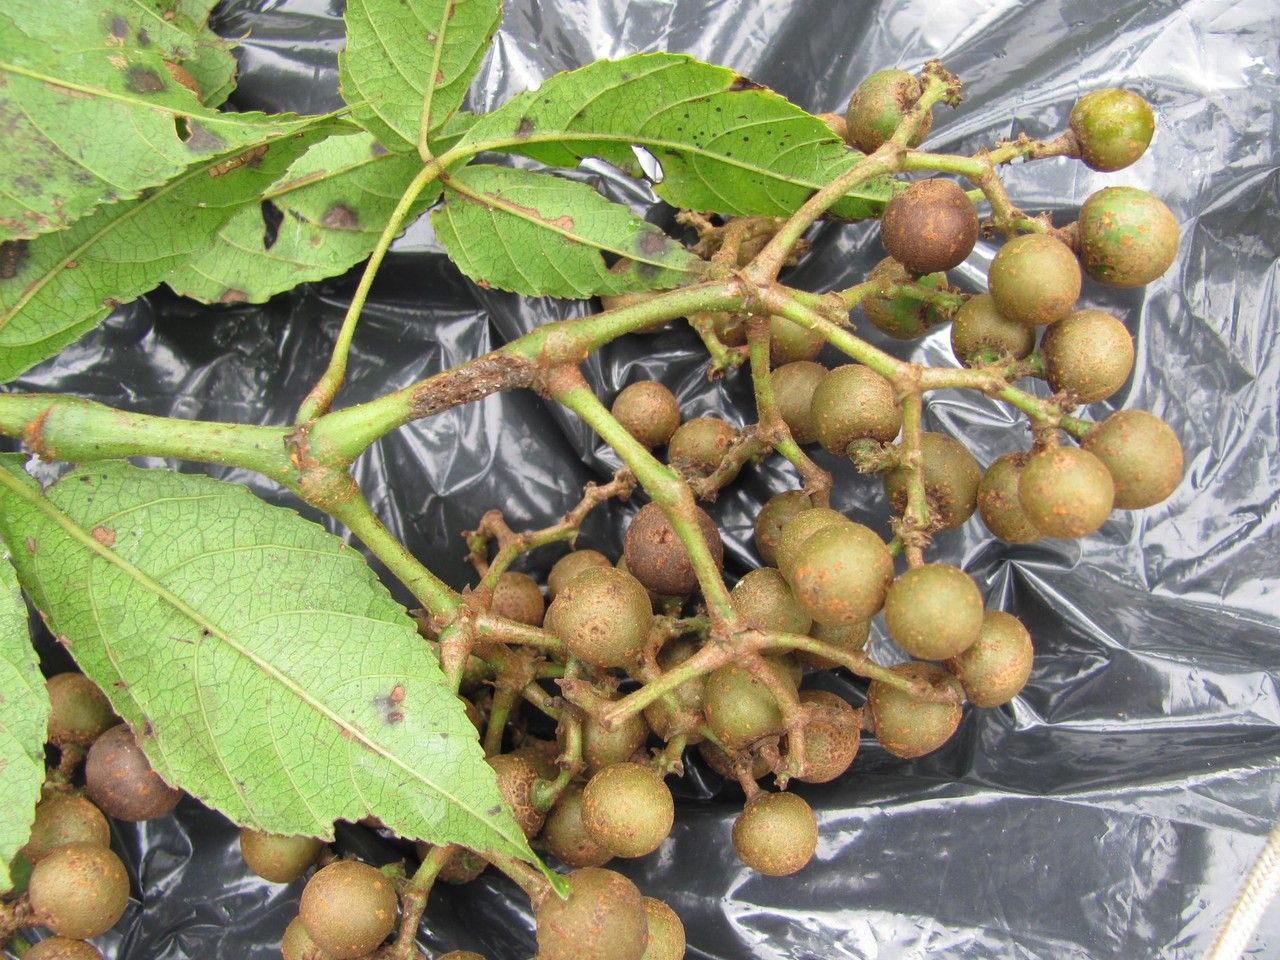
Untangling the Secrets of Cissus serrulatifolia Propagation: A DIY Guide
Cissus serrulatifolia, also known as the “Ivy Grape” or “Grape Ivy,” isn’t as widely recognized as its grapevine cousin, but this charming climber deserves a place in your heart (and home!). With its delicate foliage and vigorous growth, it brings a touch of the wild indoors or adds lushness to your garden. But here’s the real secret: Cissus serrulatifolia is incredibly easy to propagate, meaning you can multiply your plant for free and share the joy with others.
Why Propagation is Your Green Thumb’s Best Friend
Before we delve into the how-to, let’s talk about the “why” of plant propagation. In simple terms, propagation is creating new plants from existing ones. It’s like plant magic, but better because it involves science and a bit of love.
- Budget-friendly: Who needs a plant shop when you can become your own supplier?
- Sustainable Gardening: Propagation reduces the demand for commercially grown plants.
- Sentimentality: Share pieces of your beloved plants with friends and family.
- Sense of accomplishment: Few things beat the satisfaction of witnessing new life sprout from your efforts.
Two Tried-and-True Methods for Cissus serrulatifolia
This versatile climber can be propagated in a couple of ways. Let’s break down the two most reliable methods:
1. Stem Cuttings: The Classic Approach
- Timing is Key: Spring or early summer, when the plant is actively growing, offers the highest success rates.
- Tools of the Trade:
- Sharp, clean pruning shears or scissors
- Small pots or seed trays
- Well-draining potting mix (a blend of peat moss, perlite, and vermiculite works well)
- Rooting hormone (optional, but boosts success)
- Step-by-Step Guide:
- Identify healthy stems with at least two to three nodes (small bumps on the stem where leaves emerge).
- Using your clean shears, make a cut just below a node at a 45-degree angle. Each cutting should be about 4-6 inches long.
- Remove the leaves from the lower one-third of the cutting.
- (Optional) Dip the cut end in rooting hormone.
- Plant the cuttings in your prepared pots, burying the lower node.
- Water thoroughly, keeping the soil consistently moist but not soggy.
- Place the pots in a warm, bright location, but out of direct sunlight.
- Patience is key – rooting can take several weeks. You’ll know it’s worked when you see new growth.
2. Layering: A More Hands-Off Approach
Layering involves encouraging roots to develop on a stem while it’s still attached to the parent plant. Here’s how:
- Choose a Flexible Stem: Select a healthy stem that’s long enough to be bent down to the soil level.
- Prepare the Layering Spot: Wound the stem slightly by making a small cut or scraping the surface just below a node. This encourages root development.
- Bury and Secure: Bury the wounded section of the stem in a pot filled with moist potting mix, using a bent paperclip or a small rock to hold it in place.
- Wait and Separate: After a few weeks, gently tug on the stem to see if roots have formed. If so, carefully cut the new plant from the parent and pot it up.
Nurturing Your New Cissus Clones
Once your Cissus cuttings or layers have rooted, treat them like established plants. Provide bright, indirect light, water thoroughly when the soil surface dries out, and fertilize lightly every few weeks during the growing season.
With these simple techniques and a little bit of patience, you’ll soon have an abundance of these charming climbers to brighten your home and share the green thumb joy!