
Waving in the Wind: Easy Propagation Techniques for Feather Fingergrass (Chloris virgata)
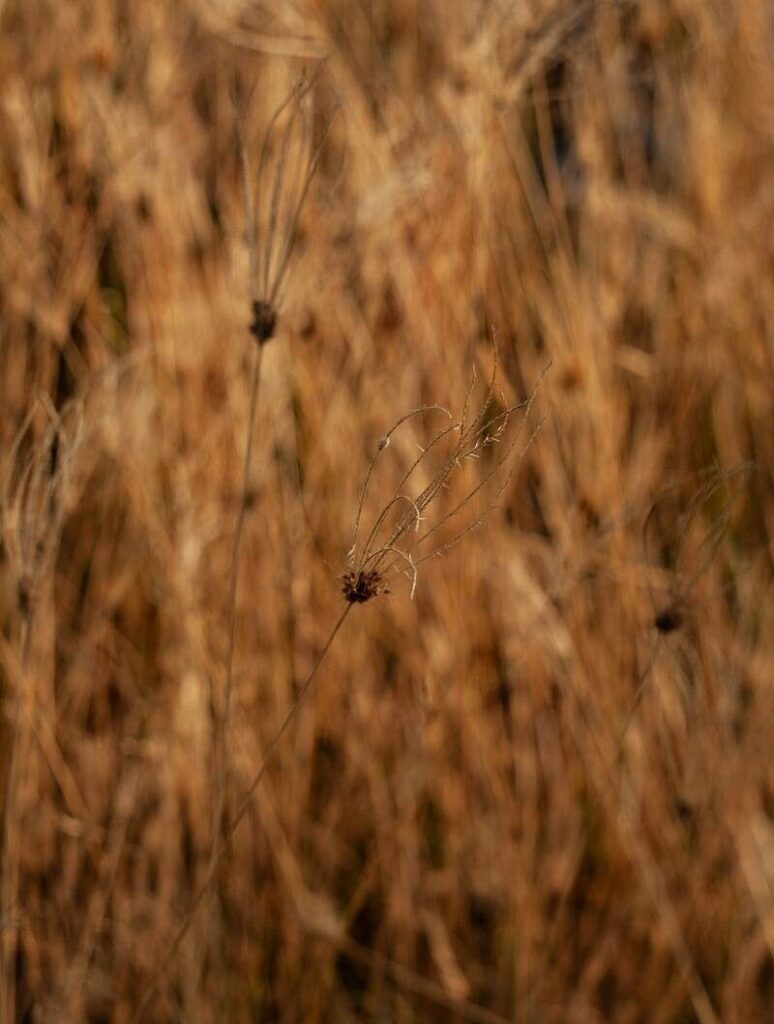
Feather fingergrass (Chloris virgata), with its charming, wind-swept seedheads, brings a touch of wild elegance to any garden. This versatile grass isn’t just beautiful; it’s also incredibly easy to propagate, making it a perfect choice for both novice and experienced gardeners looking to expand their collection.
This post dives into the world of feather fingergrass propagation, exploring two simple methods you can use to welcome more of this delightful grass into your life.
Method 1: Seed Starting – Letting Nature Take Its Course
Propagating feather fingergrass from seed mirrors the plant’s natural life cycle and offers a deeply satisfying gardening experience. Here’s how you can do it:
1. Gather the Seeds: The easiest way to acquire seeds is by collecting them directly from existing feather fingergrass plants. As the seedheads mature, they’ll turn a light brown, indicating ripeness. Simply snip the seedheads off the plant and carefully store them in a paper bag until you’re ready to sow.
2. Prepare for Sowing: Feather fingergrass seeds germinate best in warm soil. You can start them indoors 4-6 weeks before the last frost, or sow directly into the ground after the danger of frost has passed.
3. Sowing the Seeds: These seeds prefer light to germinate, so just sprinkle them on the surface of a well-draining seed starting mix. Mist the soil gently to prevent displacement and ensure good seed-to-soil contact.
4. Nurture the Seedlings: Place the seed tray or pots in a bright, warm location, maintaining consistent moisture. Germination typically takes 7-14 days.
5. Transplanting: Once the seedlings develop a strong root system and reach a height of 3-4 inches, they are ready to be transplanted into larger pots or directly into the garden.
Method 2: Division – Multiplying Your Green Bounty
Division is another straightforward way to propagate feather fingergrass, especially for established plants. This method guarantees successful growth and gives you a head start on enjoying mature plants.
1. Timing is Key: The best time for division is during the plant’s active growing period, ideally in spring or early summer.
2. Digging Up the Clump: Carefully dig around the perimeter of the clump you wish to divide, ensuring you go deep enough to avoid damaging the root system.
3. Dividing the Clump: Gently separate the clump into smaller sections using your hands or a sharp, clean knife. Each division should have a good amount of roots attached.
4. Replanting: Choose a sunny location with well-draining soil for your new plants. Dig appropriately sized holes, ensuring the crown of each division sits level with the surrounding soil. Gently backfill the holes and water thoroughly.
Caring for Your New Feather Fingergrass
Feather fingergrass is a low-maintenance plant. However, providing proper care, especially for young plants, encourages healthy growth and vibrant displays. Water regularly during the first year to establish a strong root system, and fertilize annually with a balanced fertilizer.
Conclusion
Propagating feather fingergrass is a rewarding experience that allows you to expand your garden’s beauty with minimal effort. Whether you enjoy the wonder of seed starting or the efficiency of division, these techniques empower even the most inexperienced gardener to cultivate this captivating grass. So, get your hands dirty, embrace the joy of propagation, and let the gentle sway of feather fingergrass enchant your outdoor space.