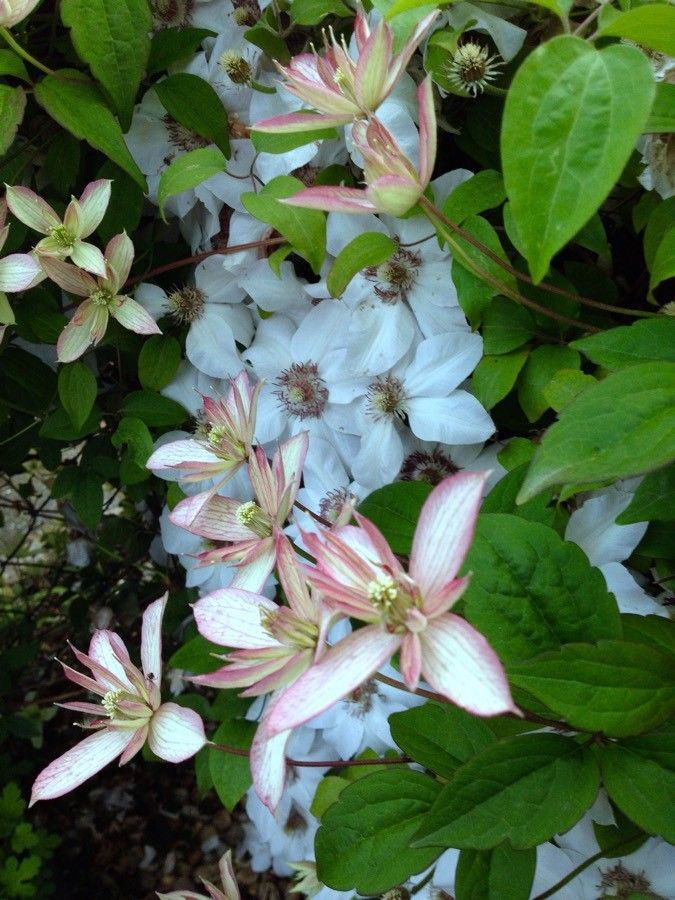
Conquering Clematis Montana: A Guide to Propagation for a Thriving Vine
Clematis montana, with its cascading waterfalls of delicate blooms, is a sight to behold. But did you know that multiplying this climber’s beauty is well within reach, even for beginner gardeners? Propagating Clematis montana is a rewarding experience that allows you to expand your garden’s charm or share this stunning vine with fellow plant enthusiasts. Let’s delve into the different propagation methods you can employ:
1. Layering: A Grounded Approach
Layering might just be the easiest and most successful way to propagate Clematis montana. As the name suggests, this method involves encouraging roots to grow from a stem while it’s still attached to the parent plant.
Here’s how:
- Choose a healthy stem: Select a flexible stem close to the ground that hasn’t bloomed yet.
- Prepare the stem and soil: Make a small wound on the underside of the stem, then bury this portion in a shallow trench filled with loose, well-draining soil. Use a small stone or landscape pin to hold it in place.
- Patience is key: Keep the soil consistently moist. After a few months, gently tug on the stem; if you feel resistance, congrats! Your layer has rooted. Sever it from the parent plant and transplant it to its desired location.
Best Time: Spring to early summer
2. Cuttings: Creating Clones
Taking cuttings is another popular method, offering a quicker turnaround time compared to layering.
Let’s get cutting:
- Timing is crucial: Take softwood cuttings in spring or semi-hardwood cuttings in late summer.
- Make the cut: Snip a 4-6 inch section of stem just below a leaf node. Remove the lower leaves, leaving only a couple at the top.
- Potting mix matters: Plant the cutting in a well-draining mix, burying at least one node.
- Create a humid environment: Cover the pot with a plastic bag or place it in a propagator to retain moisture and encourage rooting.
- Transplant after rooting: Once new growth appears (usually in a few weeks), you can transplant your new Clematis montana plant.
Best Time: Spring or late summer
3. Seeds: A Long-Term Investment
Propagating from seeds requires more patience as it takes longer to see results. However, it can be a rewarding process, especially if you enjoy the journey of nurturing a plant from its earliest stage.
Seed Starting 101:
- Collect ripe seeds: Allow the fluffy seed heads to dry on the vine, then collect and store them in a cool, dry place until ready to sow.
- Sow in late winter or early spring: Start seeds indoors in a seed starting mix.
- Light and warmth are key: Provide ample light and maintain a temperature of around 65-75°F (18-24°C).
- Transplant after the last frost: Once the seedlings are large enough and the threat of frost has passed, gradually harden them off and transplant them to their outdoor home.
Best Time: Late winter or early spring
Tips for Success:
- Well-draining soil is a must: Clematis montana thrives in moist but well-drained soil.
- Choose the right location: Plant your Clematis montana where it receives at least 6 hours of sunlight daily, providing some shade for the base of the plant.
- Support its climbing habit: Provide a sturdy trellis, arbor, or other structures for your Clematis montana to climb on.
Propagating Clematis montana is a journey that unveils the wonders of plant life cycles. With a little patience and the right techniques, you can cultivate more of this magnificent vine, transforming your garden into a flourishing oasis. So why not give it a try? Sharing the beauty of Clematis montana has never been easier!