Unlocking the Secrets of Cleome Erosa: A Propagation Guide for Bountiful Blooms
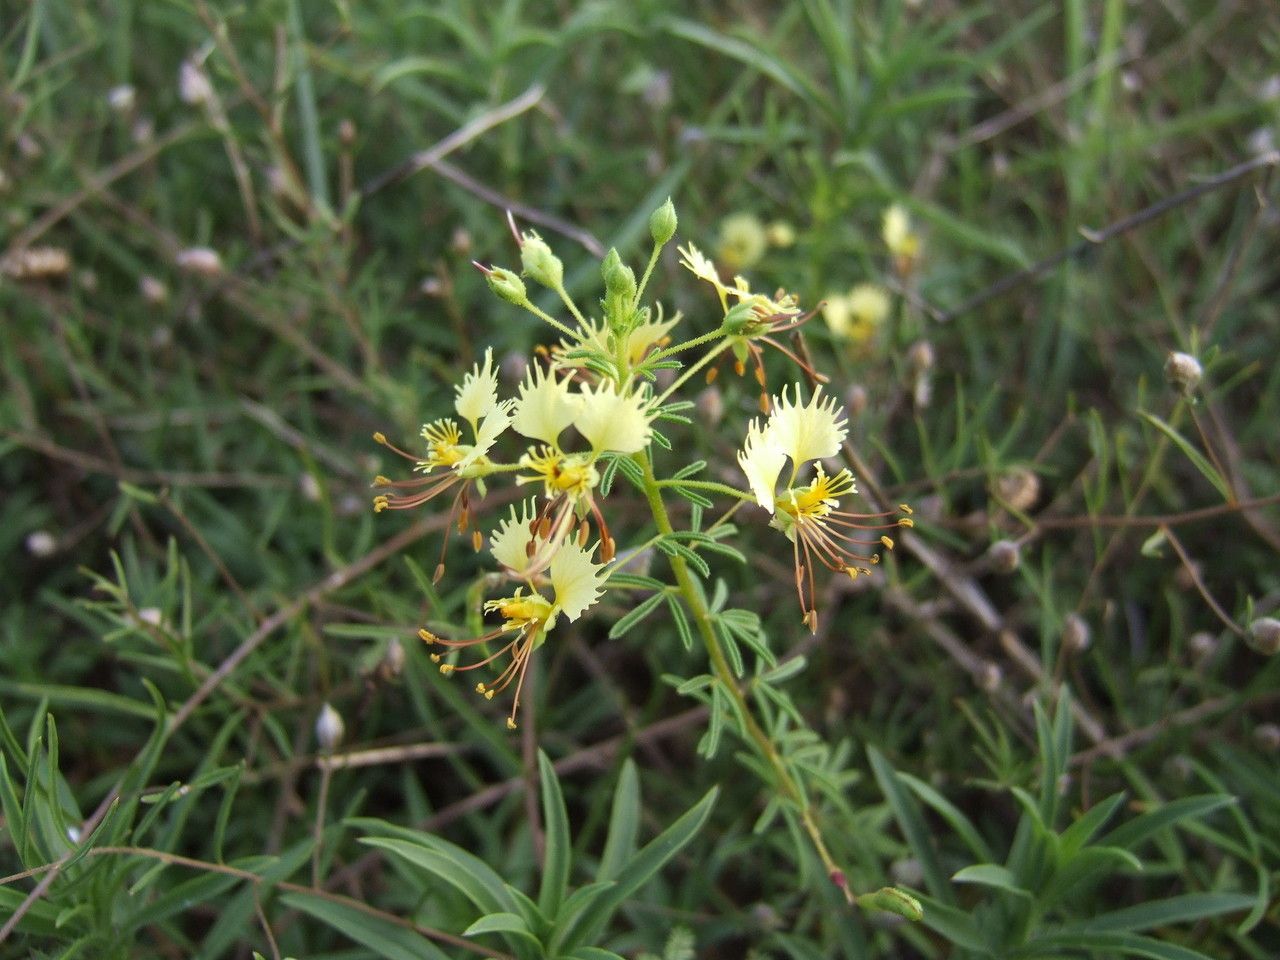
Cleome erosa, more affectionately known as the spider flower for its unique, spidery blooms, is a delightful addition to any garden. Its tall stalks adorned with clusters of fragrant flowers in hues of pink, purple, and white create a captivating display that attracts pollinators and admiration alike. While readily available as seedlings, propagating Cleome erosa yourself is a rewarding endeavor that promises an abundance of these captivating flowers. Let’s delve into the secrets of successfully propagating this stunning annual.
The Power of Seeds: Your Gateway to Propagation
For Cleome erosa, seed propagation reigns supreme. These flowers readily produce seed pods after blooming, and collecting those seeds is the first step to expanding your floral empire.
Step-by-Step Seed Collection and Storage:
- Identify Mature Seed Pods: Look for elongated, slender pods that turn brown and dry on the plant as the flowers fade. These pods are treasure troves of future blooms.
- Gentle Extraction: Carefully pinch or snip the seed pods from the plant, ensuring they are fully dry to prevent mold during storage.
- Release the Seeds: Gently break open the pods over a clean surface to collect the tiny, black seeds within.
- Storage Savvy: Store the seeds in a cool, dry place in a labeled envelope or container. Proper storage can preserve their viability for several years.
Sowing the Seeds of Success: A Step-by-Step Guide:
Armed with your treasure trove of seeds, you’re ready to embark on the journey of propagation. Cleome erosa seeds can be directly sown outdoors after the threat of frost has passed, or started indoors for an earlier bloom.
Direct Sowing:
- Timing is Key: Sow seeds outdoors after the last frost, when soil temperatures have warmed to around 65-70°F (18-21°C).
- Prepare the Seedbed: Choose a sunny location with well-drained soil. Lightly rake the area to loosen the soil and remove debris.
- Sow with Care: Scatter seeds thinly across the prepared soil, aiming for a spacing of 12-18 inches (30-45cm) apart to accommodate their mature size.
- Light Covering: Lightly cover the seeds with about ¼ inch (0.5cm) of soil and water gently.
Starting Indoors:
- Early Bird Advantage: Begin sowing indoors 6-8 weeks before the last frost date for a head start on the growing season.
- Seed Starting Setup: Use seed trays or small pots filled with a well-draining seed starting mix.
- Sow and Nurture: Sow seeds individually in each cell or pot, covering them lightly with soil. Keep the soil consistently moist but not waterlogged.
- Light and Warmth: Provide ample light, either from a sunny window or grow lights, and maintain a temperature of around 70-75°F (21-24°C) for optimal germination.
- Transplanting Time: Once seedlings have developed a few sets of true leaves and the danger of frost has passed, gradually harden them off and transplant them outdoors to their permanent location.
Caring for Your Cleome Erosa Progeny:
With proper care, your propagated Cleome erosa plants will reward you with an abundance of stunning blooms. Water regularly, especially during dry spells, and fertilize monthly with a balanced fertilizer to support healthy growth and flowering. Deadhead spent blooms to encourage continuous flowering throughout the season.
Propagating Cleome erosa is a journey that connects you with the natural world while rewarding you with the enchanting beauty of these unique flowers. So, gather your seeds, unleash your inner gardener, and let these captivating blooms transform your outdoor spaces.