Taming the Wild Beauty: Propagating the Enigmatic Cliffortia Atrata
Cliffortia atrata, with its intriguing, almost fern-like foliage and delicate, wiry stems, brings a touch of wild elegance to any garden. This South African native, commonly known as “Rice pincushion” or “Blackroot pincushion,” is a captivating addition to rockeries, fynbos gardens, or even as a unique potted specimen. While admiring its delicate beauty is easy, propagating Cliffortia atrata can feel like a delightful challenge. But fear not, fellow plant enthusiasts! This guide will equip you with the knowledge to successfully grow this enchanting plant from cuttings and seed.
Cuttings: A Step Towards Cloning Success
Propagating Cliffortia atrata from cuttings offers a higher success rate and allows you to replicate the characteristics of the parent plant. Here’s how:
Timing is key: The ideal time for taking cuttings is during the active growing season, from late spring to early autumn. This is when the plant has the most energy for new growth.
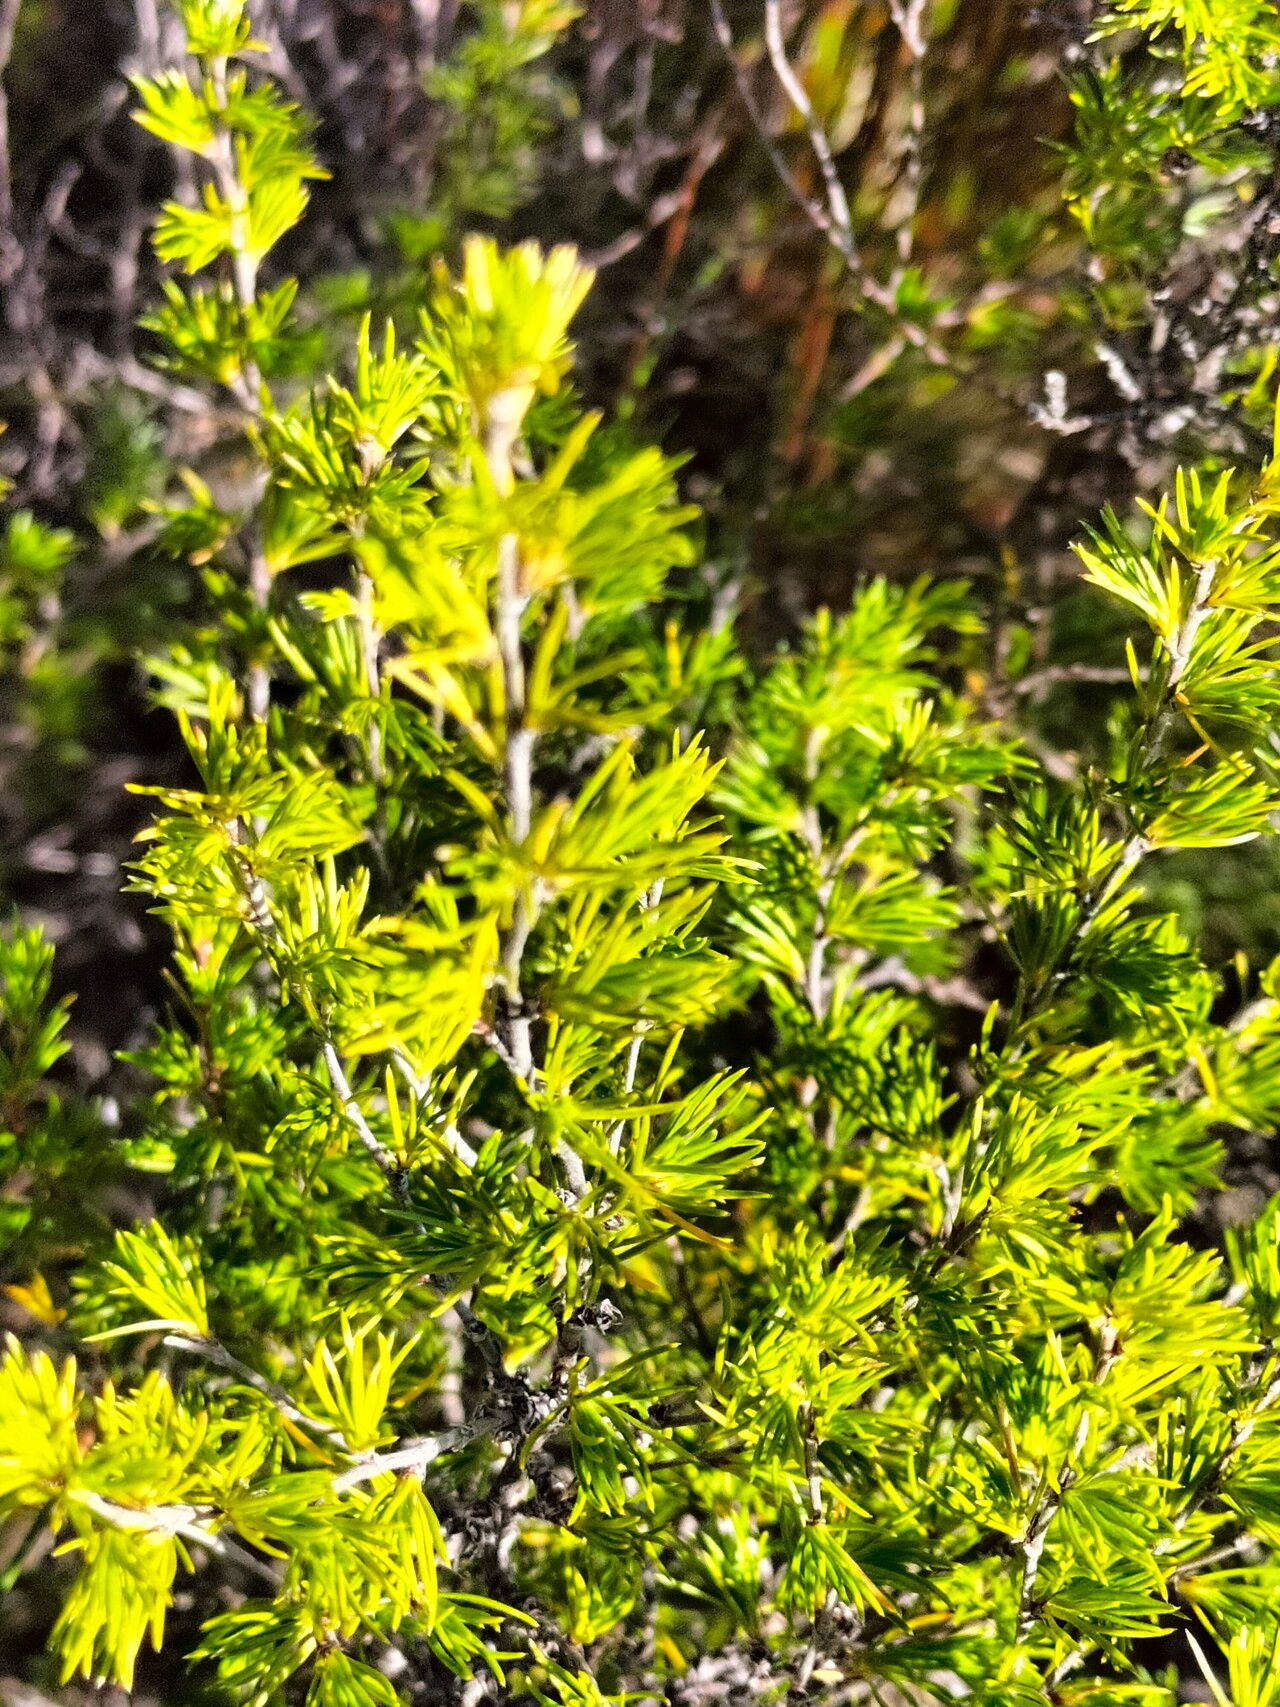
Select healthy shoots: Choose young, non-flowering stems that are approximately 3-4 inches long. These stems should be firm and healthy, showing no signs of disease or damage.
Prepare the cuttings: Using a sharp, sterilized knife or pruning shears, make a clean cut just below a leaf node. Remove the lower leaves, leaving only a few at the top.
Hormone boost (optional): While not essential, dipping the cut end in rooting hormone can encourage faster root development.
Planting medium: A well-draining propagation mix is crucial. A blend of equal parts peat moss and perlite or sand works well.
Planting and care: Insert the cuttings gently into the prepared medium, ensuring at least one leaf node is buried. Water thoroughly and place in a warm, bright location, but out of direct sunlight.
Humidity is key: Maintaining humidity around the cuttings is essential for successful rooting. A propagator with a lid or a simple plastic bag placed over the pot can create a humid microclimate.
- Patience is your friend: Rooting can take anywhere from 4 to 8 weeks. Once you see new growth, you’ll know the cuttings have successfully rooted.
Seed Starting: Embracing a Touch of Unpredictability
Propagating Cliffortia atrata from seed can be a bit more challenging, but it allows for greater genetic diversity. Here’s the breakdown:
Seed collection: If you’re lucky enough to have a flowering Cliffortia atrata, collect the tiny, dark seeds from the spent flower heads once they dry.
Sowing the seeds: Use a well-draining seed starting mix and sow the seeds shallowly, pressing them gently into the surface.
Light and warmth: Cliffortia atrata seeds require light for germination. Place the seed tray in a bright location, maintaining a temperature around 65-70°F (18-21°C).
Moisture is vital: Keep the soil consistently moist but not waterlogged. A spray bottle can help with even watering.
Germination patience: Be prepared to exercise patience as Cliffortia atrata seeds can be slow to germinate, sometimes taking several weeks to several months.
- Thinning and transplanting: Once the seedlings have developed a couple of true leaves, thin them out, leaving the strongest ones. Once they are a bit larger, transplant them into individual pots to continue growing.
A Rewarding Endeavor
While propagating Cliffortia atrata requires a touch of patience and dedication, the reward of seeing new life sprout from a cutting or seed is truly gratifying. With the right knowledge and a sprinkle of green-thumb magic, you can successfully grow more of this alluring South African gem and share its enchanting presence with fellow plant enthusiasts.