From One to Many: Propagating Your Coelogyne Pulverula Orchid
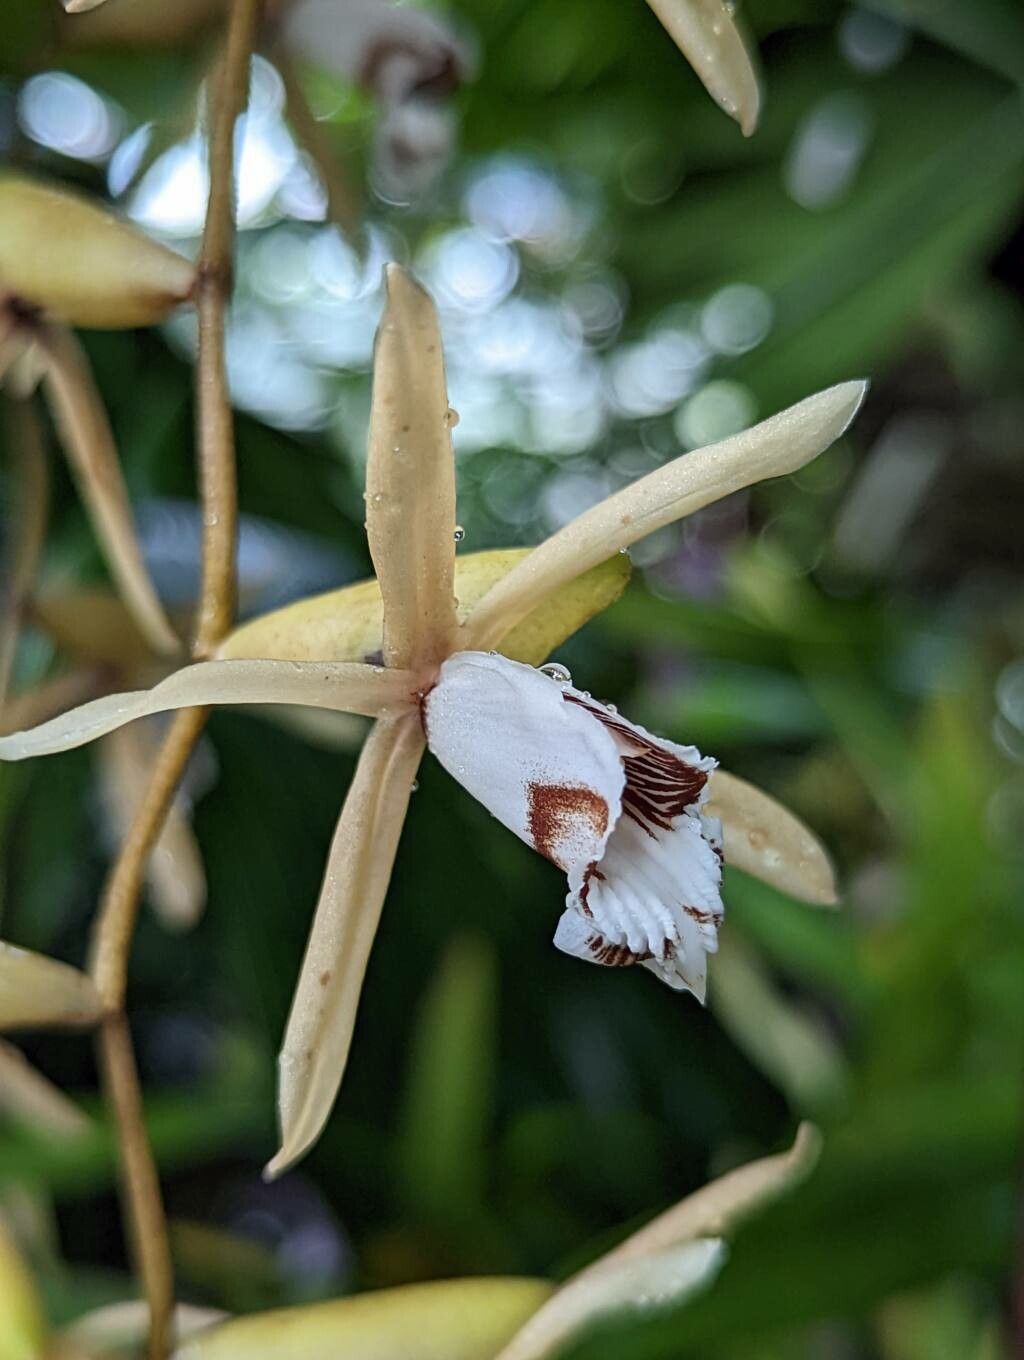
The Coelogyne pulverula, with its delicate sprays of fragrant, creamy-white flowers, is a real showstopper in the orchid world. But what if you could share this beauty with others, or even just enjoy a larger collection in your own home? That’s where propagation comes in! While it might seem daunting, propagating your Coelogyne pulverula is actually easier than you might think.
This blog post will guide you through two popular methods: division and keiki propagation, equipping you with the knowledge to expand your orchid family.
Division: Sharing the Joy
Think of division as a “splitting” method. It works best when your Coelogyne pulverula has grown sufficiently, forming multiple pseudobulbs. Here’s how:
- Choose the Right Time: Spring is ideal, when the plant is actively growing.
- Prepare for Surgery: Sterilize your tools (scissors or a sharp knife) with rubbing alcohol. This prevents infections.
- Separate the Clumps: Carefully divide the plant into two or more sections, each containing at least three pseudobulbs and healthy roots. Ensure each section has its own growing point.
- Repotting Time: Pot the new divisions in a well-draining orchid mix, ensuring the pseudobulbs are slightly above the soil level.
- Aftercare: Mist the plants regularly and provide a warm and humid environment. Avoid direct sunlight until they establish themselves.
Keiki: Growing from Little Shoots
Keikis are essentially baby plants that grow from the mother plant’s stem or pseudobulbs. You can encourage their formation by using certain techniques:
- The “Keiki Paste” Trick: This growth hormone encourages the plant to sprout keikis. Apply it to the nodes on the stem or pseudobulbs.
- Creating a Humid Environment: Wrap the stem or pseudobulb with moss, maintaining a humid environment with regular misting. This can help induce keiki formation.
Once the keikis have developed roots and leaves, they are ready for separation:
- Gentle Removal: Use a sharp, sterilized knife to carefully separate the keiki from its parent plant.
- Potting Time: Pot the keiki in a small pot with well-draining orchid mix, ensuring the roots are covered and the growing point is above the soil line.
- New Home Setup: Place the new keiki in a warm, humid environment with indirect light for optimal growth.
Important Tips and Tricks
- Sterilization: Always sterilize your tools to prevent infections.
- Patience: Propagation takes time. Be patient and don’t rush the process.
- Optimal Conditions: Provide the right environment for your Coelogyne pulverula, with adequate light, humidity, and ventilation.
- Watering: Don’t overwater your newly propagated orchids. Allow the potting mix to dry slightly between waterings.
Sharing the Beauty
Propagating your Coelogyne pulverula is not just about increasing your orchid collection; it’s about extending the joy of these magnificent blooms. You can share your propagated plants with friends, family, or even donate them to local botanic gardens or orchid societies.
So, don’t be afraid to take the plunge! Experiment with these methods and watch as your Coelogyne pulverula multiplies, bringing a burst of beauty and fragrance to your home and beyond.