
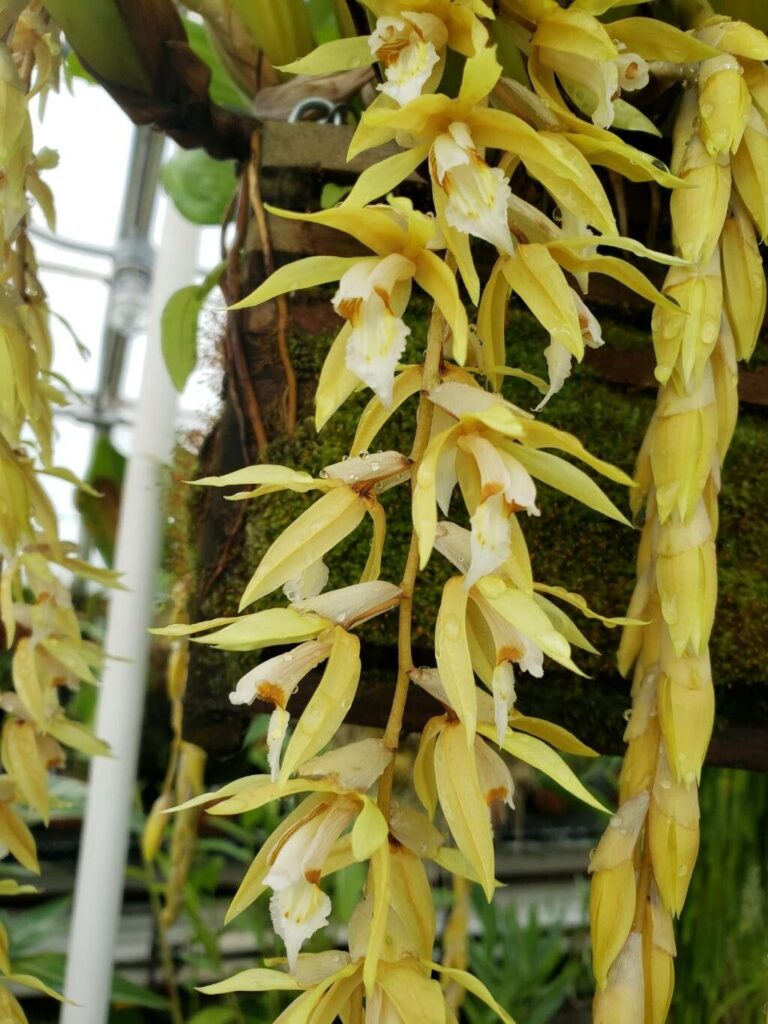
Unlocking the Secrets of Coelogyne Rochussenii Propagation: A Guide for Stunning Orchids
Coelogyne rochussenii, with its cascading chains of delicate, fragrant blooms, is a sight to behold. This epiphytic orchid, native to Southeast Asia, is a coveted treasure for many plant enthusiasts. But have you ever dreamt of multiplying your collection or sharing its beauty with friends? Let’s demystify the propagation of Coelogyne rochussenii and empower you to grow this stunning orchid with confidence.
Understanding Your Orchid’s Life Cycle
Before diving into propagation, it’s crucial to understand how Coelogyne rochussenii naturally grows. This orchid develops in a sympodial fashion, meaning it grows horizontally, producing new shoots (pseudobulbs) along a rhizome. Each pseudobulb stores energy and produces leaves and flowers.
Methods for Multiplying Your Coelogyne Rochussenii
While propagating some orchids can be tricky, Coelogyne rochussenii offers a relatively straightforward experience, primarily through division.
1. Division: The Gold Standard
- Timing is Key: Spring, just as new growth emerges, is the ideal time for division. This allows the divisions to establish themselves during the growing season.
- Healthy Candidates: Choose a mature plant with at least 6-8 pseudobulbs, ensuring it appears healthy and vigorous.
- Tools of the Trade: Gather sterilized pruning shears or a sharp, clean knife, a pot with drainage holes, and fresh, orchid-specific potting mix.
- Making the Cut: Carefully remove the plant from its pot. Using your sterilized tool, divide the rhizome, leaving at least 3-4 healthy pseudobulbs per division.
- Potting Your Divisions: Plant each division in your prepared pot, ensuring the rhizome sits just below the surface of the potting mix. Water thoroughly.
2. Back-Bulb Propagation: A More Patient Approach
Coelogyne rochussenii can also be propagated from back bulbs – older pseudobulbs that may have lost their leaves. This method requires more time but can be rewarding.
- Selecting Back Bulbs: Choose firm, plump back bulbs without any signs of rot or disease.
- Creating the Right Environment: Place the back bulbs in a shallow tray filled with moist sphagnum moss or a fine-grade orchid mix.
- Patience is Virtue: Keep the tray in a warm, humid location with bright, indirect light. Mist regularly and be patient; it can take several months for new growth to appear. Once new roots and shoots develop, pot the back bulb divisions as you would with standard division.
Care Tips for Successful Propagation
- Light: Provide bright, indirect light. Avoid direct sunlight, which can scorch the leaves.
- Watering: Water thoroughly when the potting mix approaches dryness. Coelogyne rochussenii prefers slightly moist conditions, but avoid overwatering, which can lead to root rot.
- Humidity: Aim for humidity levels around 50-70%. You can achieve this by using a humidifier, grouping plants together, or placing the pot on a tray filled with pebbles and water.
- Fertilizer: Use a balanced, diluted orchid fertilizer every 2-3 weeks during the growing season.
Enjoying the Fruits (or Flowers) of Your Labor
Propagating Coelogyne rochussenii is a fulfilling endeavor that allows you to expand your collection and share the beauty of this exquisite orchid. By following these guidelines, you can confidently multiply your plant and enjoy its captivating blooms for years to come.