Double Your Blooms: Propagating the Enchanting Colchicum Europaeum
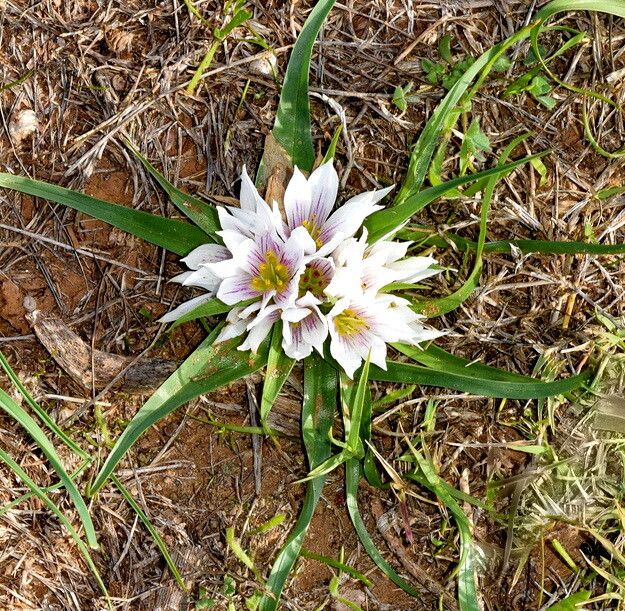
Autumn whispers a certain magic into the air, and nowhere is that magic more evident than in the surprising blooms of the Colchicum europaeum, commonly known as the autumn crocus. These fascinating flowers, with their vibrant pink to lilac hues, emerge seemingly from nowhere, adding a burst of color to the fading landscape. And while their beauty may seem ephemeral, learning how to propagate them can ensure these enchanting blooms grace your garden year after year.
Unveiling the Mysteries: Corm vs. Bulb
Before embarking on your propagation journey, it’s crucial to understand that the Colchicum europaeum doesn’t emerge from a bulb but rather a corm. While often used interchangeably, corms and bulbs differ significantly. A corm is a modified, underground stem that stores nutrients, similar to a bulb. However, unlike the layered structure of a bulb, a corm is solid and has a papery tunic.
The Two Paths to Propagation:
Colchicum europaeum offers two primary methods of propagation: division and seed. Each method has its merits and drawbacks, allowing you to choose the best approach for your gardening style.
1. Division: The Quicker Route to Blossoms
Dividing established corms offers the quickest and most reliable way to increase your Colchicum europaeum stock. Here’s how:
- Timing is Key: Ideally, divide the corms during their dormant period, from late spring to early summer, after the foliage has yellowed and died back.
- Gentle Hands: Carefully dig around the clump of corms, ensuring you don’t damage them. Lift the entire clump and gently separate the corms, ensuring each has a healthy sprout or “eye.”
-
Replanting: Choose a well-drained location that receives dappled sunlight. Plant the separated corms about 6-8 inches apart, with the pointed end facing upwards, at a depth of about 4-5 inches. Water well and wait for the magic to unfold in autumn!
Note: Divided corms typically bloom the following year, rewarding your efforts with those beautiful autumn blooms.
2. Seed Propagation: Patience Yields Unique Rewards
While more time-consuming, propagating Colchicum europaeum from seed is a rewarding endeavor, especially for experienced gardeners seeking to explore potential variations in the resulting plants.
- Collecting the Seeds: After flowering, allow the seed pods to ripen and dry on the plant. Once brown and papery, collect and store the seeds in a cool, dry place until spring.
- Sowing: In spring, sow the seeds in a well-drained seed-starting mix, barely covering them with the mix. Keep the soil moist but not soggy and ensure they receive bright, indirect light.
- Transplanting: Seedlings may take a few weeks to emerge. Once they develop a few true leaves, carefully transplant them into individual pots.
- The Long Game: Be prepared for a wait – Colchicum europaeum grown from seed can take 3-5 years to reach flowering size.
Nurturing Your Colchicum Europaeum:
Whether you choose division or seeds, caring for your Colchicum europaeum is relatively straightforward. Provide them with well-drained soil, dappled sunlight, and regular watering during their growth periods. They are relatively pest and disease-free, making them a joy for gardeners of all levels.
By learning the art of propagating Colchicum europaeum, you are not just multiplying your plants, but ensuring that their captivating beauty continues to grace your autumn garden for years to come. So, embrace the magic of these floral wonders and watch your garden transform into an autumnal tapestry of delicate blooms.