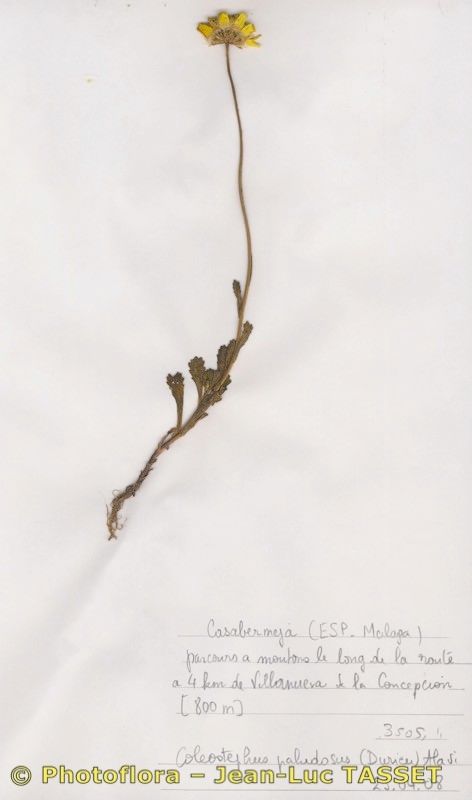
From One to Many: Propagating the Ethereal Coleostephus paludosus
The enchanting Coleostephus paludosus, with its delicate, daisy-like blooms and graceful, feathery foliage, is a plant that captivates the heart. Many gardeners dream of filling their spaces with this ethereal beauty. But did you know you can easily multiply your collection of this charming plant through propagation?
This article delves into the world of propagating Coleostephus paludosus, exploring both the traditional methods of seed sowing and the more rapid approach of taking cuttings.
Seed Starters: Bringing New Life from Tiny Seeds
For those seeking a rewarding experience from start to finish, seed propagation is a delightful journey. Here’s a step-by-step guide to bring Coleostephus paludosus life from seed:
- Timing is Everything: Sow your seeds indoors in late winter or early spring for a head start. Choose a seed tray filled with a well-draining seed starting mix.
- Planting Depth: Gently press the tiny seeds onto the surface of the soil without covering them. Light is crucial for germination.
- Maintaining Moisture: Keep the soil consistently moist, but avoid overwatering. This delicate seedling stage requires careful watering.
- Light Up Their World: Provide ideal light conditions by using a grow lamp or placing the seed tray in a sunny window.
- Thinning for Success: Once the seedlings have produced at least two true leaves, it’s time for thinning. Select the strongest seedlings and gently remove the rest to encourage healthy growth.
- Planting Out: When the danger of frost has passed, carefully transplant your sturdy little Coleostephus paludosus into a sunny spot in your garden.
Cuttings: A Quick Path to New Plants
If you prefer a faster route to expanding your Coleostephus paludosus collection, taking cuttings is a simple and effective method. Here’s how:
- The Perfect Cuttings: Select healthy, non-flowering stems from your existing plant. Choose a stem that is about 4-6 inches long and cut it just below a node, which is a point where leaves sprout.
- Prepping for Success: Remove the bottom 2-3 leaves from the cutting to avoid rot. Dip the cut end into a rooting hormone powder, which encourages root development.
- The Ideal Rooting Medium: Fill a small pot with a well-draining, sterile potting mix or use a mixture of peat moss and vermiculite. Lightly push the cutting about 1-2 inches into the soil and gently tamp it down.
- Maintaining Humidity: To promote root growth, cover the pot with a clear plastic bag or dome to create a mini greenhouse. Place the pot in a bright, indirect light location.
- Patience is Key: Keep the soil lightly moist, but not soggy. It can take anywhere from 3 to 6 weeks for the cuttings to root.
- The Final Step: Once the cuttings have established roots and new growth appears, you can gently remove the plastic cover and gradually introduce them to open air. You can then transplant them to their permanent location.
Successful Propagation: A Rewarding Journey
Whether you choose the slow and rewarding path of seed propagation or the more rapid method of cuttings, expanding your Coleostephus paludosus collection is a joy. With careful attention and a little patience, you’ll have a vibrant collection of these ethereal plants enhancing your garden space in no time. Remember, each new plant you propagate is a testament to your gardening skills and a tribute to the enduring beauty of Coleostephus paludosus.
