
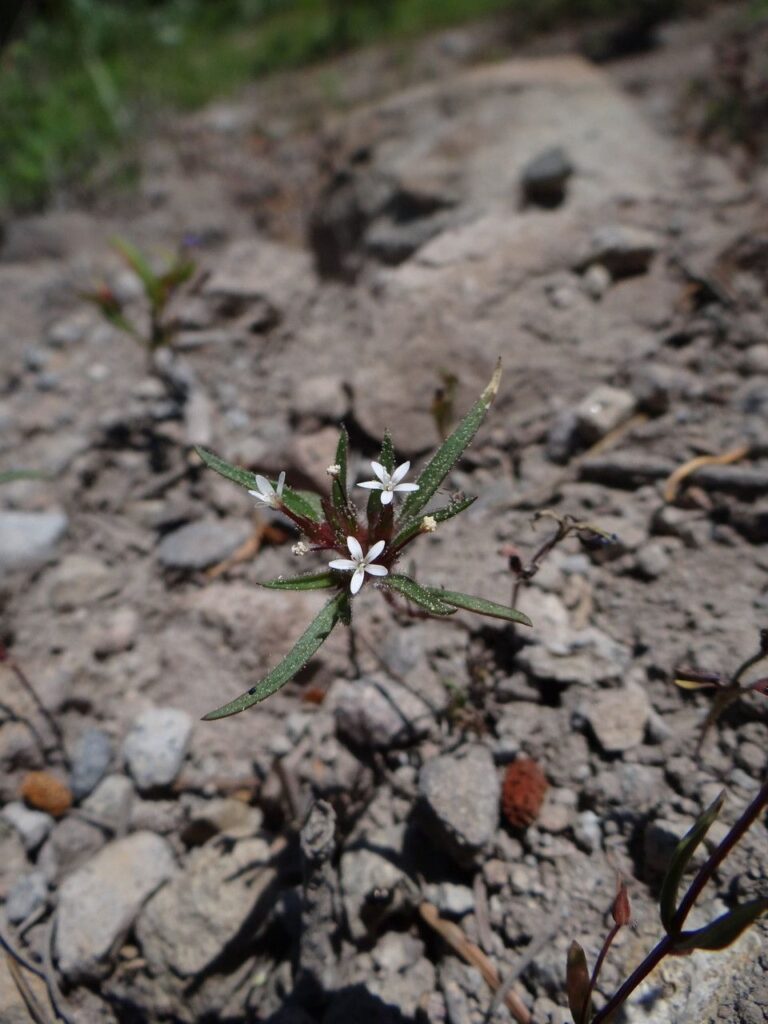
Unlocking the Secrets of Collomia Tinctoria: A Guide to Propagation
Collomia tinctoria, more charmingly known as “Staining Collomia” or “Yellowstain Escobita,” is a wildflower native to Western North America. While its delicate appearance and vibrant yellow blooms might make it seem too precious for the everyday gardener, propagating Collomia tinctoria is a surprisingly achievable and rewarding endeavor.
This comprehensive guide explores two primary methods of propagation: seed starting and cuttings. We’ll equip you with the knowledge and techniques to successfully cultivate these stunning wildflowers and bring a touch of their native beauty to your own garden.
Method 1: Seed Starting
Starting Collomia tinctoria from seed is the most common and reliable method. Here’s your step-by-step guide to seed-starting success:
-
Seed Collection and Storage: Collect seeds from mature Collomia tinctoria plants in late summer or early fall. Look for dried seed capsules that readily split open. Store the collected seeds in a cool, dry place until ready for planting.
-
Sowing Time: Collomia tinctoria seeds have a natural cold stratification requirement for optimal germination. Direct sow seeds outdoors in the fall, allowing the winter cold to naturally prepare them for spring growth. For spring planting, mimic winter conditions by “cold-stratifying” the seeds. Place them in a moist paper towel within a sealed plastic bag and refrigerate for 4-6 weeks before sowing.
-
Soil Preparation: These wildflowers thrive in well-draining soil. Prepare your planting area by loosening the soil and amending it with compost or other organic matter to improve drainage.
-
Sowing Technique:
- Direct Sowing: Sprinkle seeds directly onto the soil surface, gently pressing them in without completely burying them.
- Indoor Starting: Sow seeds in seed trays or biodegradable pots filled with a well-draining seed starting mix. Plant seeds just below the surface.
-
Watering: Water consistently, keeping the soil moist but not waterlogged. Seeds directly sown outdoors benefit from natural precipitation, but supplemental watering may be necessary during dry periods.
-
Light: While Collomia tinctoria prefers sunny locations, young seedlings benefit from some shade during the hottest parts of the day. Once established, they can tolerate full sun.
- Thinning: If seedlings are sown too densely, thin them out to provide adequate spacing (6-8 inches) for optimal growth and airflow.
Method 2: Taking Cuttings
While less common, Collomia tinctoria can also be propagated through stem cuttings. Here’s how:
-
Timing: Take cuttings in the spring or early summer from healthy, actively growing stems.
-
Cutting Preparation: Use a sharp, clean knife or pruning shears to take cuttings that are about 4-6 inches long. Remove the lower leaves, leaving a few sets of leaves at the top.
-
Rooting Hormone (optional): While not essential, dipping the cut end of the stem in rooting hormone can encourage quicker and more successful root development.
-
Planting Medium: Prepare small pots or a seed tray filled with a well-draining potting mix. Moisten the mix before planting.
- Planting and Care: Create a small hole in the potting mix and gently insert the cutting, ensuring at least one node is buried. Water thoroughly and place the cuttings in a warm, humid environment. A humidity dome or covering the tray with plastic wrap can help retain moisture.
General Care for Collomia Tinctoria:
Once established, Collomia tinctoria requires minimal care. Water regularly, especially during dry periods. Deadhead spent blooms to encourage more flowering. Avoid over-fertilizing, as this can lead to leggy growth and reduced flowering.
With patience and care, you can cultivate these enchanting wildflowers. Whether you choose to start from seed or experiment with cuttings, the reward of seeing Collomia tinctoria bloom in your garden is well worth the effort.