
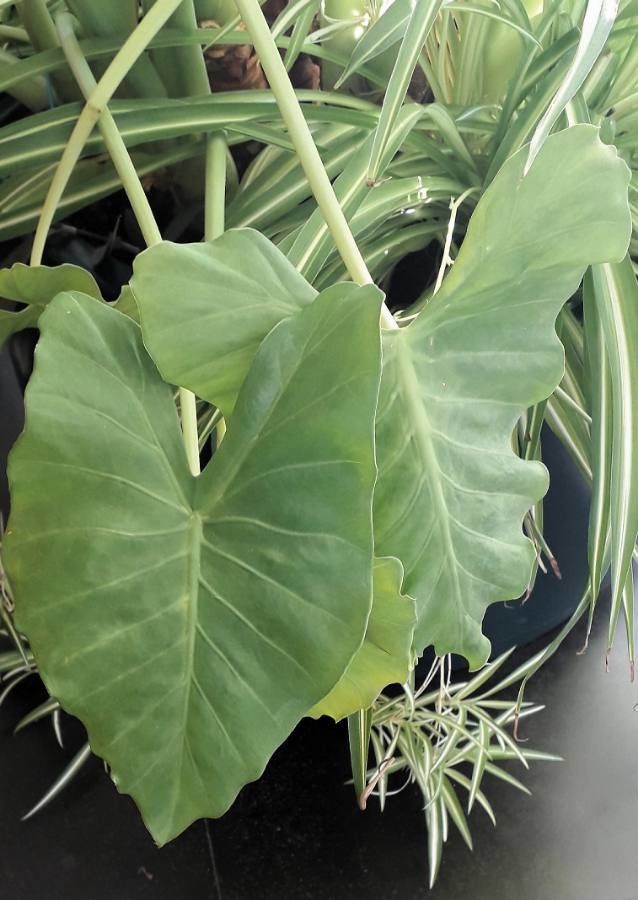
Unleash the Taro Power: Propagating Colocasia Esculenta for a Lush and Bountiful Garden
Colocasia esculenta, more commonly known as taro, is a stunning tropical plant prized for its large, heart-shaped leaves that bring a touch of the tropics to any garden. But did you know that propagating this leafy beauty is easier than you might think? With a few simple techniques, you can multiply your taro and create a lush green paradise.
This guide will walk you through the different methods of propagating Colocasia esculenta, empowering you to expand your plant family and share the joy of these majestic plants with others.
Method 1: Division
Taro naturally grows from underground corms, which are swollen stems that store nutrients. These corms produce offshoots known as “cormels” or “offsets.” Division is the easiest and most common way to propagate your taro.
- Timing is key: The best time to divide your taro is in early spring, just as new growth begins.
- Unearth and divide: Carefully dig up the entire taro plant, ensuring you don’t damage the corms. Use a sharp, clean knife or pruning shears to separate the cormels from the mother plant, ensuring each division has a good amount of roots and at least one eye (a small nub where new growth emerges).
- Replant and thrive: Plant the divided corms in well-draining soil, ensuring the top of the corm is level with the soil surface. Water thoroughly and watch your new taro plants flourish!
Method 2: Seed Propagation
Propagating taro from seed is less common than division, but it’s a rewarding experience nonetheless.
- Source your seeds: Taro seeds can be tricky to find, but you can sometimes find them online or at specialty nurseries.
- Prepare for germination: Sow the seeds in a seed starting mix, lightly pressing them into the damp medium. Cover the tray with plastic wrap to create a humid environment.
- Patience is a virtue: Germination can take anywhere from a few weeks to a couple of months. Once the seedlings have a couple of sets of true leaves, you can transplant them into individual pots.
Method 3: Water Propagation
For a fun and visually appealing propagation method, try water propagation!
- Select your cutting: Choose a healthy taro stem and make a clean cut just below a node (where the leaf attaches to the stem).
- Waterworks: Place the cutting in a clear container filled with water, ensuring the cut end is submerged.
- Root and grow: Change the water every few days to prevent stagnation. Within a few weeks, you’ll start to see roots developing. Once the roots are a couple of inches long, you can pot your new taro plant in soil.
Care Tips for Newly Propagated Taro
- Location, Location, Location: Choose a spot with partial shade to full sun, providing your taro with at least 4-6 hours of sunlight daily.
- Moist but well-drained: Taro thrives in moist soil. Water regularly, but ensure good drainage to prevent root rot.
- Feed the beast: Fertilize regularly during the growing season with a balanced fertilizer to promote vigorous growth.
Propagating your Colocasia esculenta is not just easy and rewarding, it’s a fantastic way to share the beauty of these tropical wonders with friends and family. So why not give it a try? You’ll enjoy the lush abundance it brings to your garden and the satisfaction of nurturing new life from an existing plant.